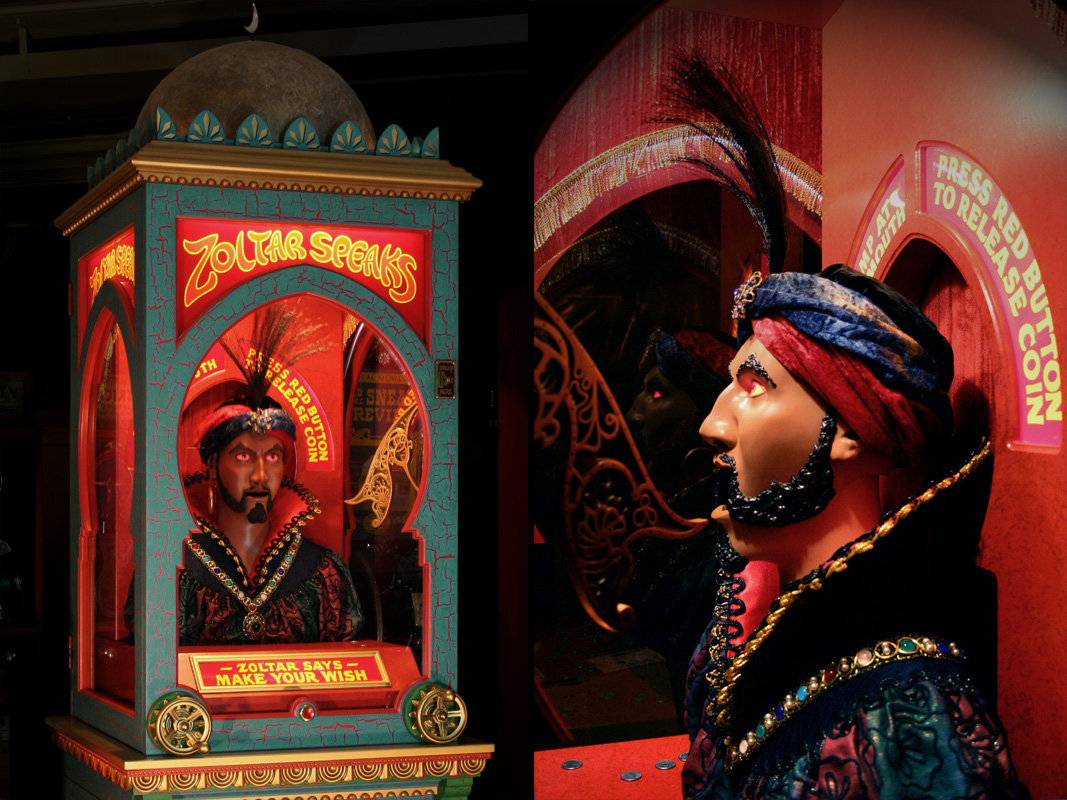
A Working Replica “Zoltar Speaks” Fortune Teller
Read the original article here.
-
-
-
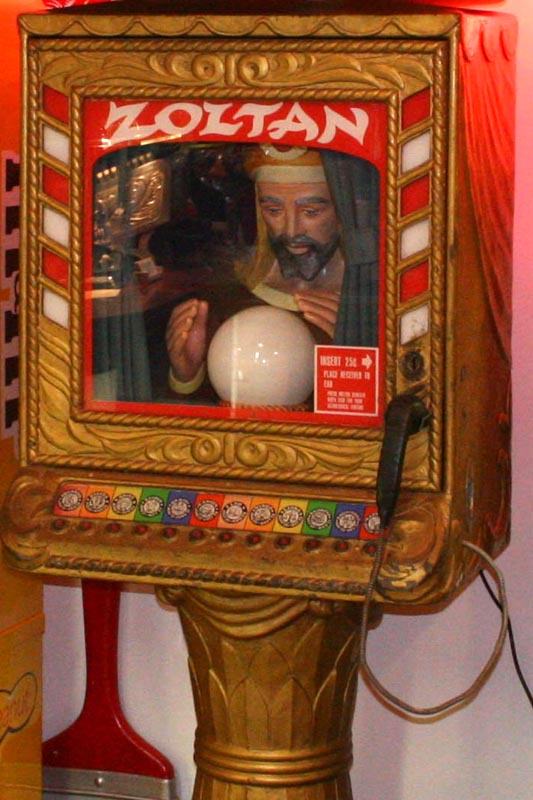
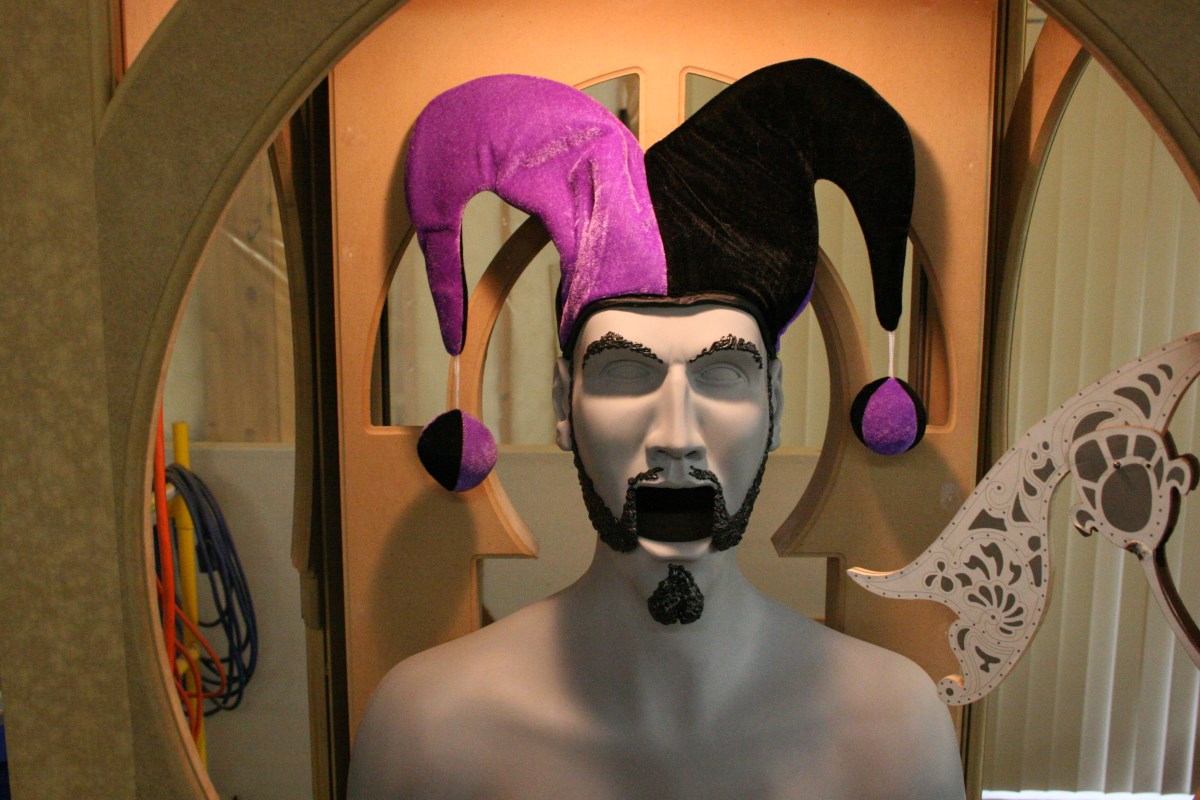
This is Zoltan, Who is Clearly Not Zoltar
-
-
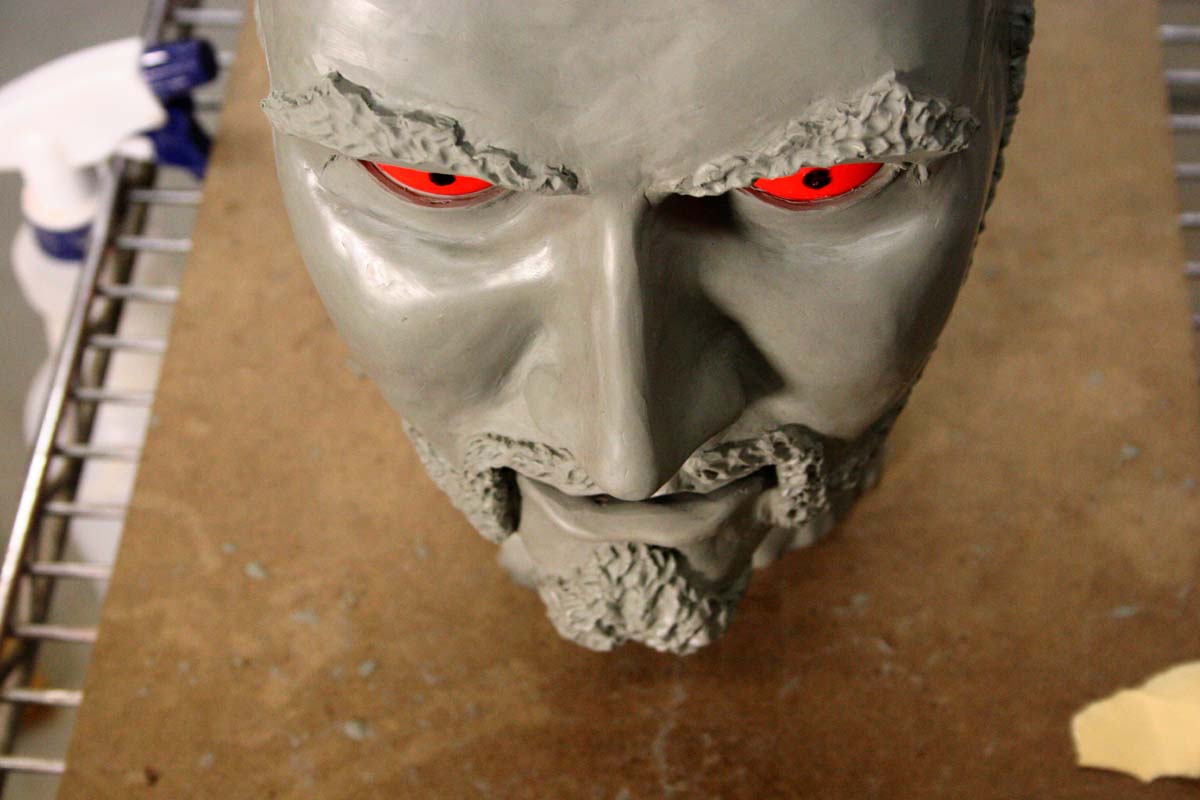
Very Early Clay Head Sculpture. I Had Never Tried This Before, and it Shows
-
-
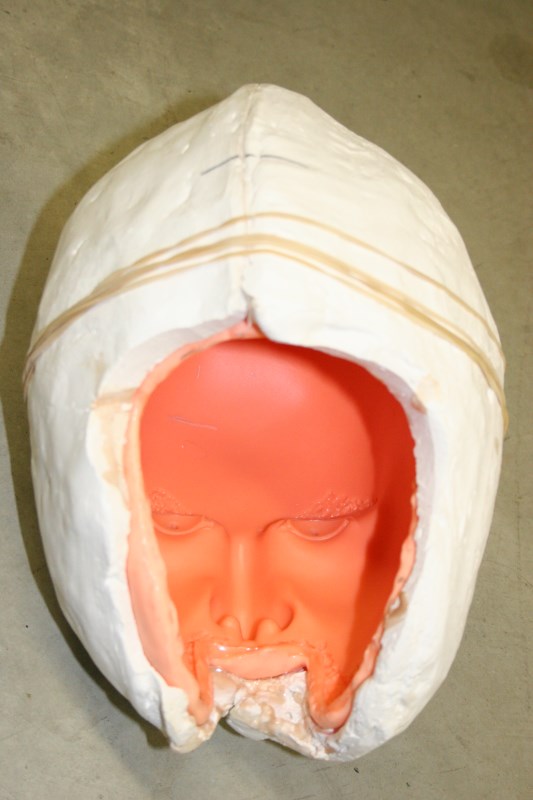
Silicone Head Mold With Supporting Plaster Mother Mold
-
-
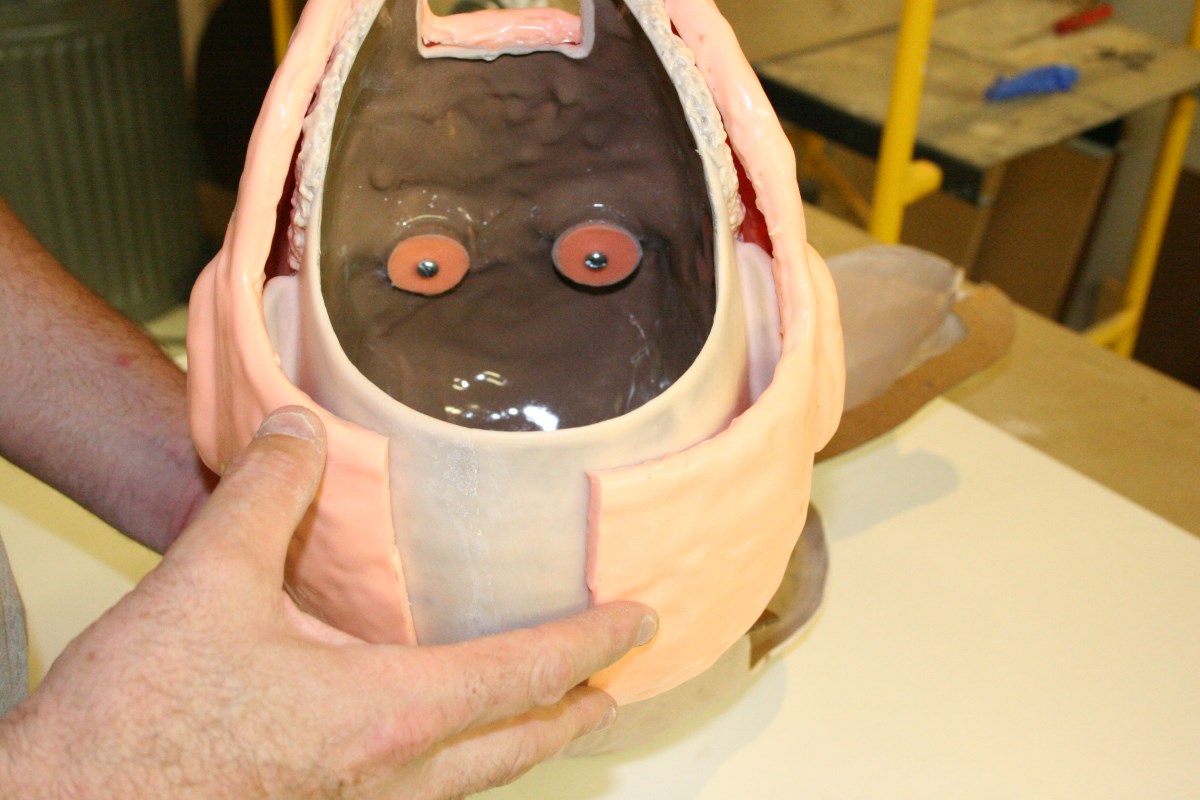
Silicone Hemispheres Screwed to Head Mold Created Finished Eye Sockets
-
-
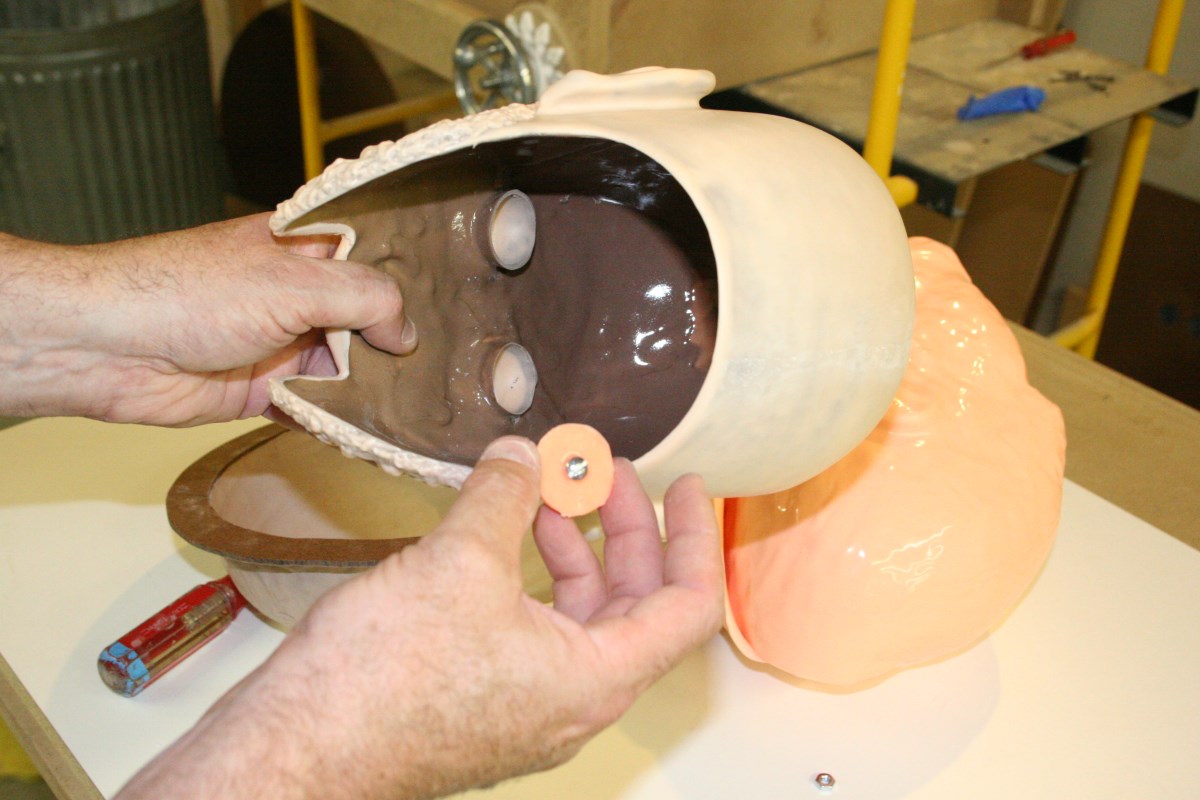
Eye Sockets With Silicone Hemispheres Removed
-
-
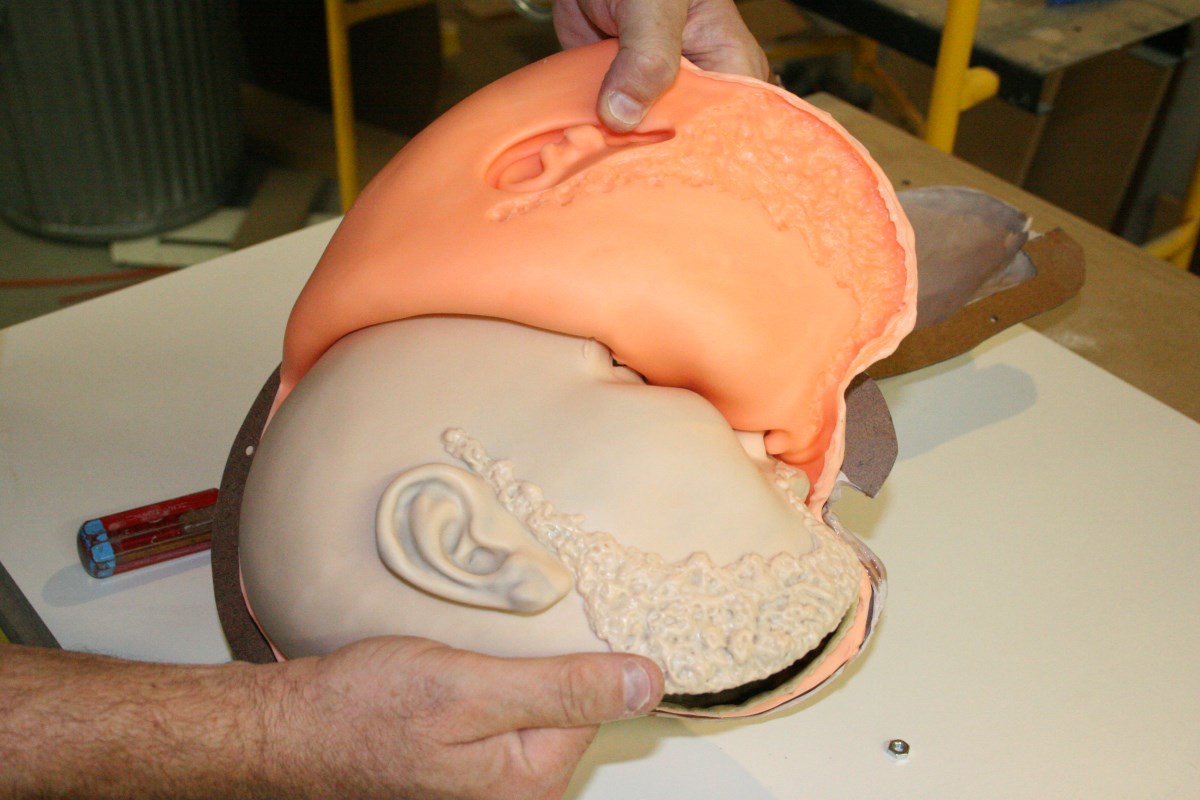
Unveiling a Newly Cast Urethane Head
-
-
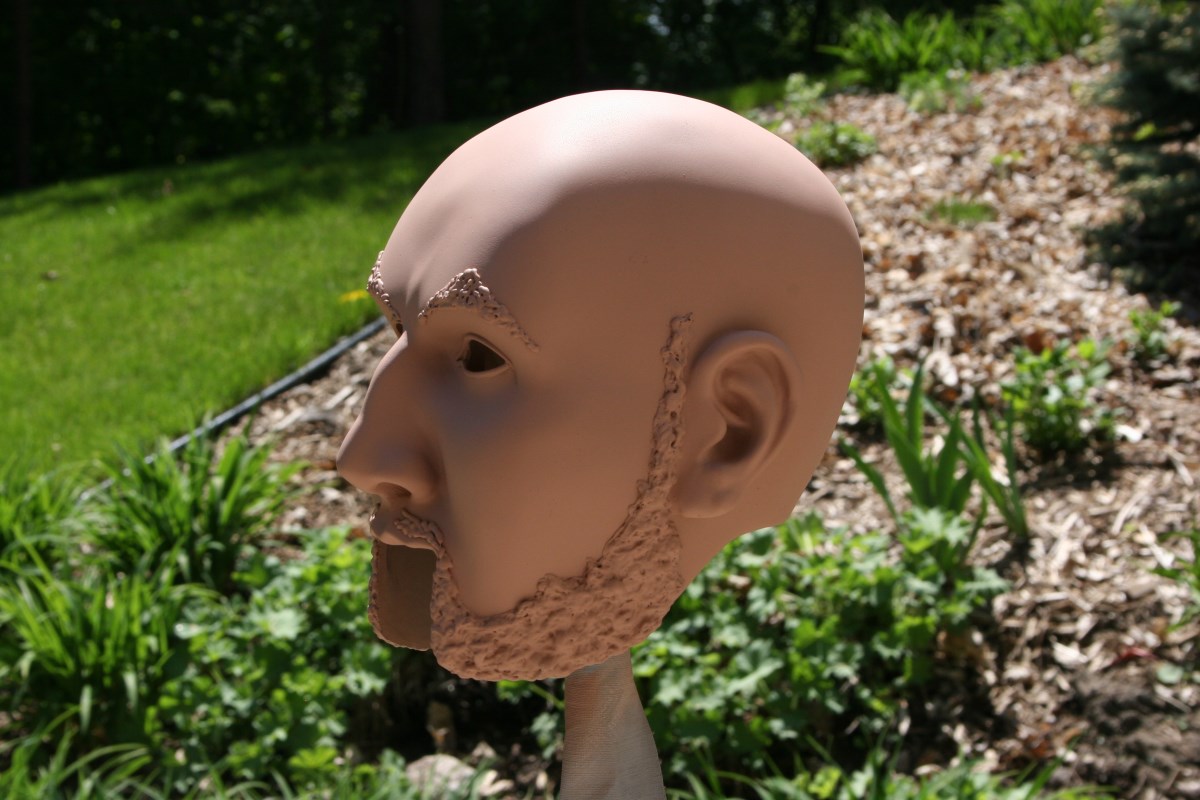
Urethane Head Casting Prepped for Adhesion Primer Coat
-
-
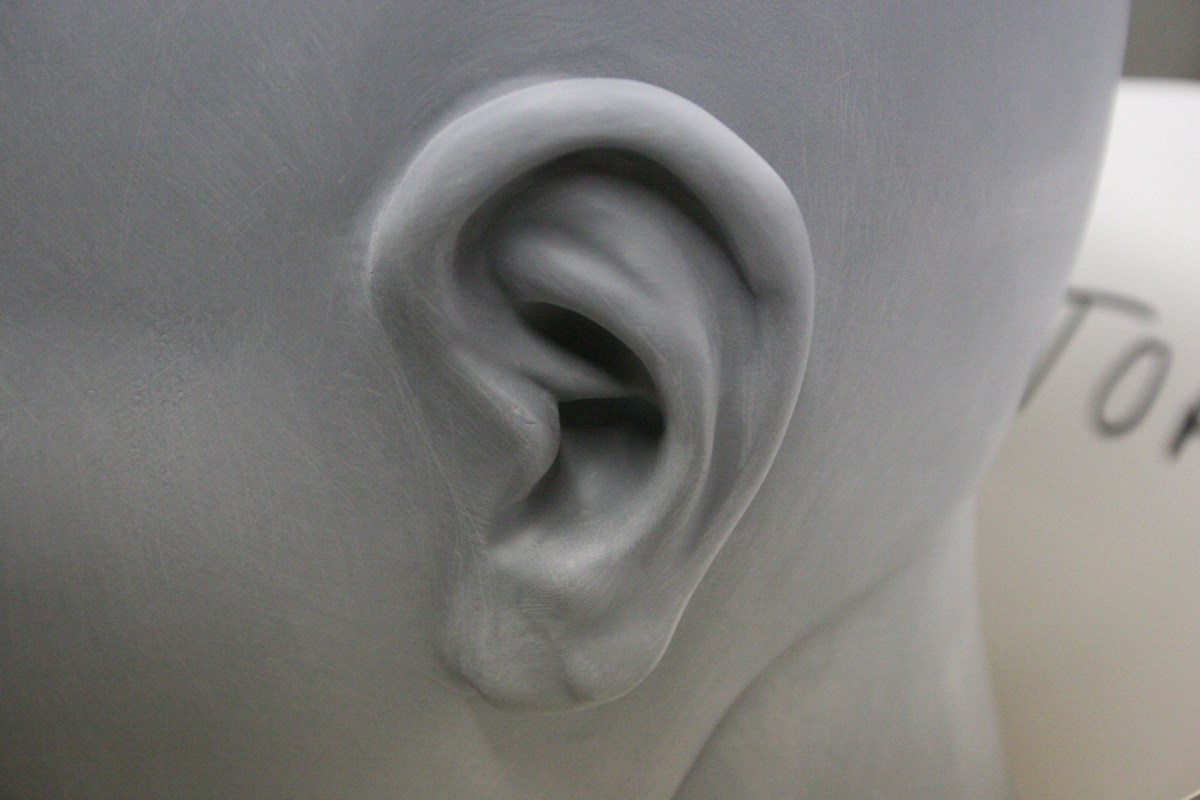
One of the Ears on the Original Primed Head Pattern
-
-
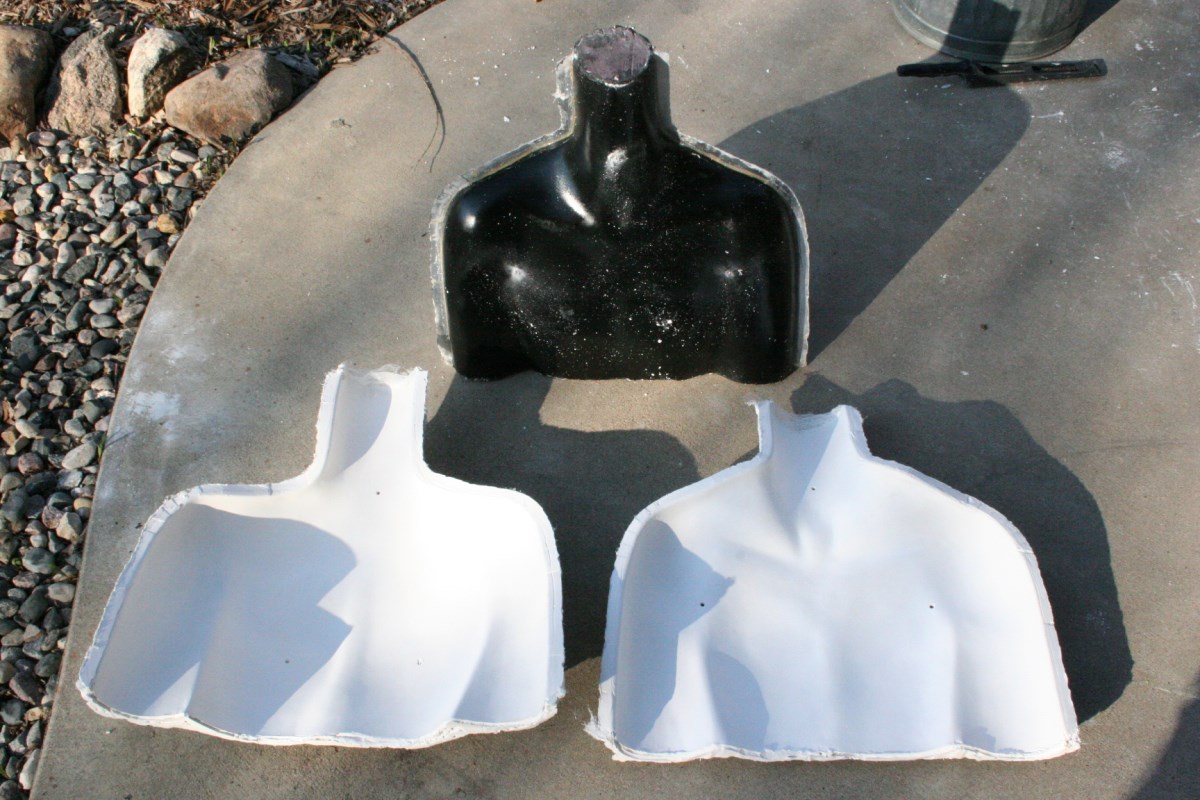
Original Foam Pattern Used to Make Single-Use Intermediate Fiberglass Mold
-
-
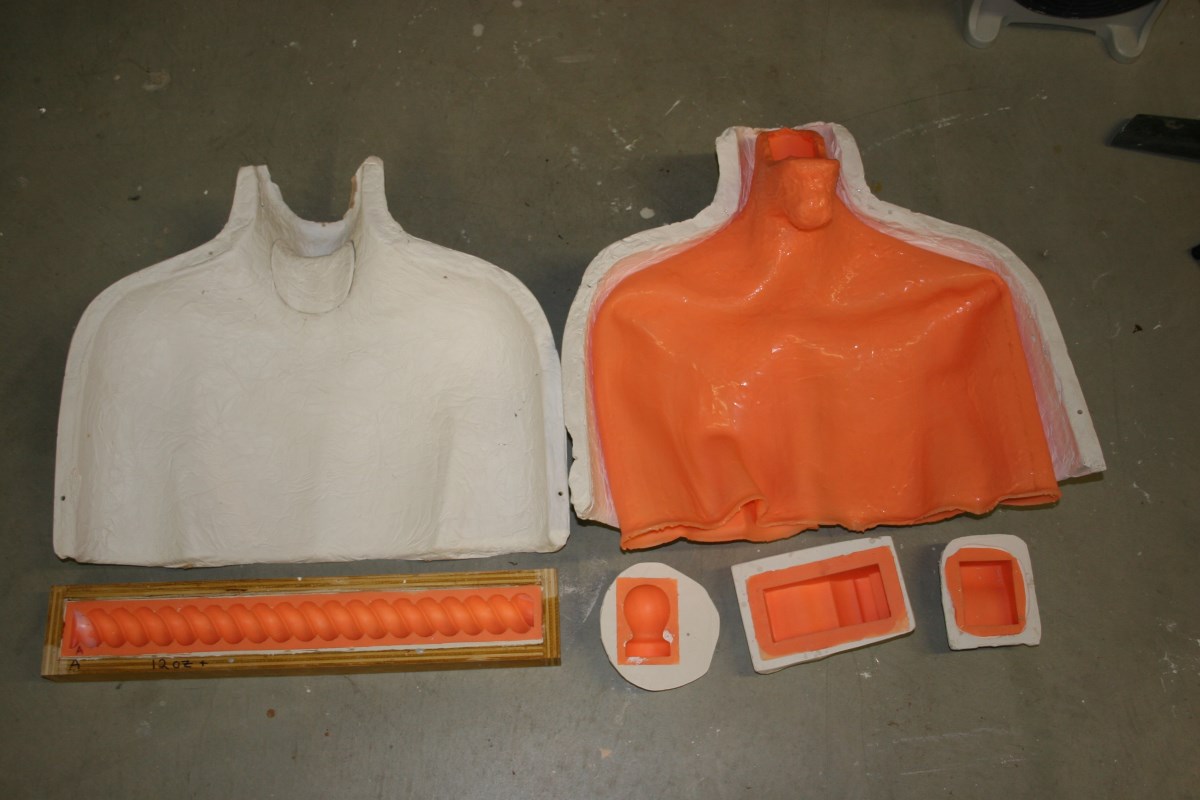
Rebound 25 Silicone Molds With Plaster Mother Molds
-

-
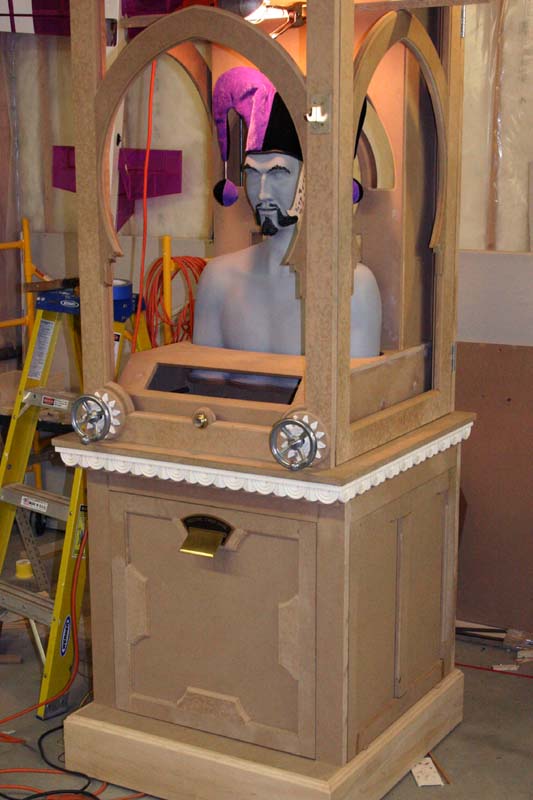
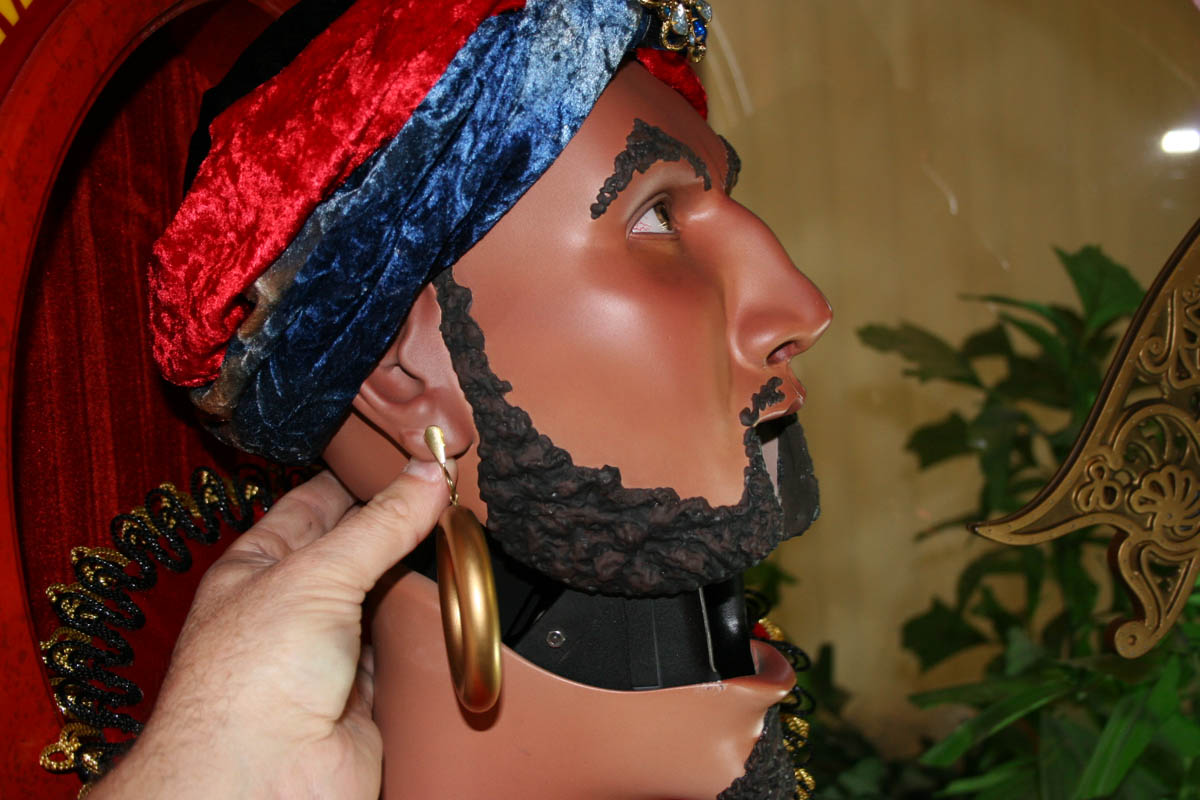
Chin and Lower Lip are Integral Part of the Torso – the Head Tilts to Open the Mouth
-
-
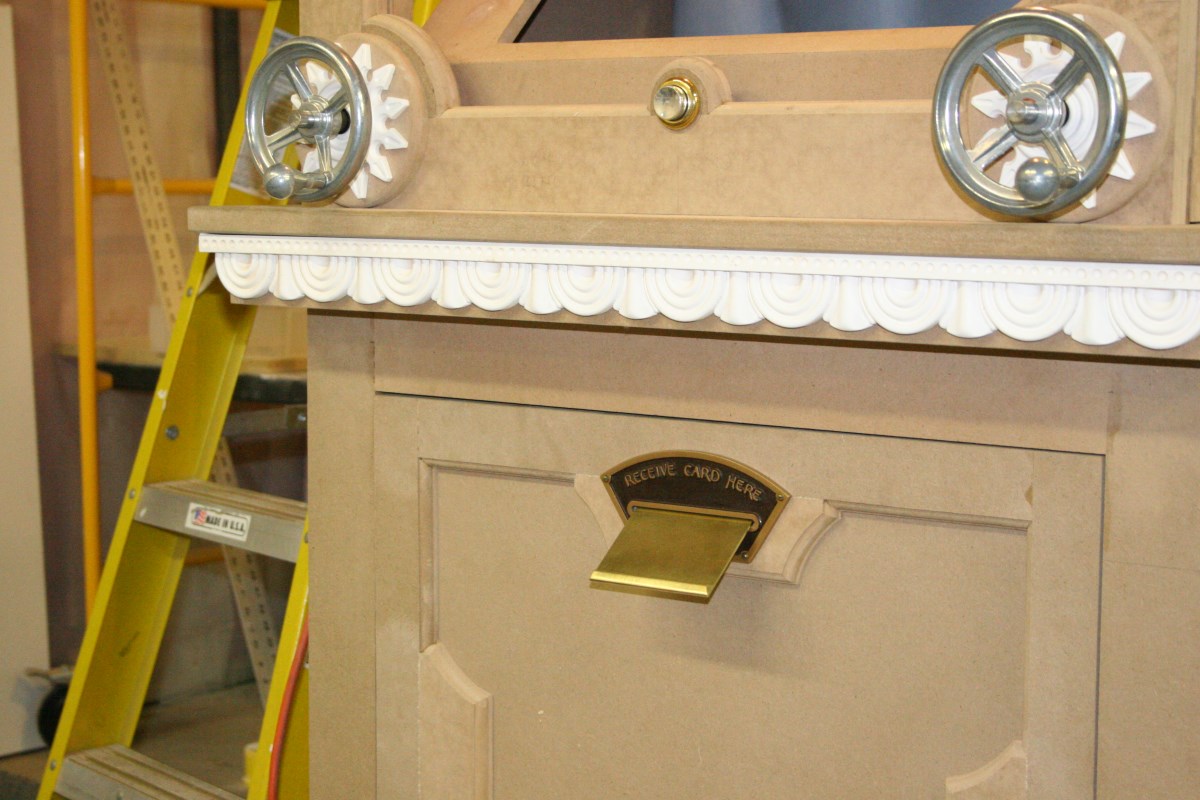
MDF Cabinet Material is Stable, Smooth, But Dusty
-
-
Cabinet Under Construction With White Gel-Coat Resin Trim Pieces
-
-
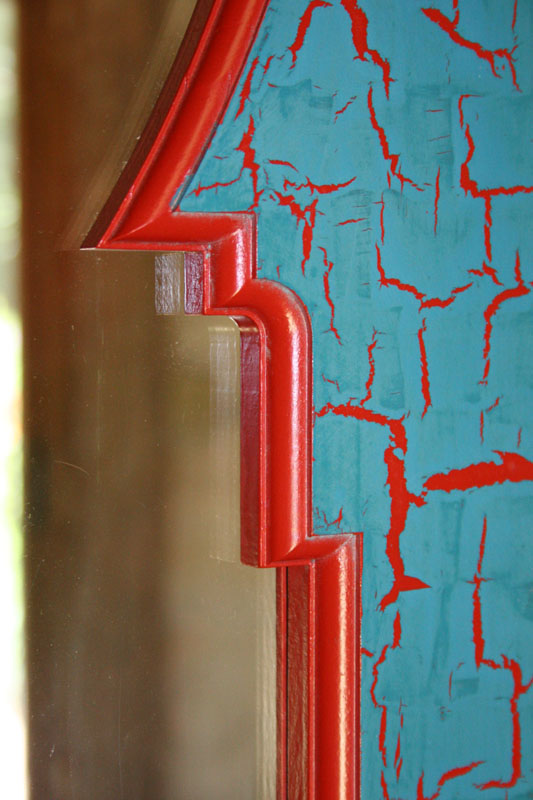
Detail of Front and Door Trim – The Sharp Inside Corners Required Special Construction Techniques
-
-
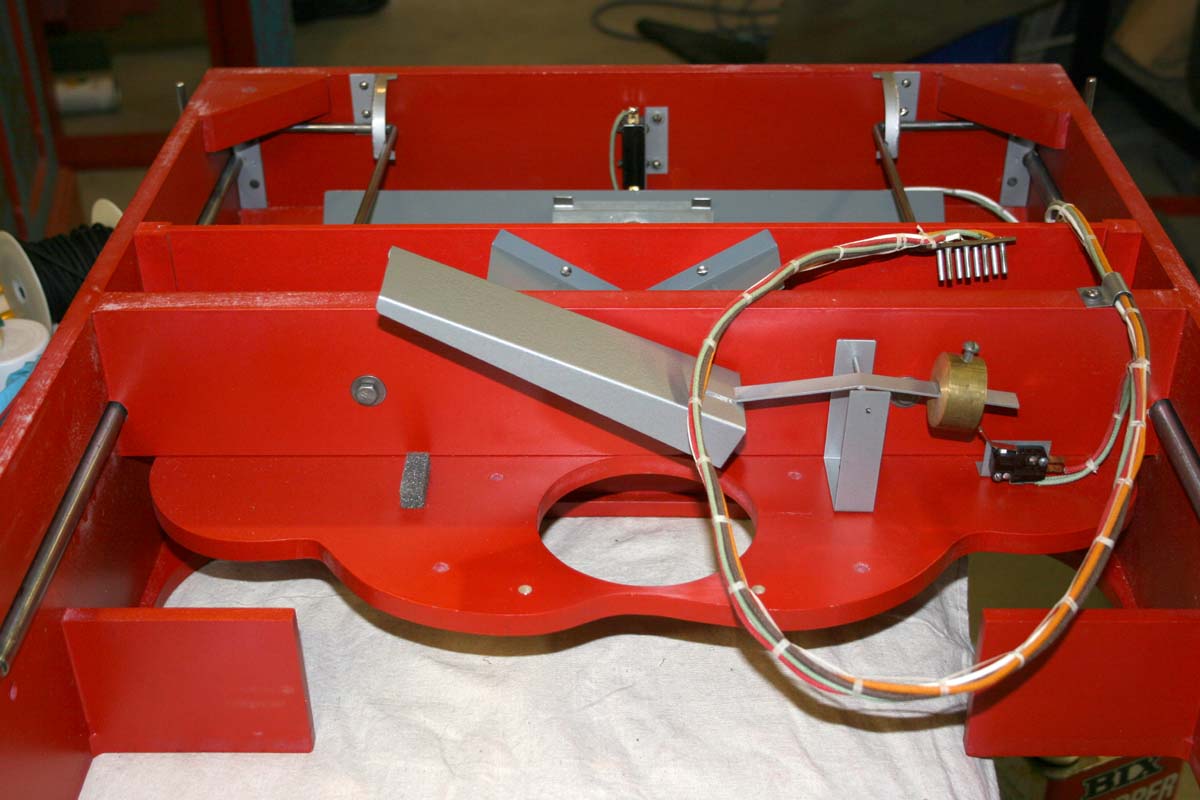
Table Bottom – Foreground Platform Supports Torso & Allows Coins to Pass
-
-
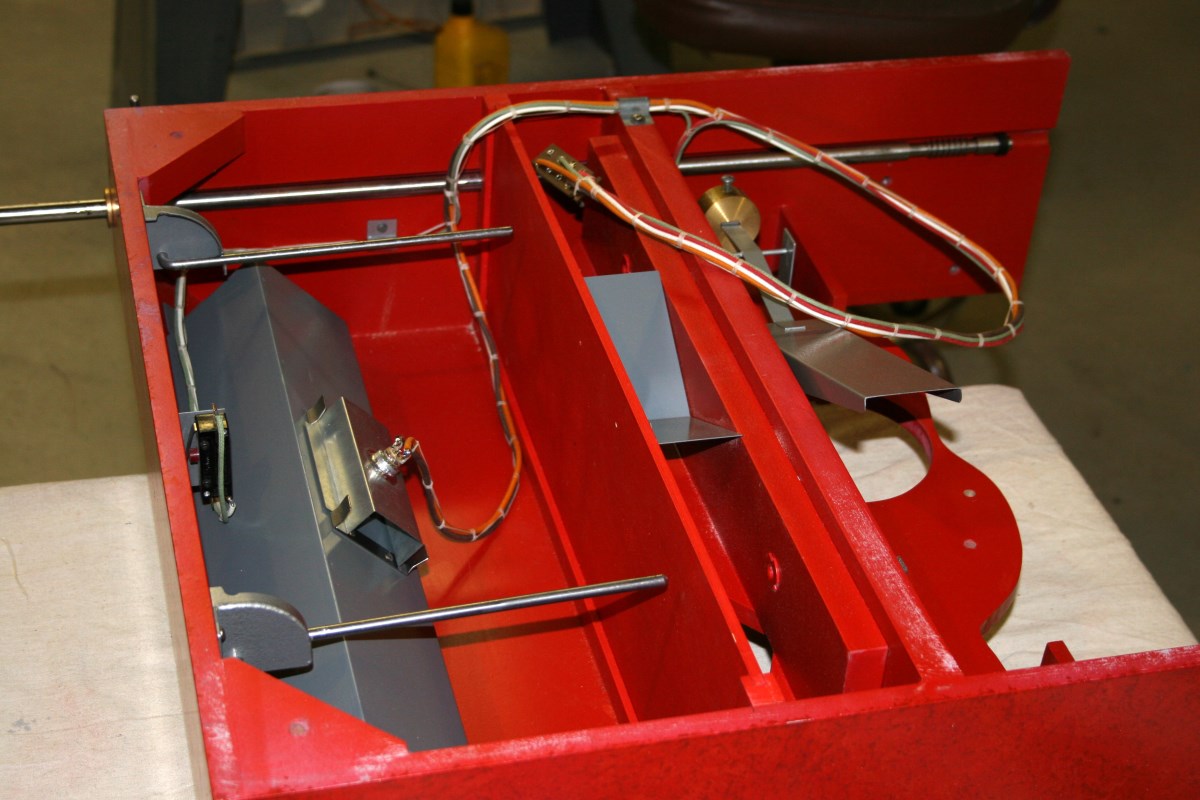
The Counterweighted Tray on the Right Catches the Coin and Triggers a Switch
-
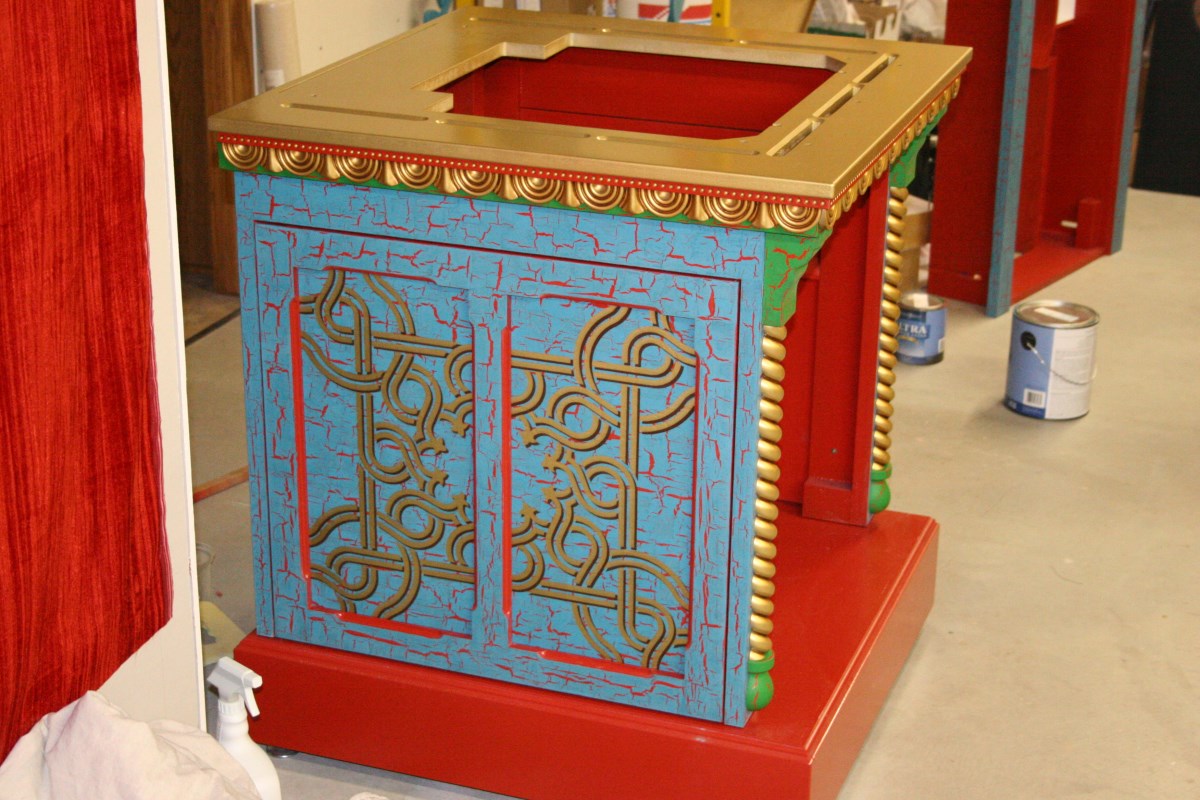
-
Note the Perimeter Slots To Allow Coins to Drain Into Base
-
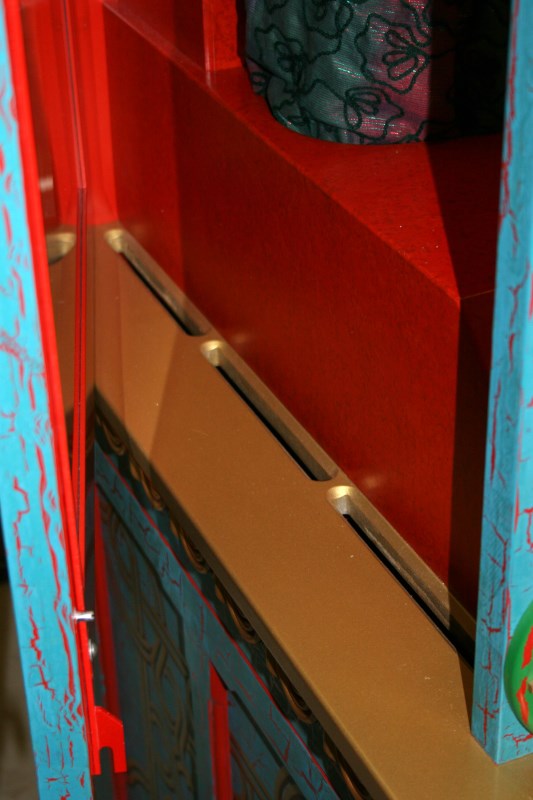
-
Coin Drain Slots Surround the Table to Pass Most, But Not All Losing Coins
-
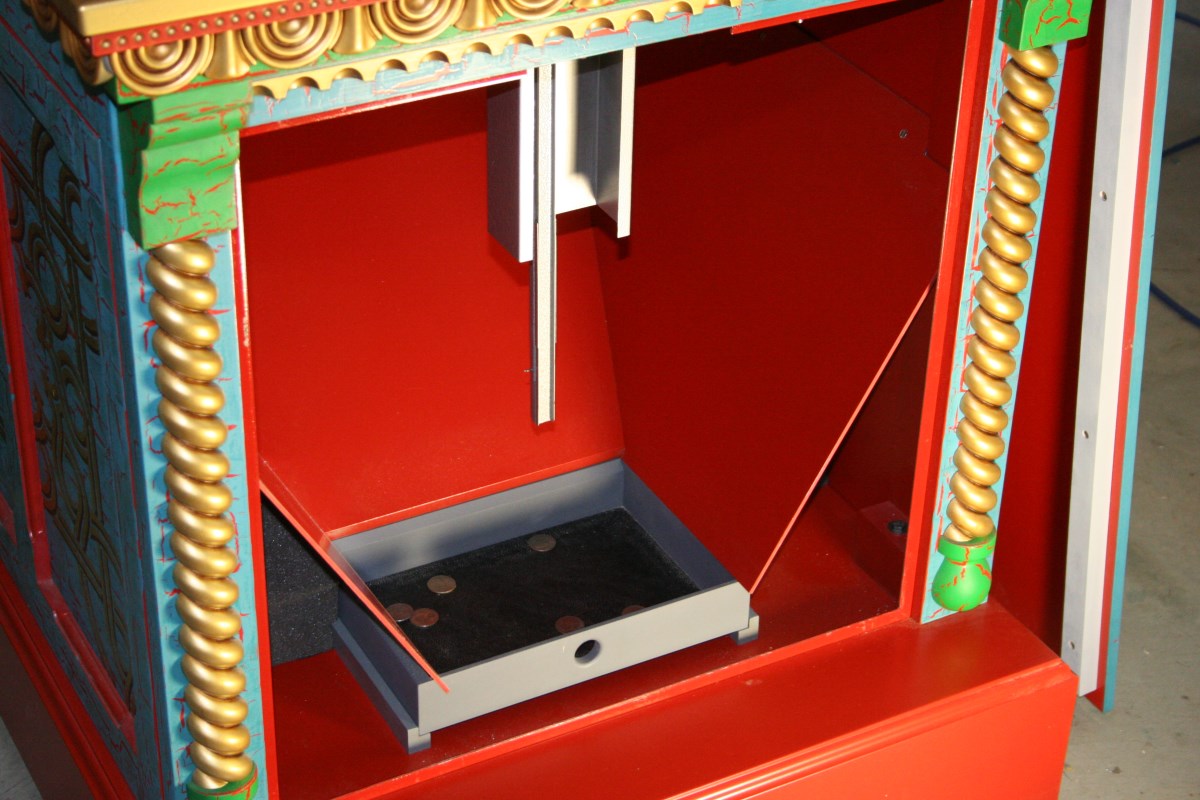
-
Sloped Panels Funnel Coins Into Removable Coin Tray
-
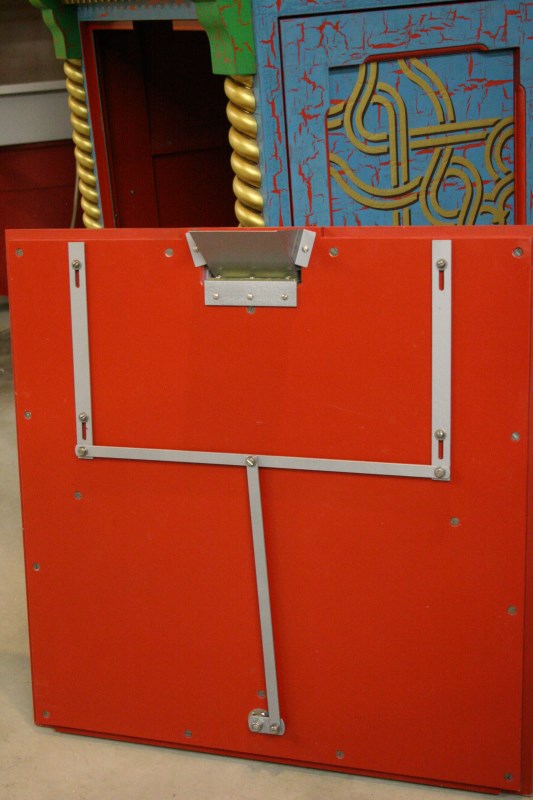
-
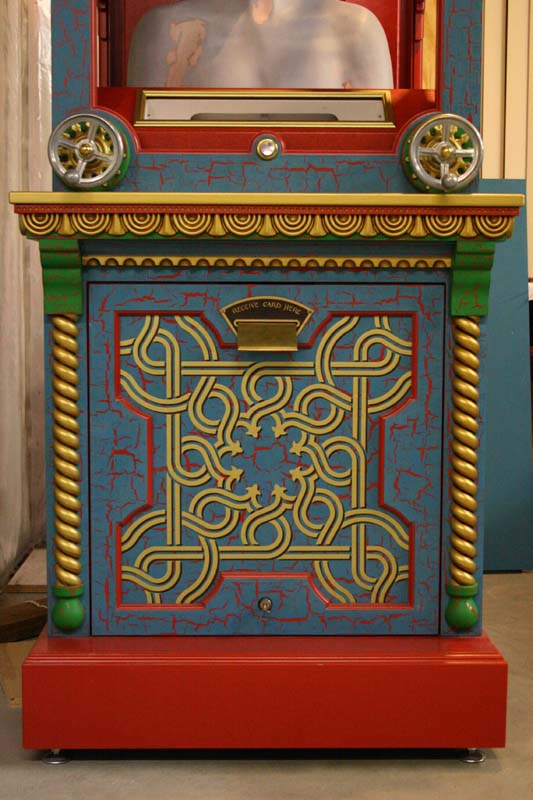
Locking Mechanism on Back Side of Lower Front Panel – Card Ejection Funnel is at the Top
-
-
Temporary Wood Ramp Used to Test Coin Launching Trajectories
-
-
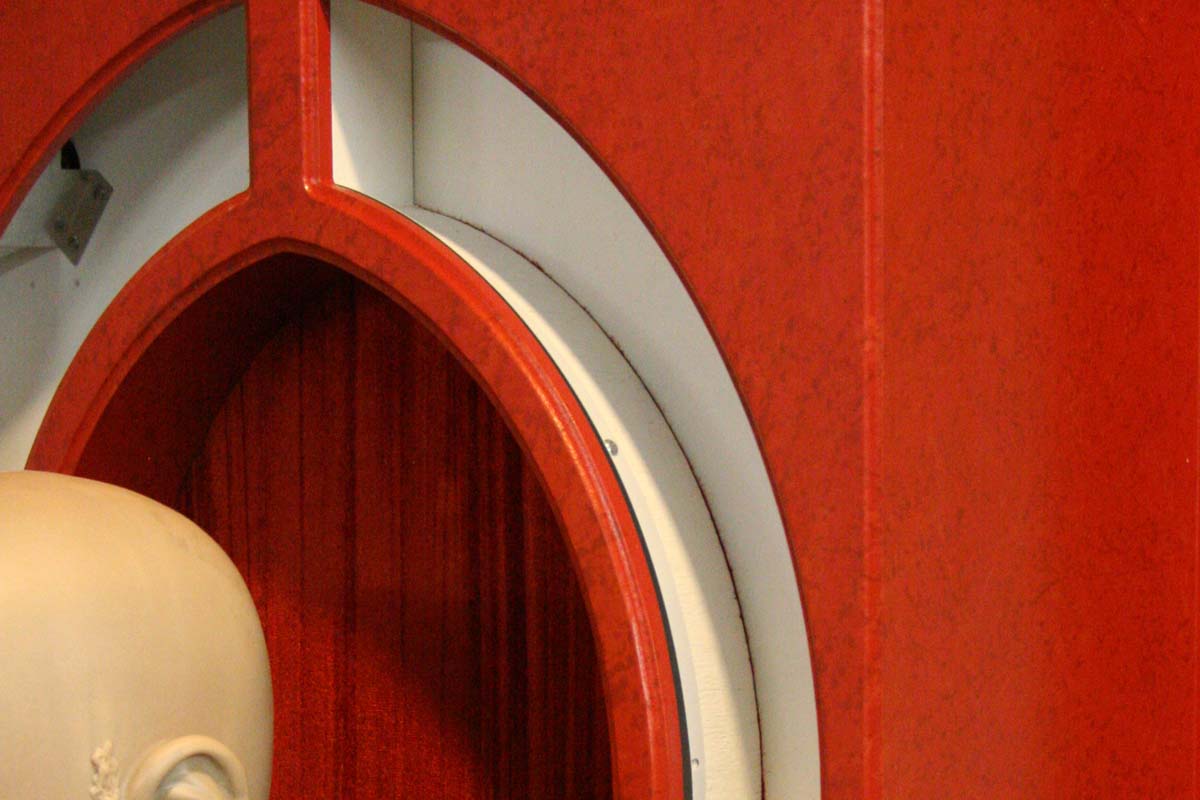
Removable Front Panel Locked in Place
-
-
Lightboxes for Annunciator Panel Backlights
-
-
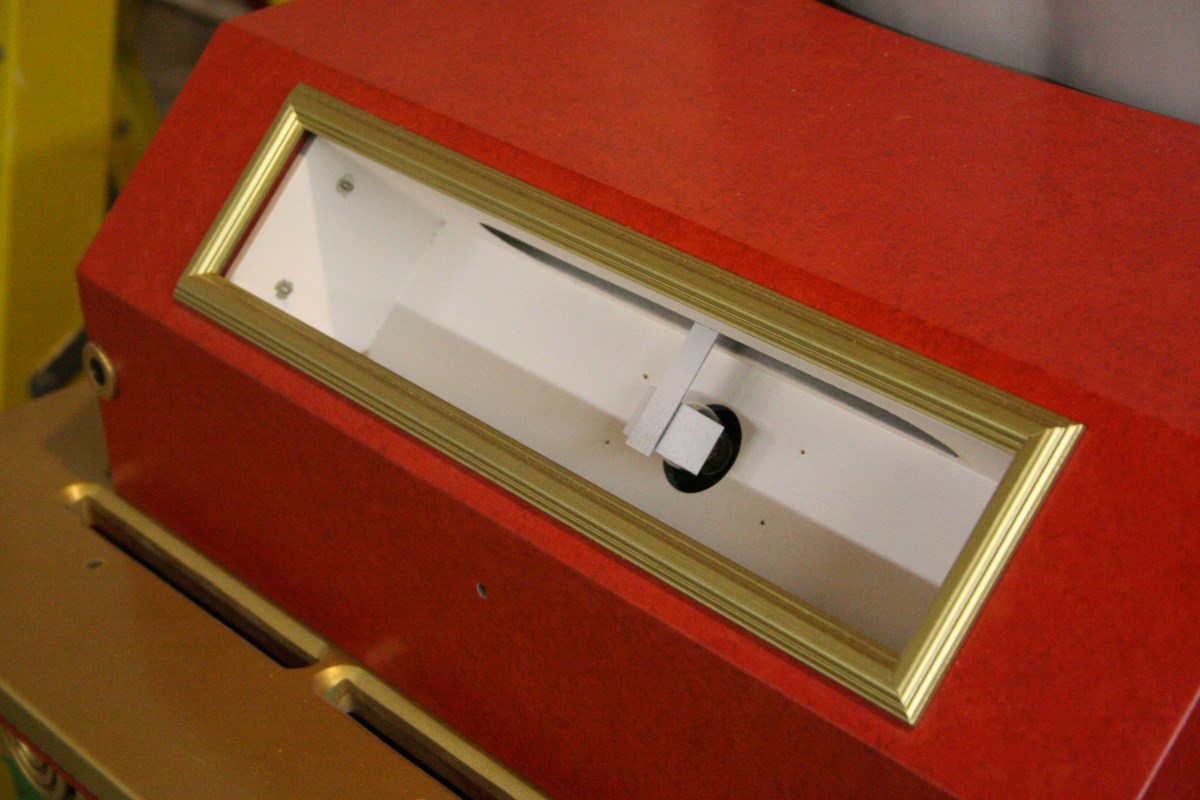
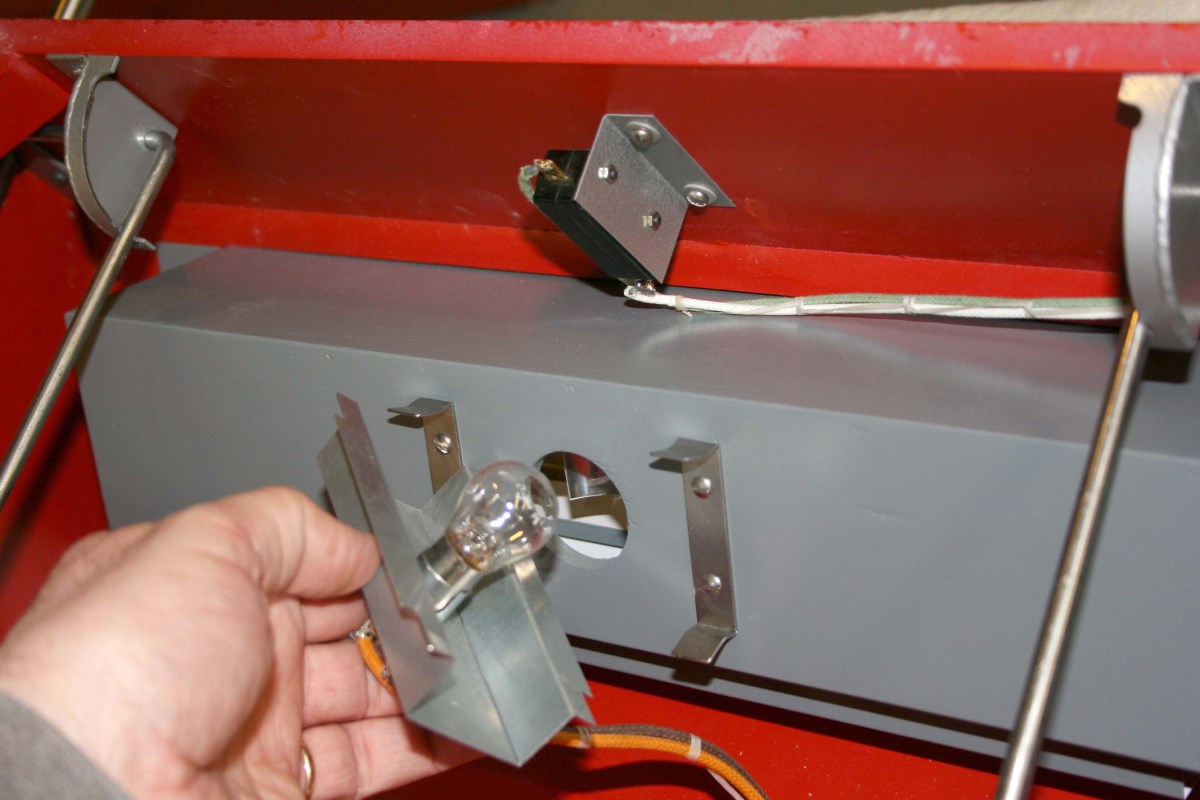
The Table Light Box – The Metal Shield Over the Bulb Prevents a Backlighting Hot Spot
-
-
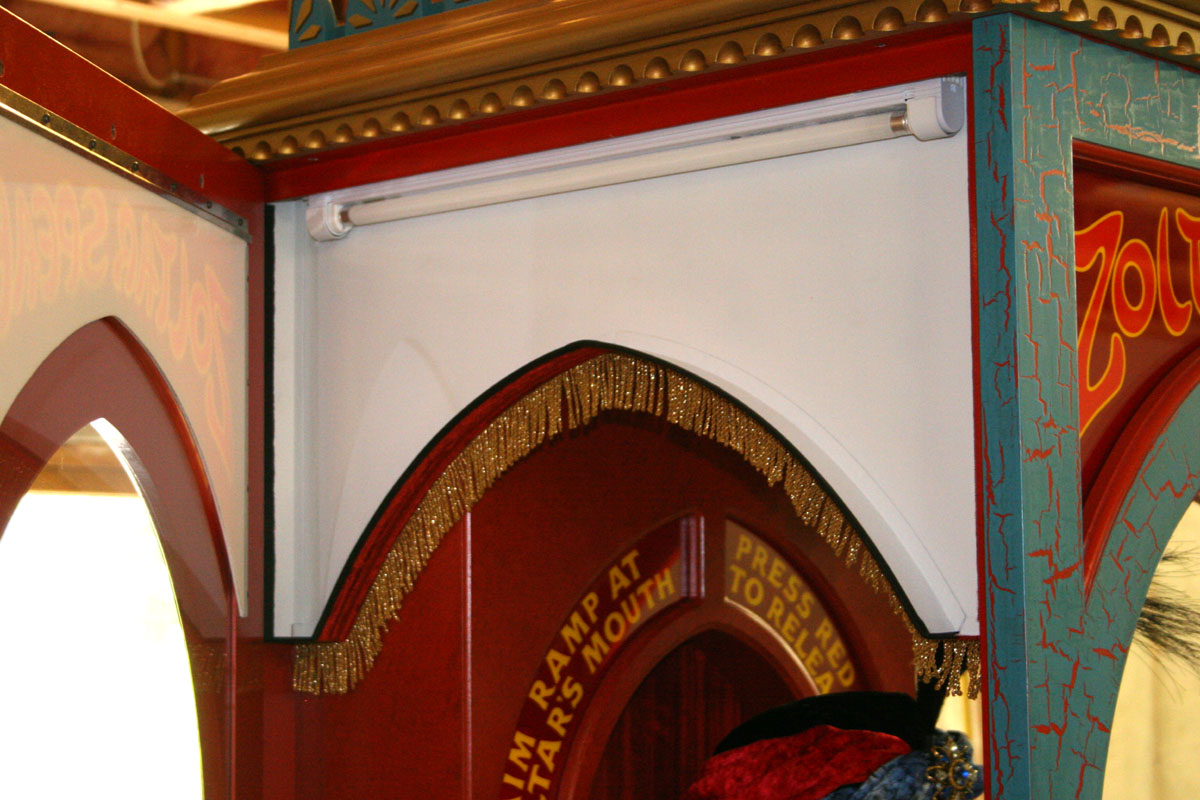
Snap-in Metal Light Bulb Holders
-
-
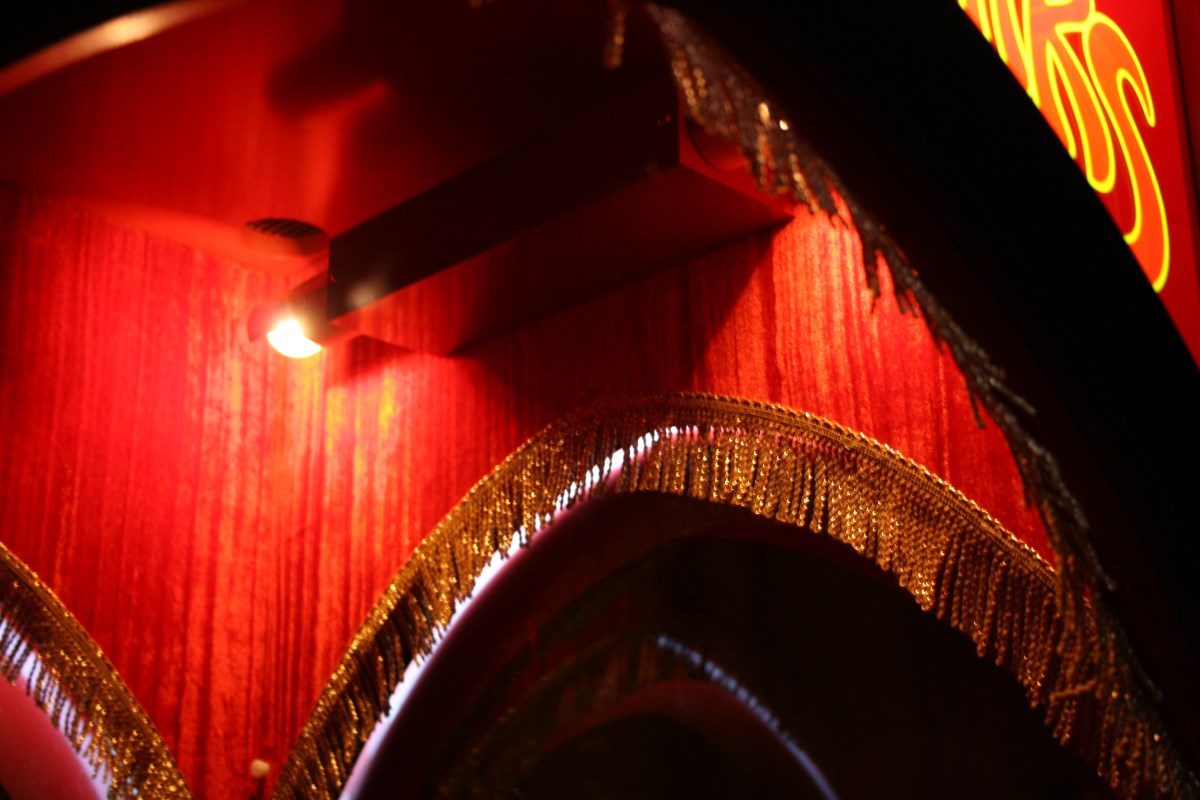
One of Three Separate Light Boxes for Illuminated Panels – These Had to be Added Very Late in the Design
-
-
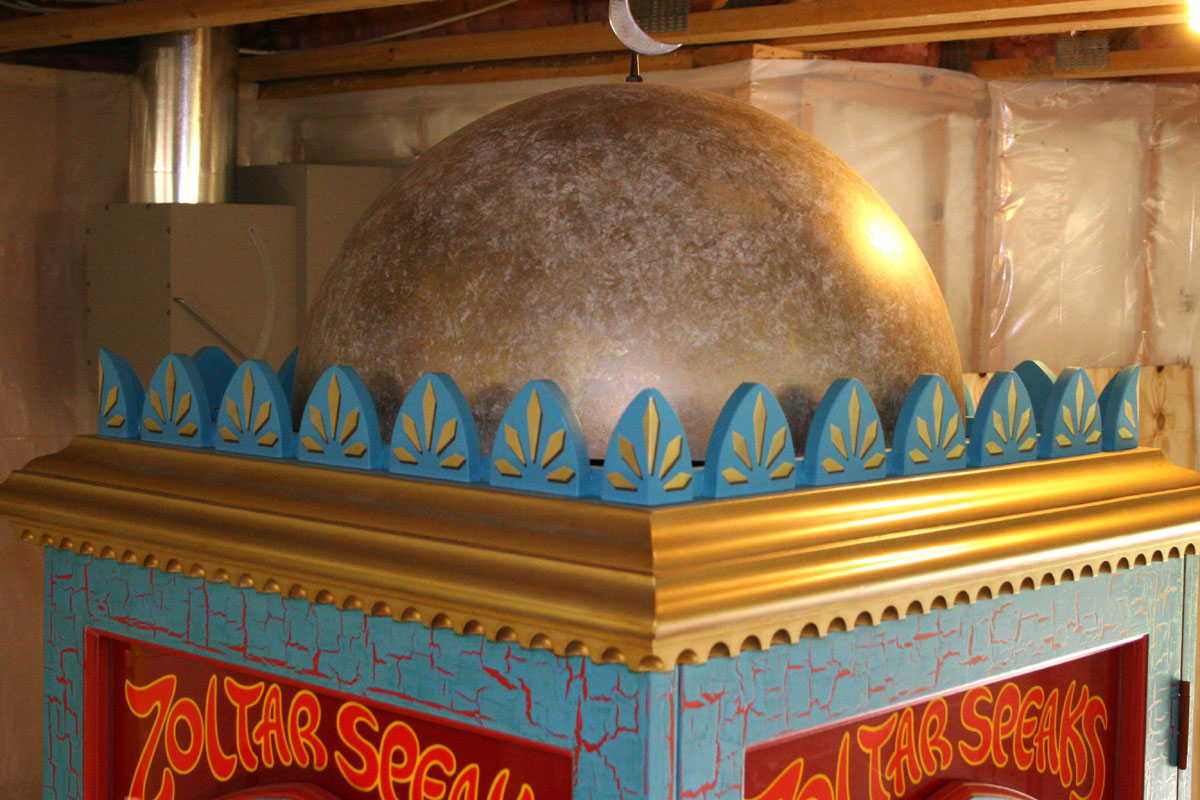
Cabinet Interior Overhead Lighting – Gives Zoltar the Spooky Eye Shadows
-
-
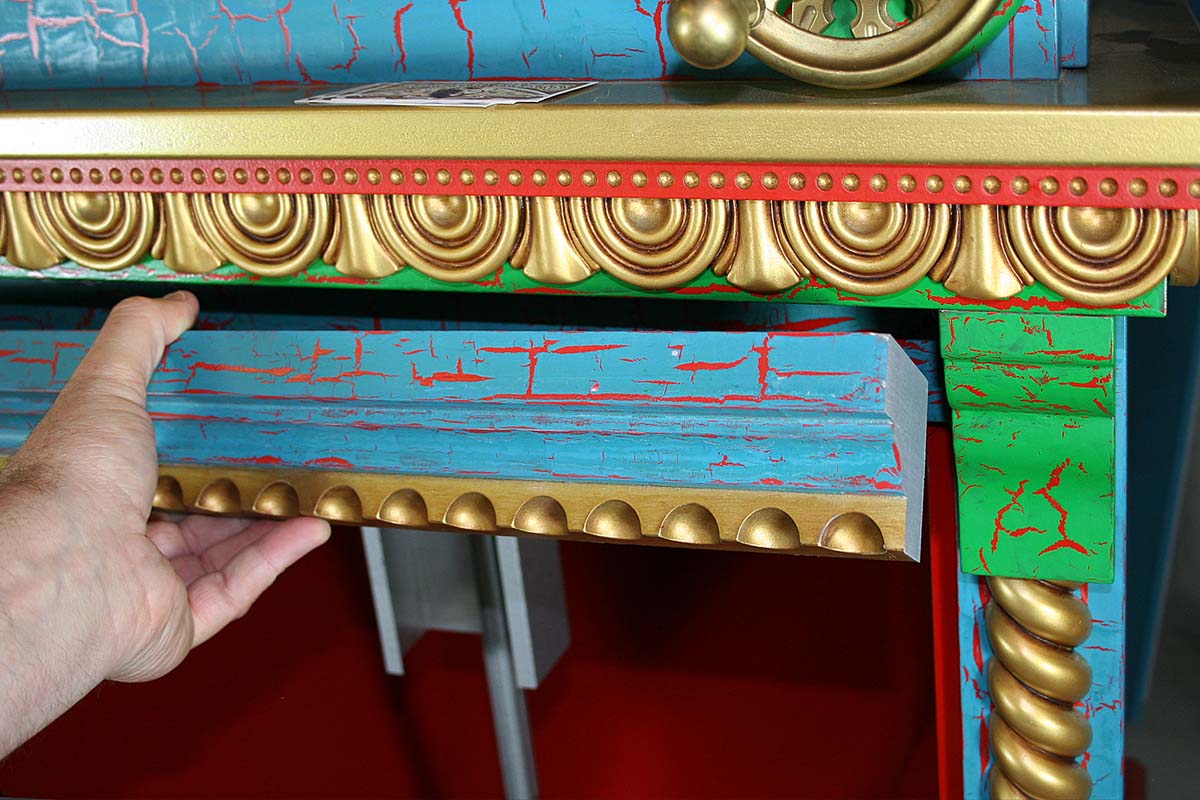
Inverted Cove Molding and Custom Scalloped Trim For Cap
-
-
There is an Order of Assembly That I Needed to Write Down to Remember. This Thing Is a Puzzle.
-
-
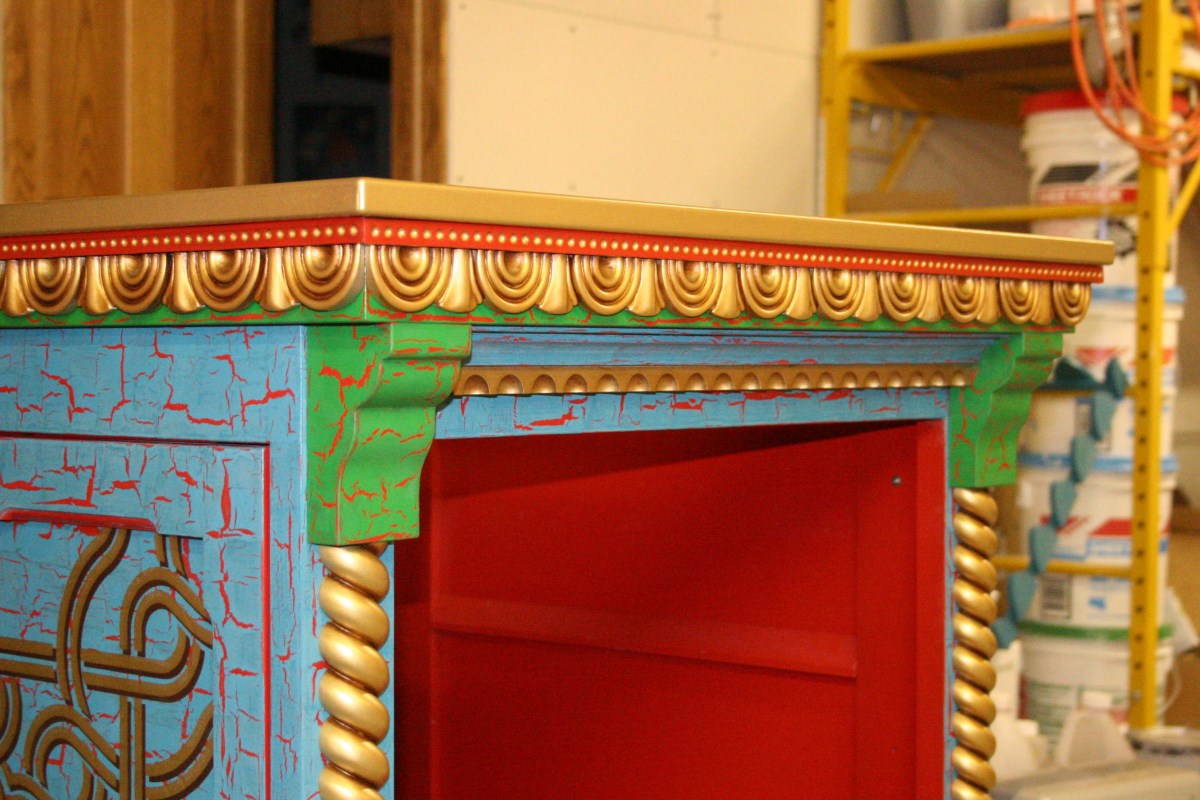
Closeup of Trim Details – These Are Best Guesses and Are Probably Quite Different from the Original Prop
-
-
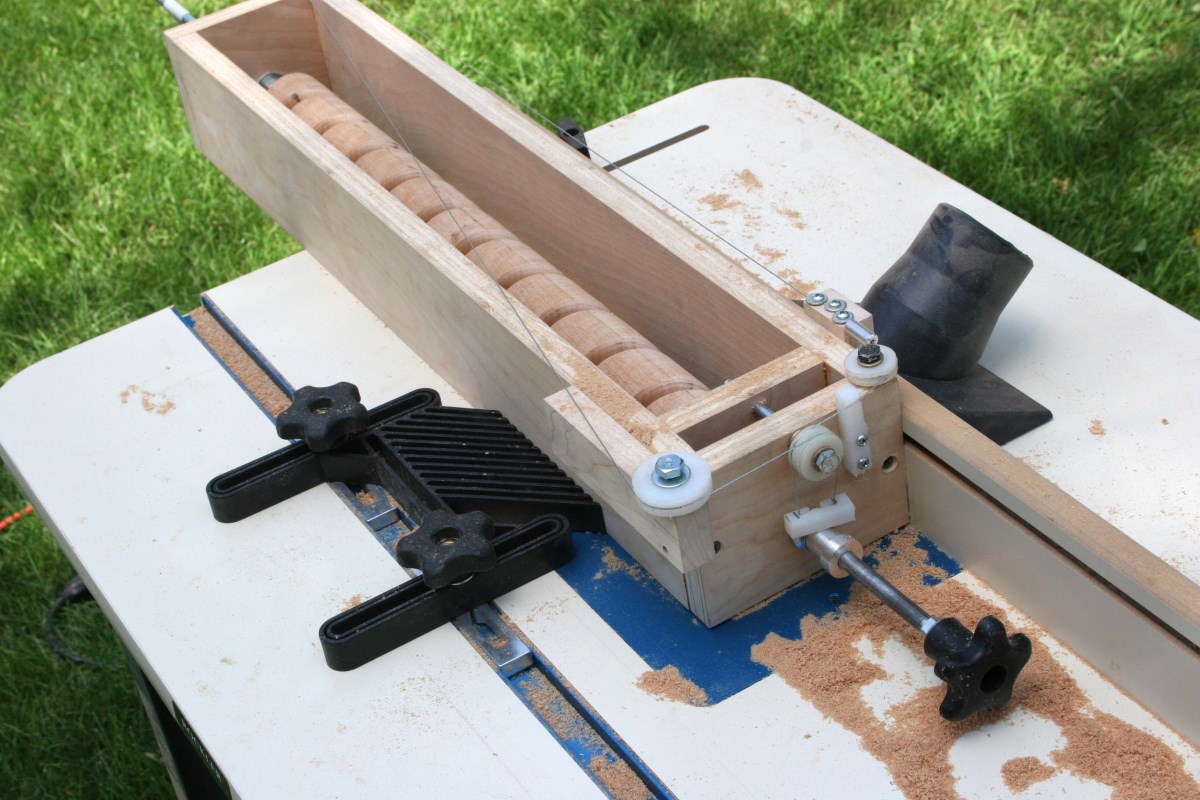
Hastily Created Jig For Routing Spiral Trim Patterns. The Wood Blank Rotates as the Jig Slides Along Fence
-
-
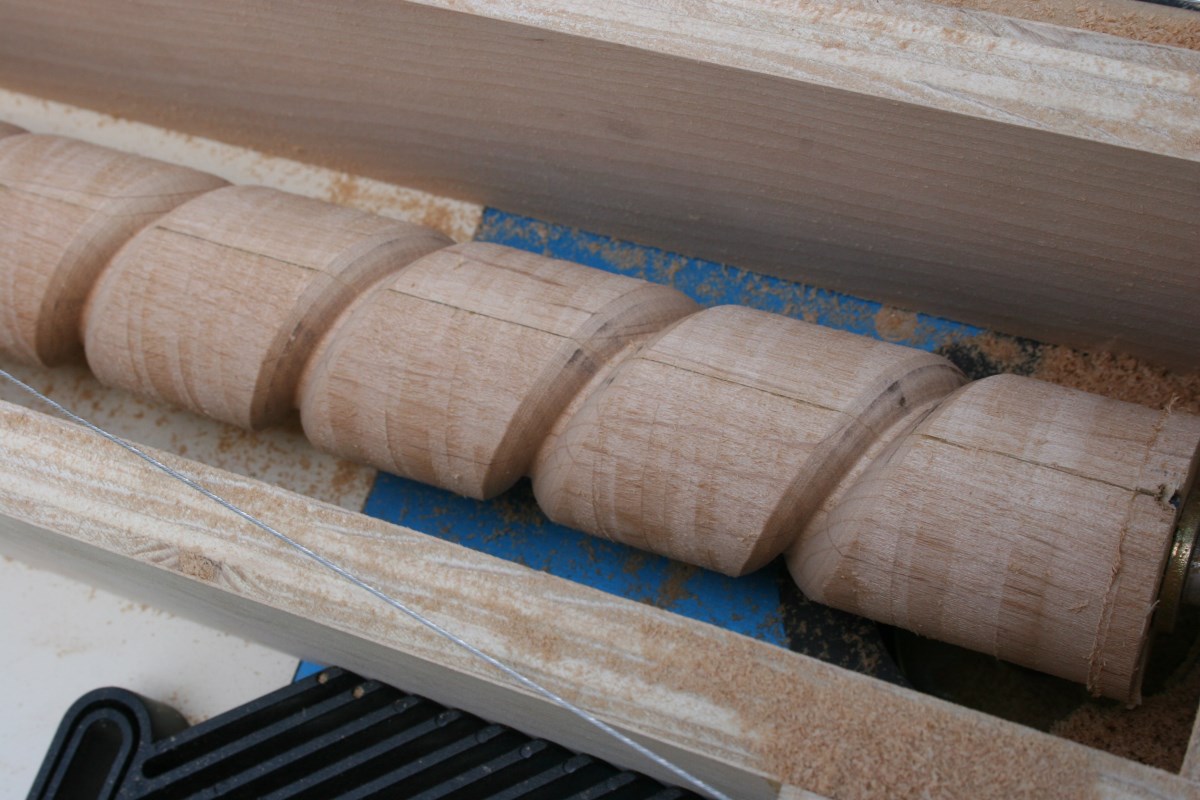
Each Pass Would Cut the Grooves Deeper. The Router Bit Was Hand-Ground to Profile
-
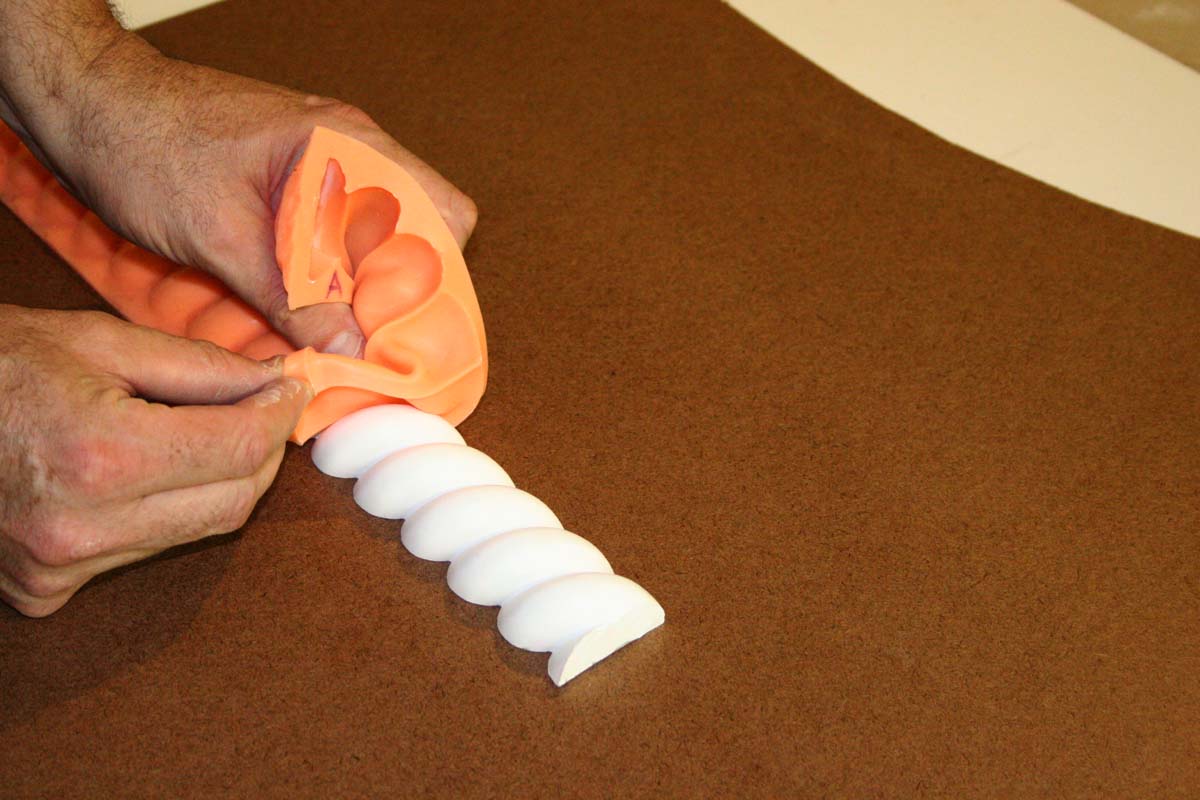
-
Resin Casting Made From Wood Original
-
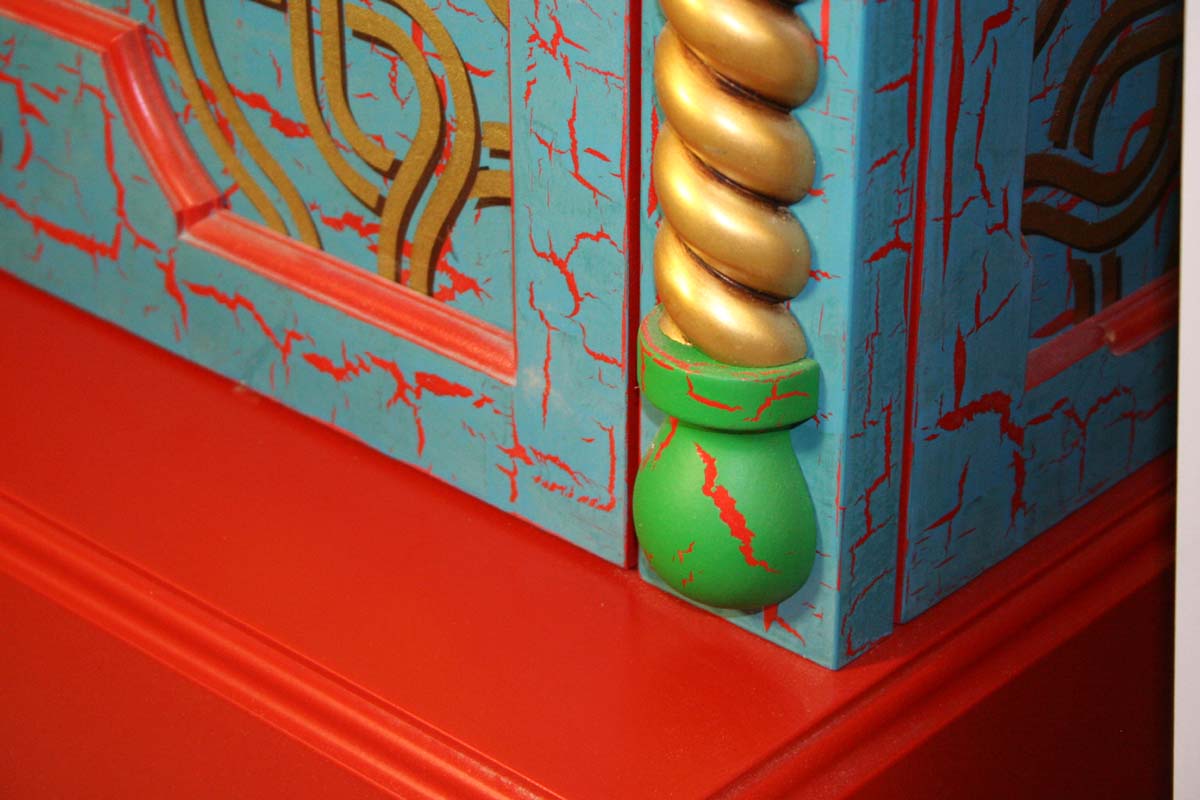
-
The End Cap for the Spiral Was a Total Guess
-
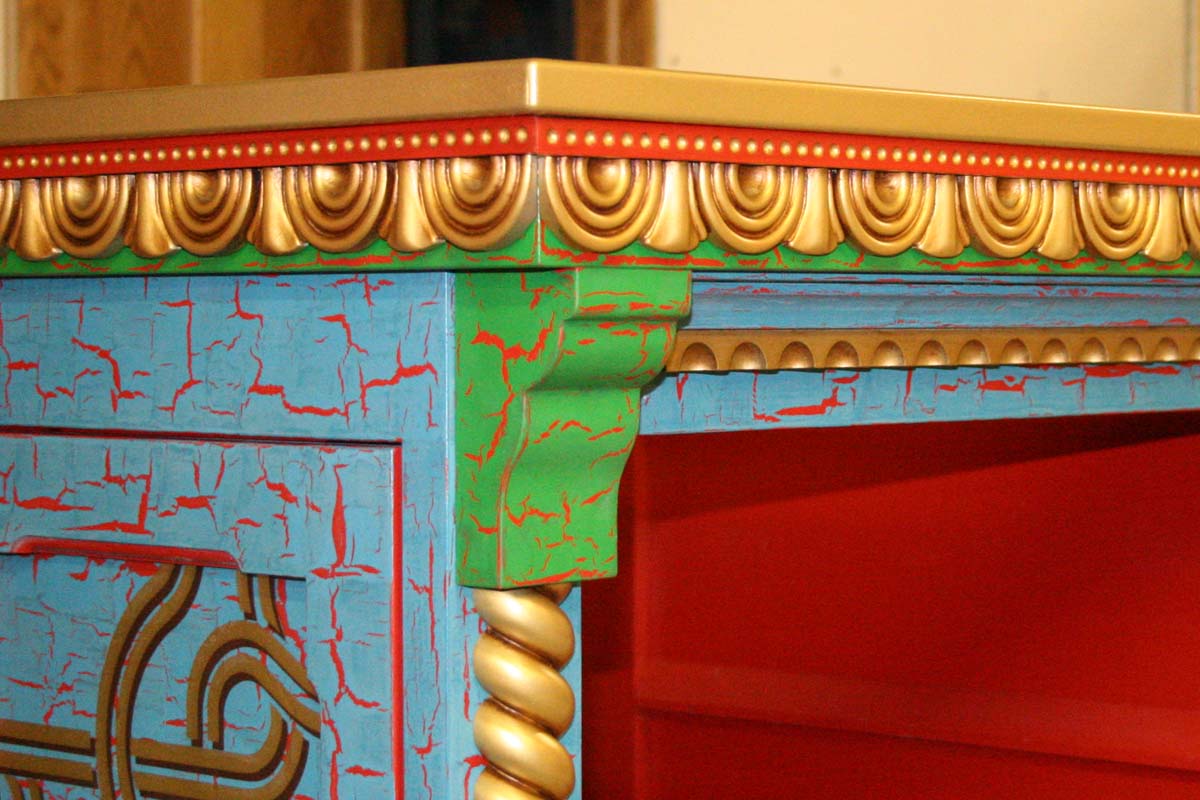
-
As Was This Trim Piece
-
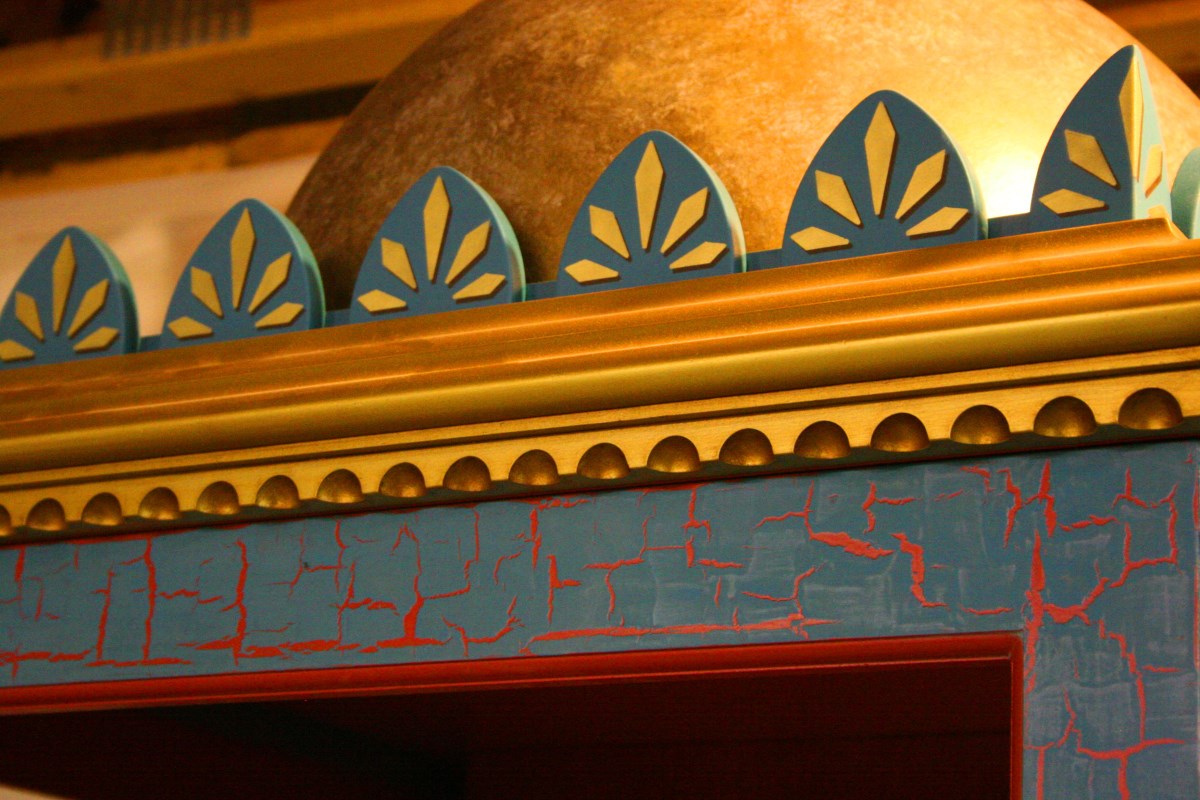
-
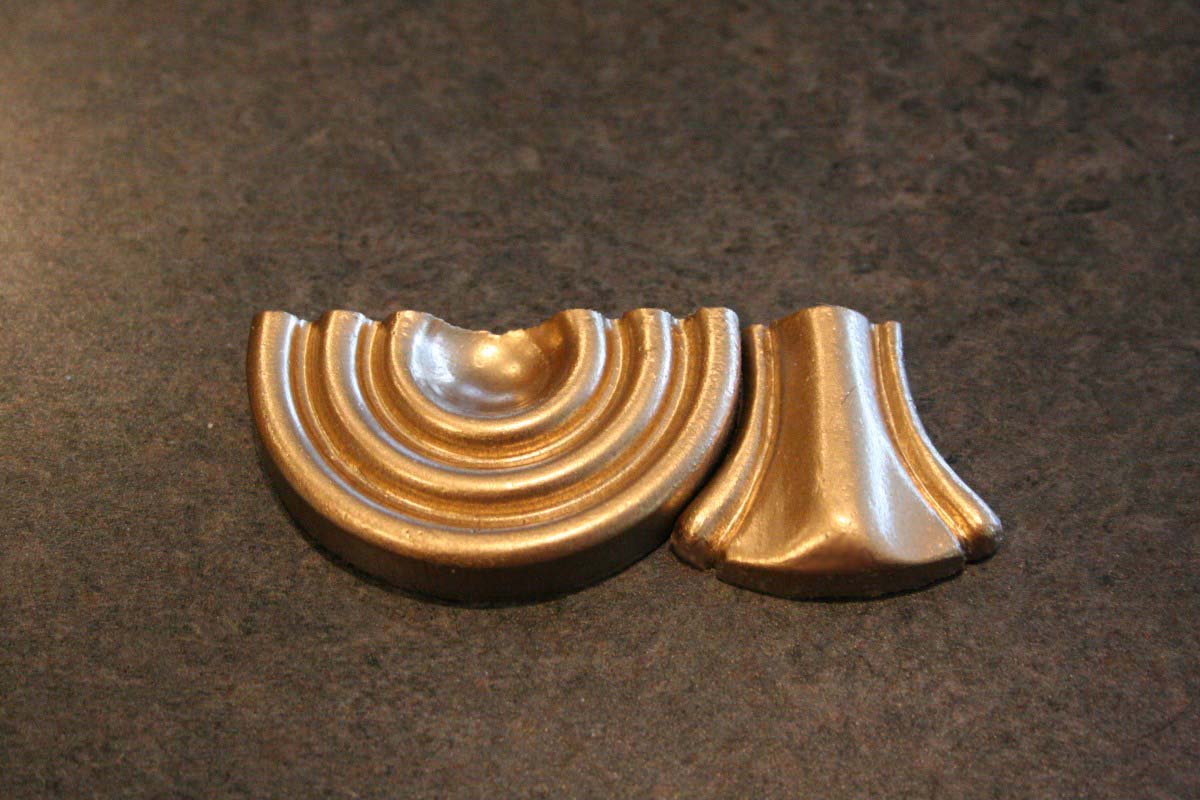
I Received Some Criticism for the Simplistic Pointed Trims. I was Trying to Copy the Original, Even if it Looked a Bit Cheesy
-
-
Plaster Test Pieces – Replicated Multiple Times to Make Full Length Pattern For Final Resin Mold
-
-
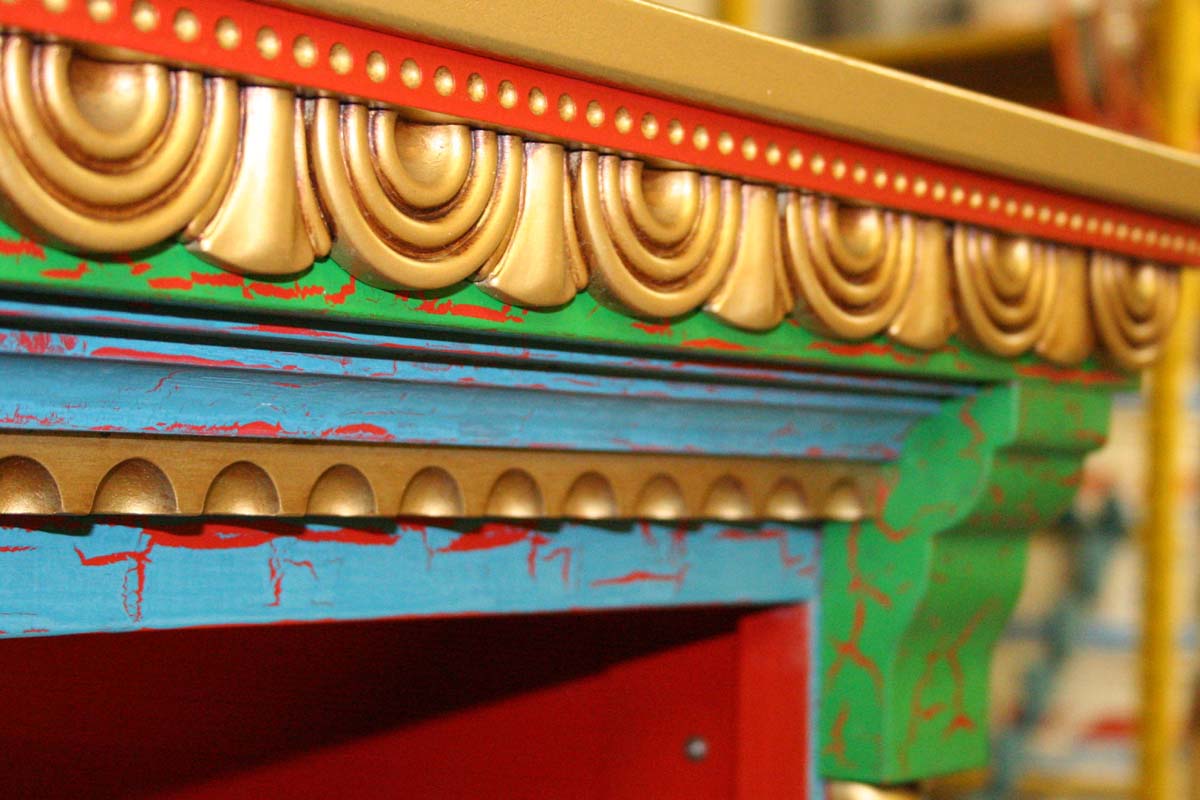
Resin Trim Cast From Pattern Made From Multiple Pieces in Previous Photo
-
-
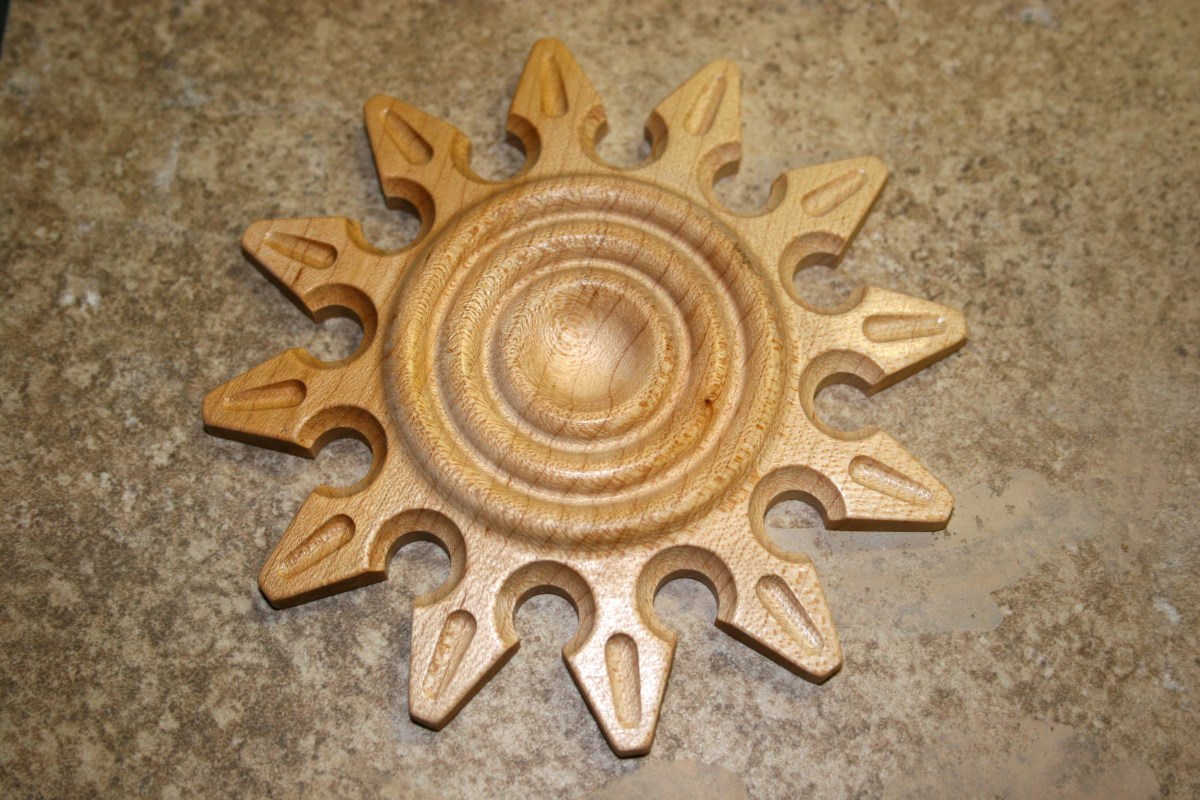
Original Wood Pattern for Hand Wheel Rosettes – Silicone Mold Was Made From This Piece
-
-
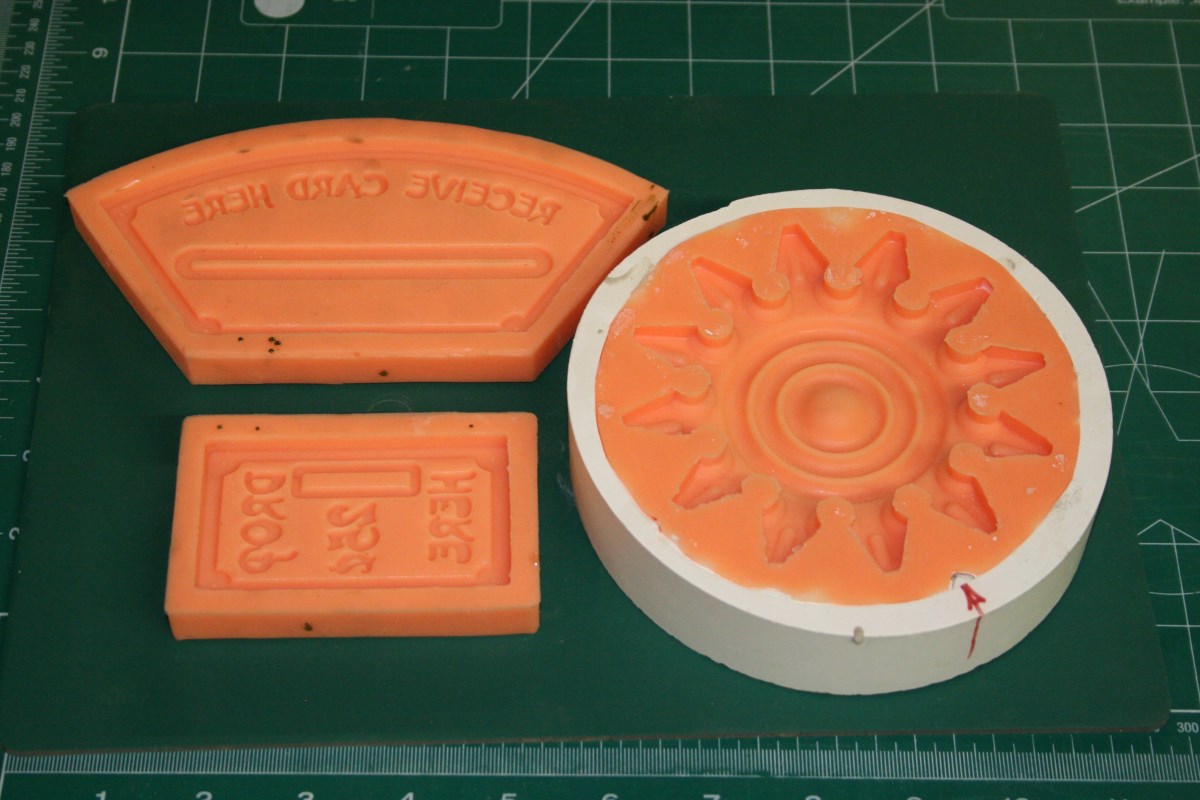
Rosette Trim Mold Along With the Coin Entry and Card Plate Molds
-
-
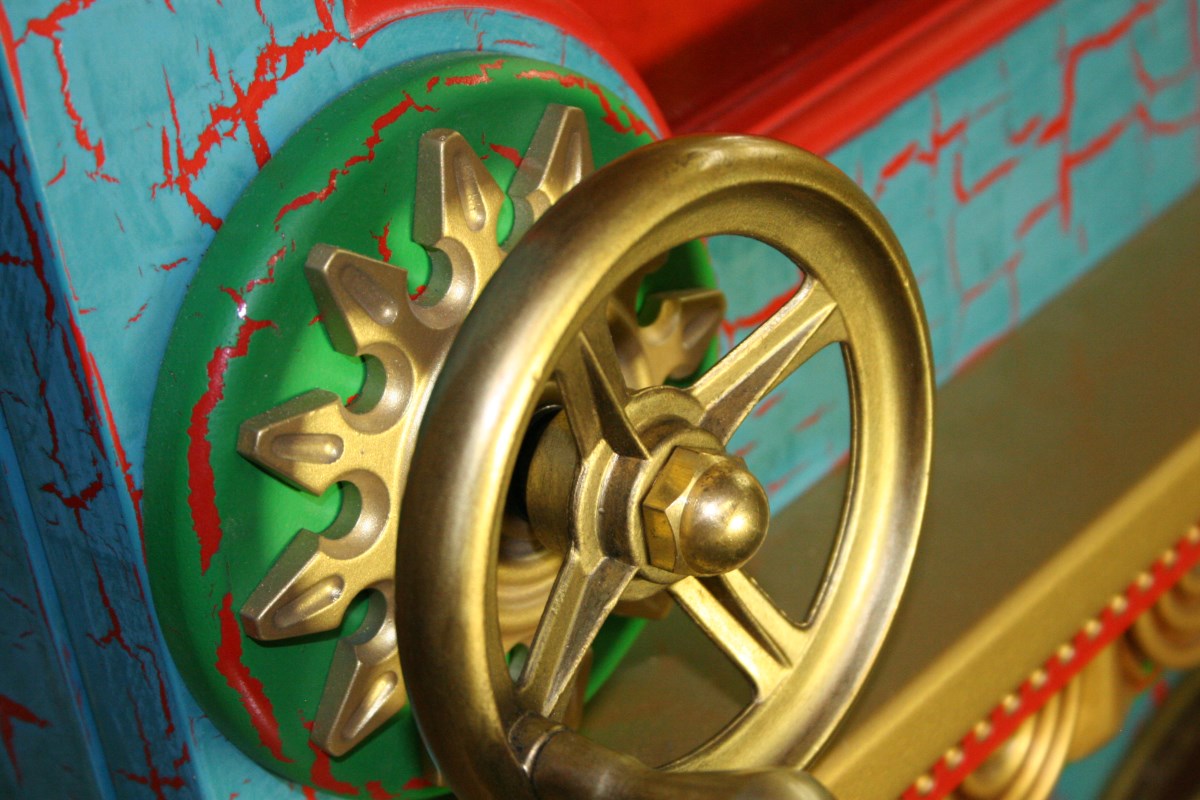
Left Hand Wheel With Rosette Trim
-
-
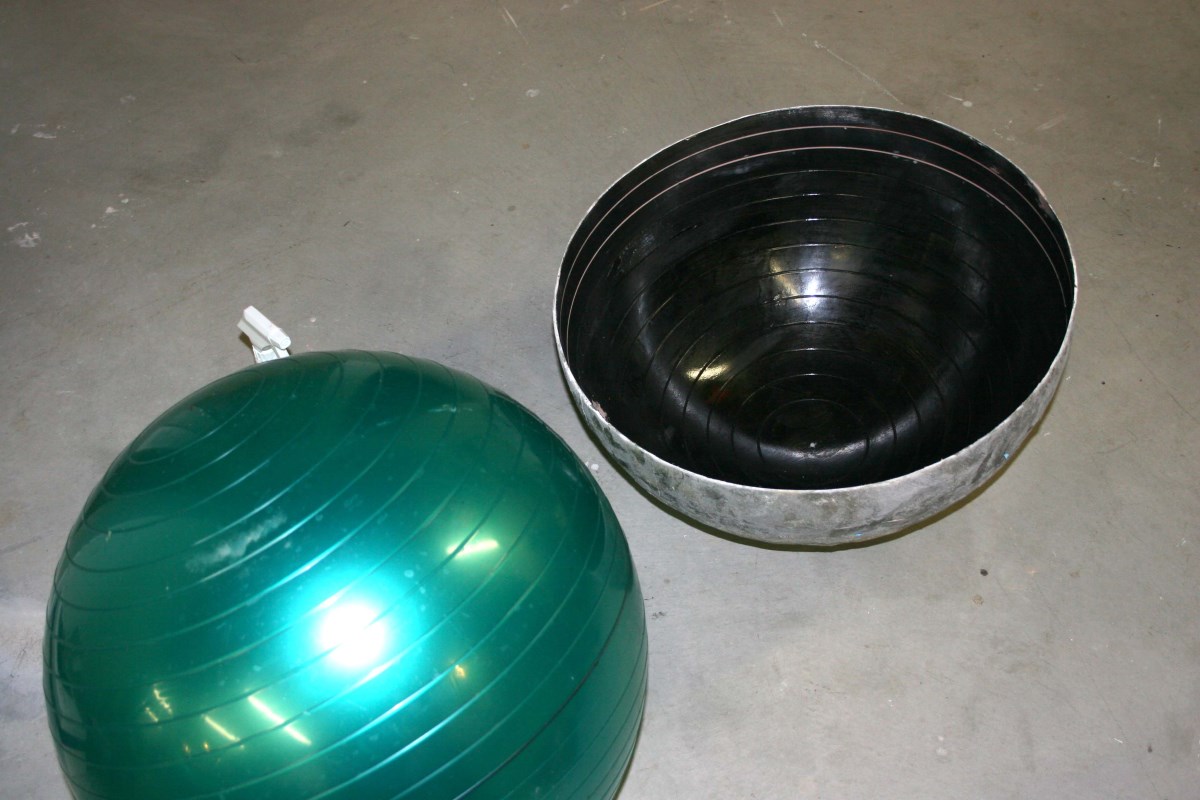
Fiberglass Dome Mold Made Using Exercise Ball Inflated to Correct Size – Ridges Easily Sanded Off Final Casting
-
-
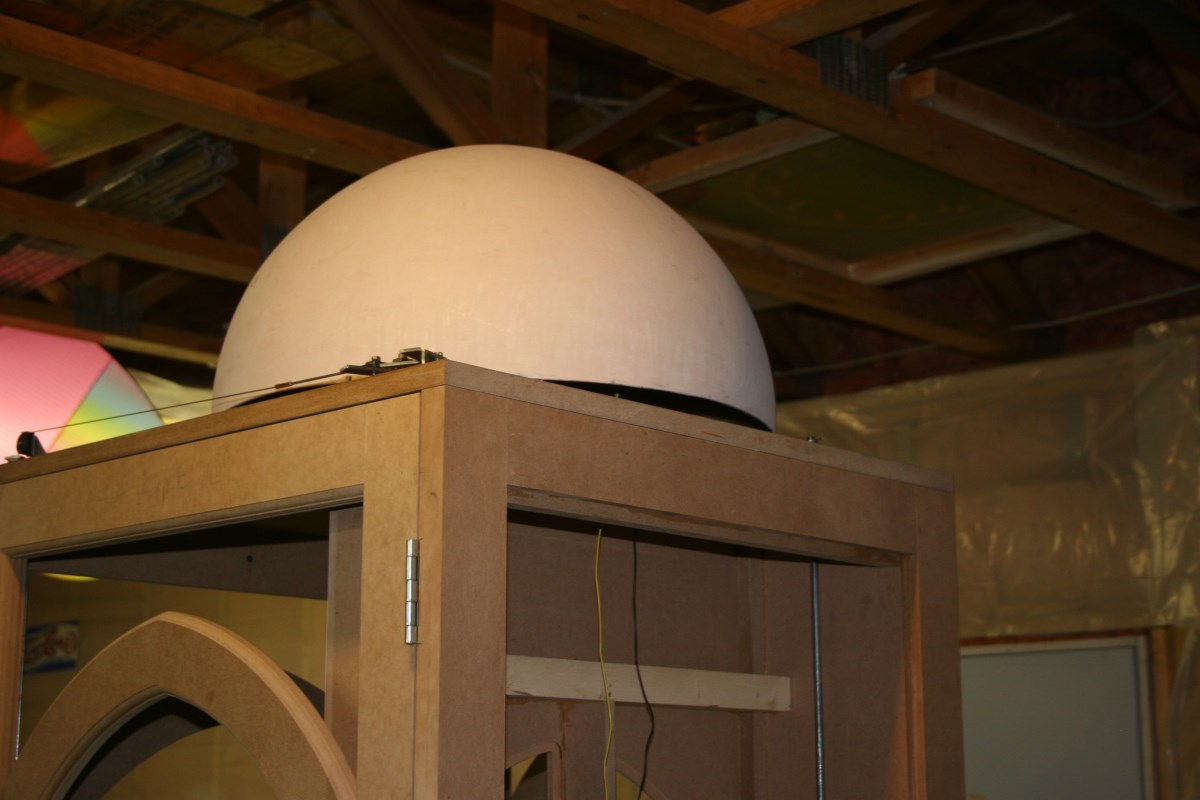
The Cast Dome is Checked for Fit and Appearance
-
-
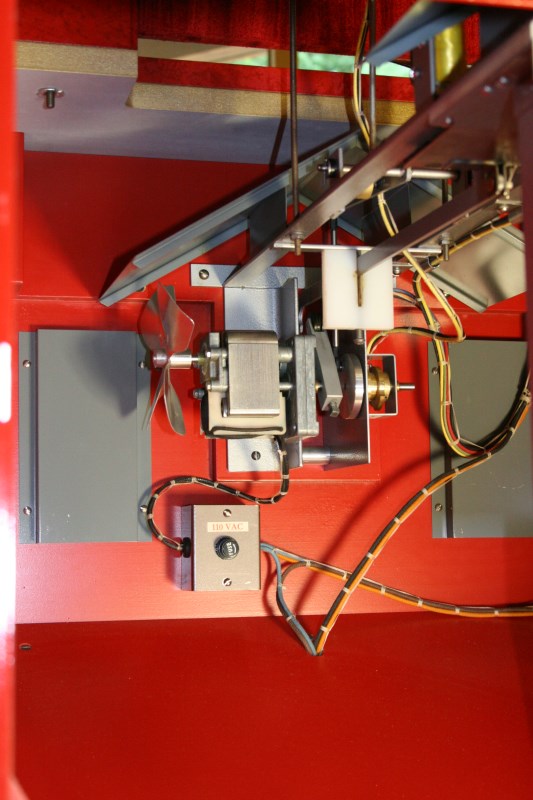
Lower Cabinet Mechanism Fully Assembled
-
-
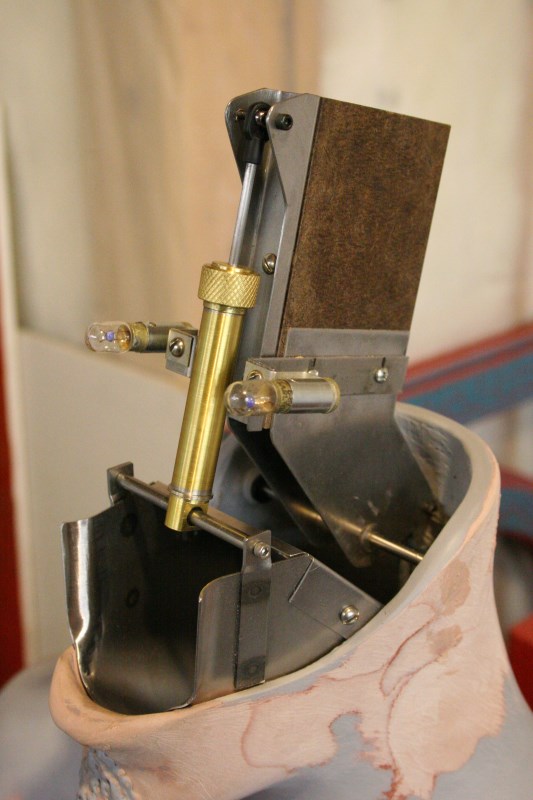
Test Fitting of the Head Rocking Mechanism and The Coin Catching Mouth Insert
-
-
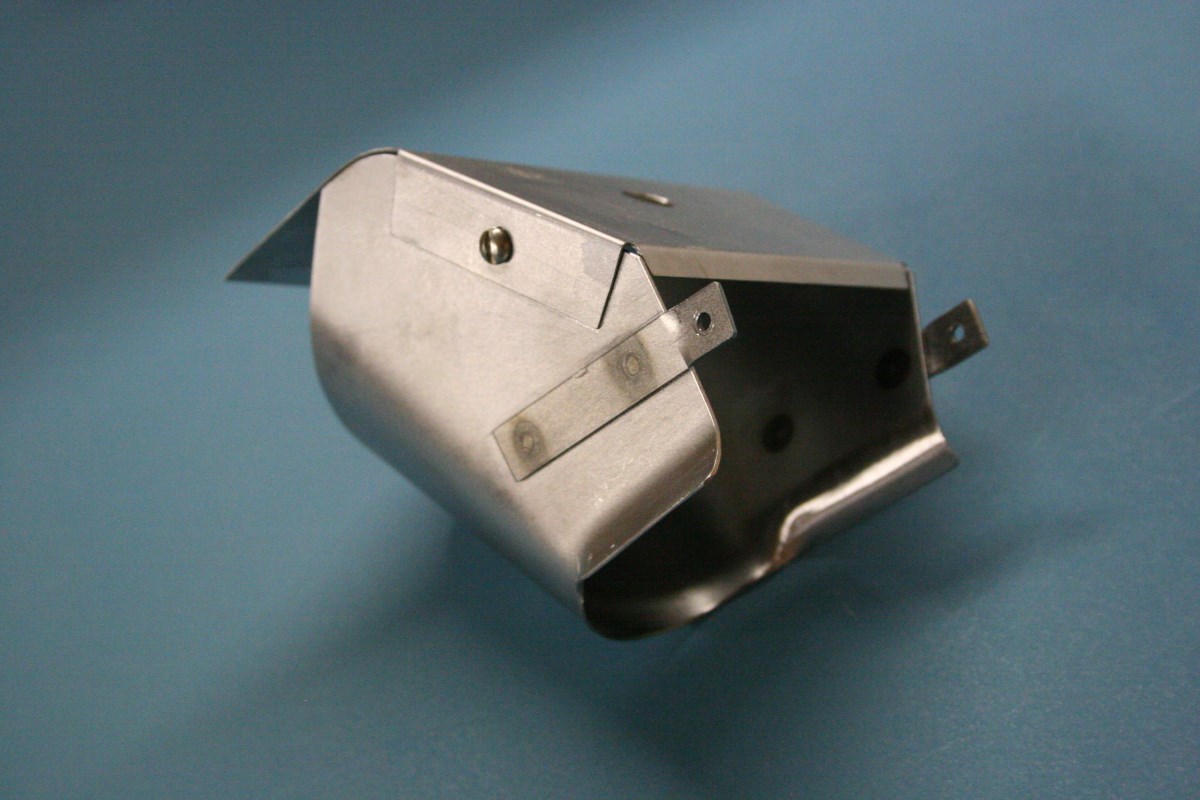
Mouth Insert to Collect & Route Coins Without Jamming in Moving Head – This Was a Bit of Work
-
-
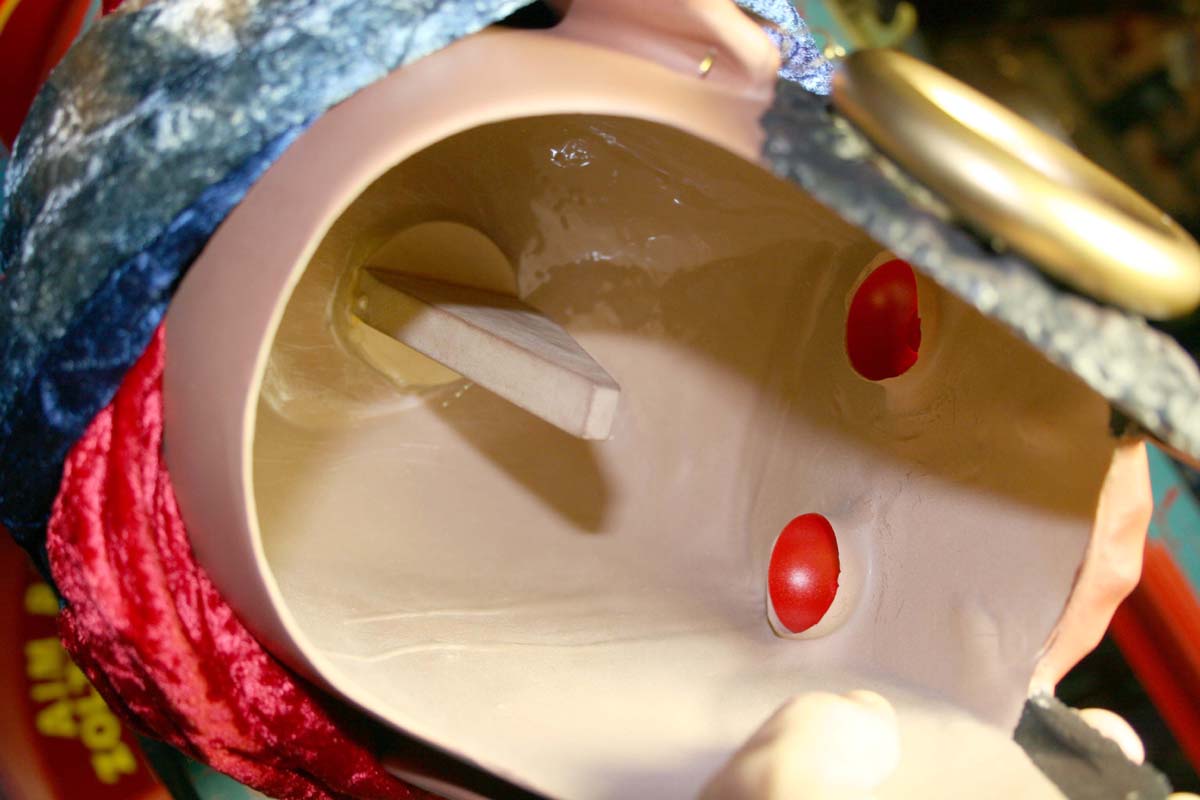
Tapered Block Inside Head Precisely Aligns Head to Mechanism
-
-
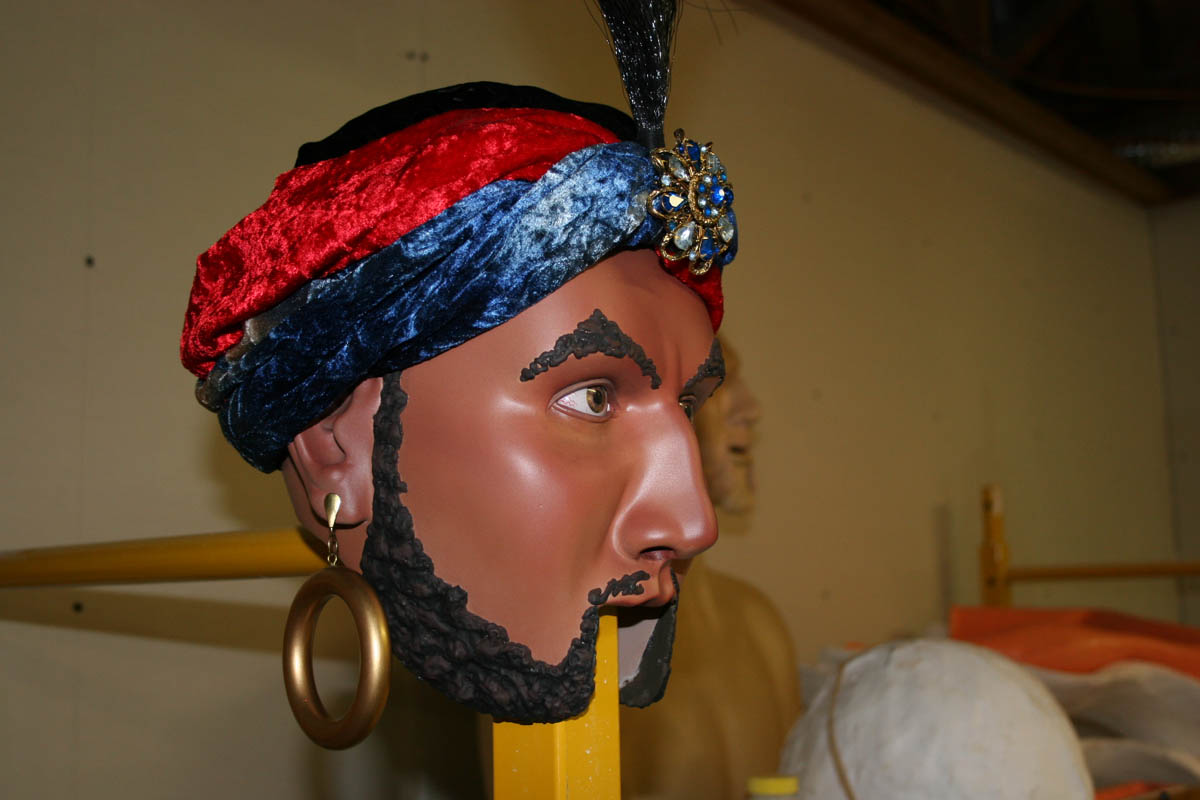
Finished Head Removes Easily by Lifting Straight Up
-
-
And Watches From a Safe Vantage Point While I Work
-
-
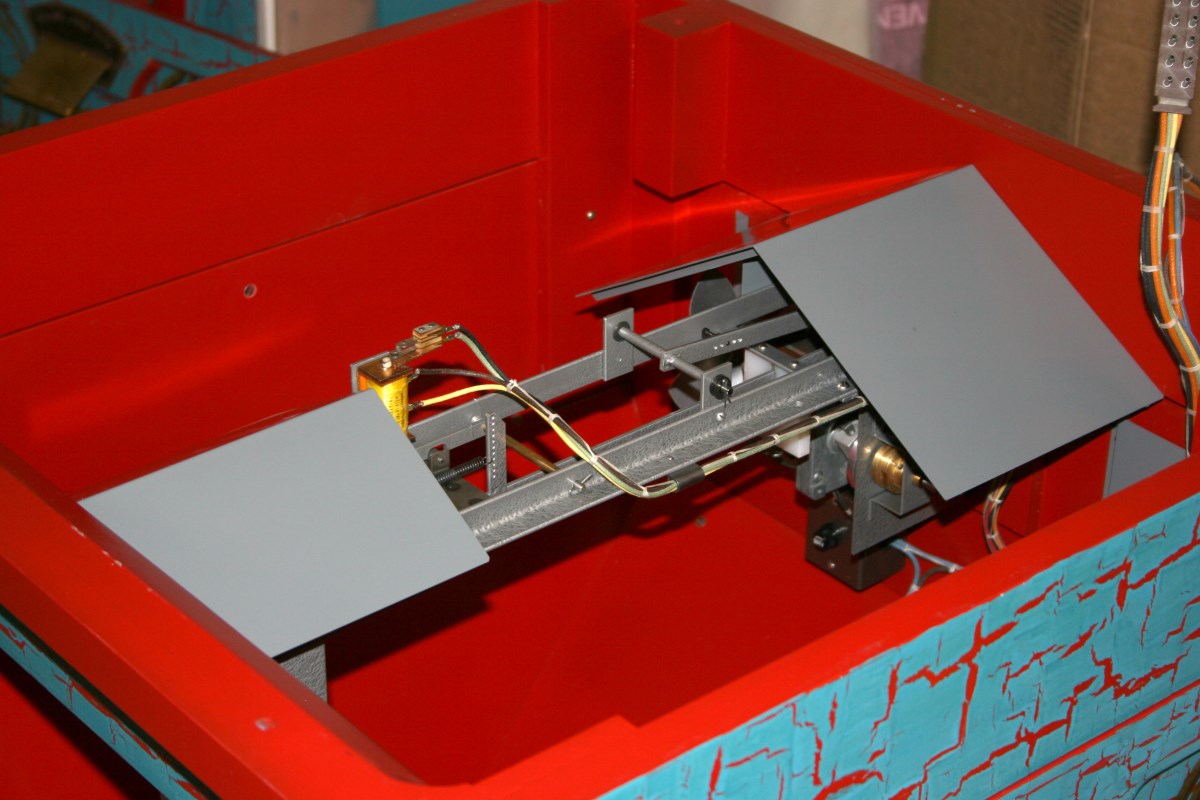
Metal Gables Protect Mechanism from Jamming Due to Errant Coins
-
-
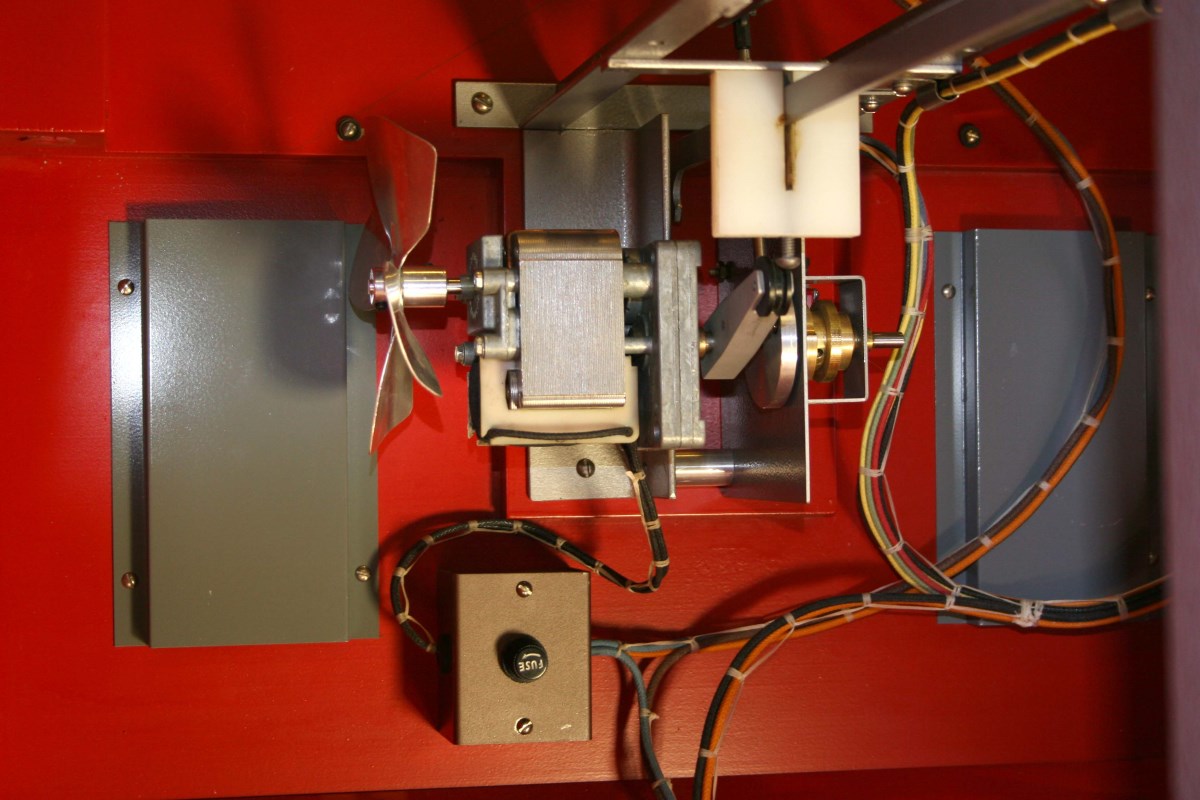
Head-Rocking Mechanism Mounted to Back of Lower Cabinet. The Gray Covers Block Access to Interior Through Vents
-
-
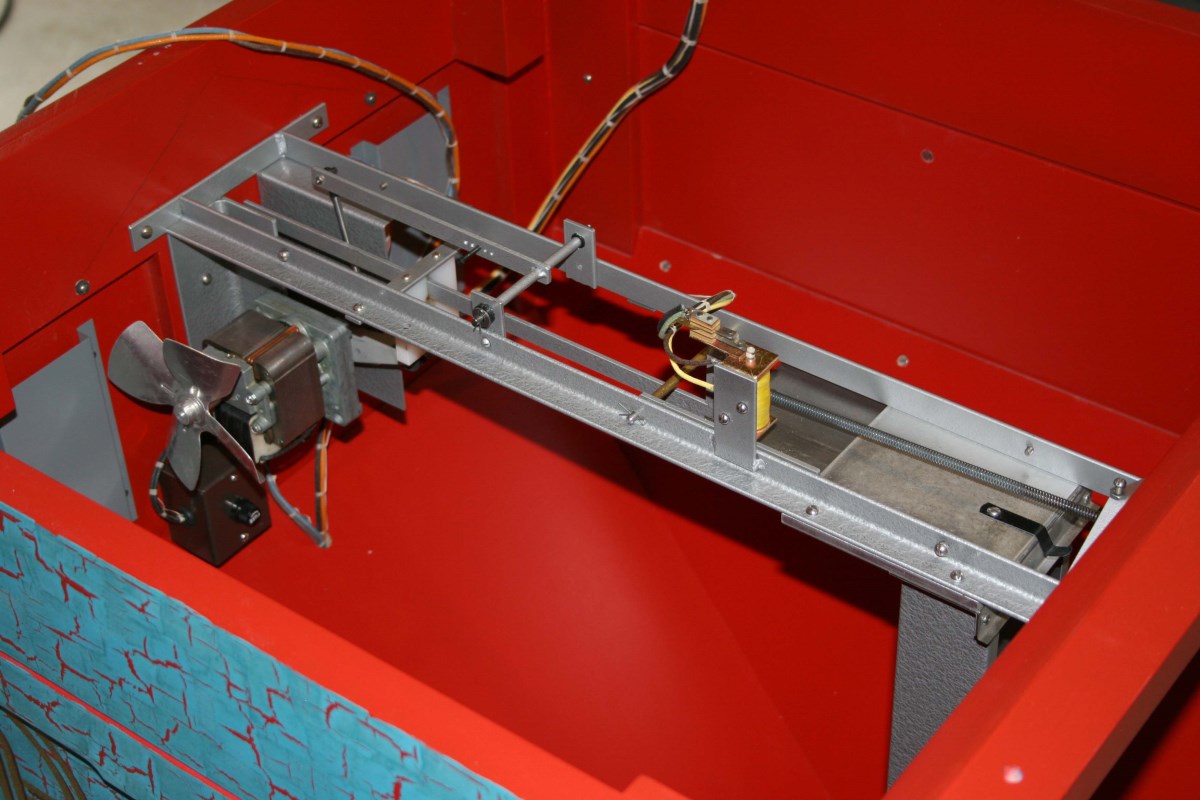
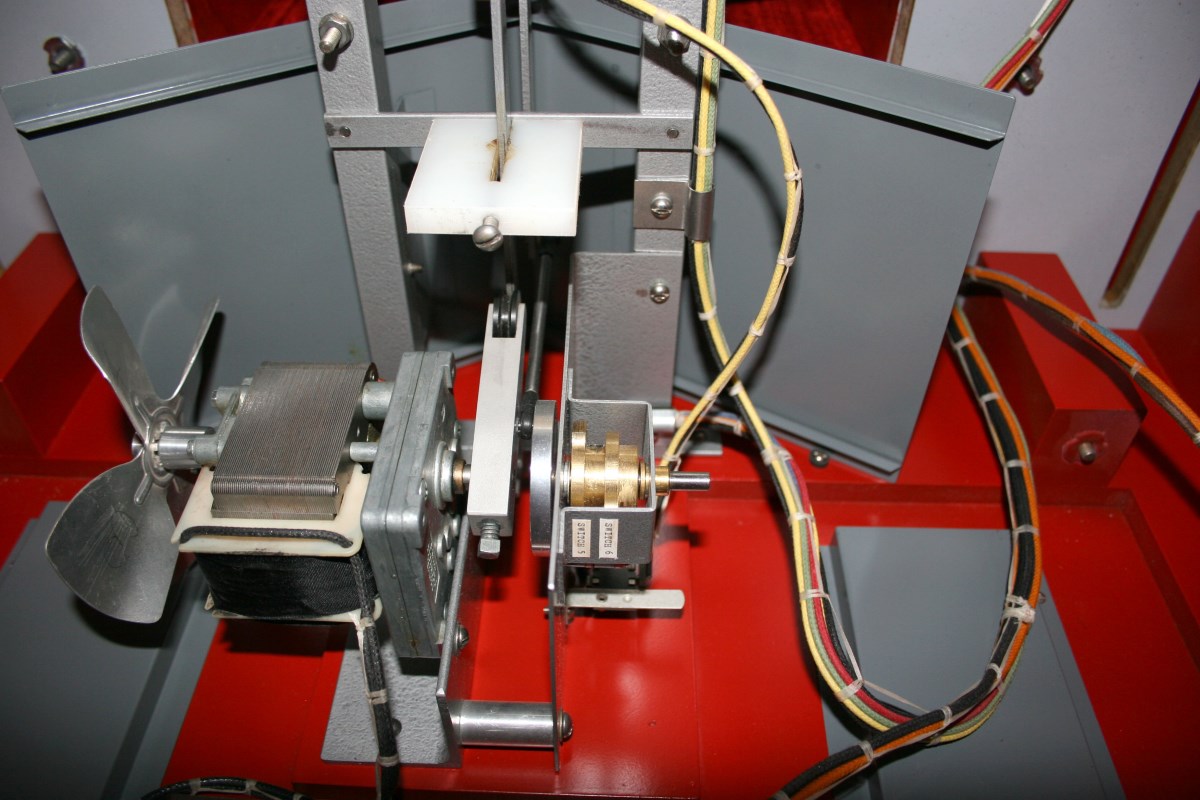
Head-Rocking and Card Release Mechanism
-
-
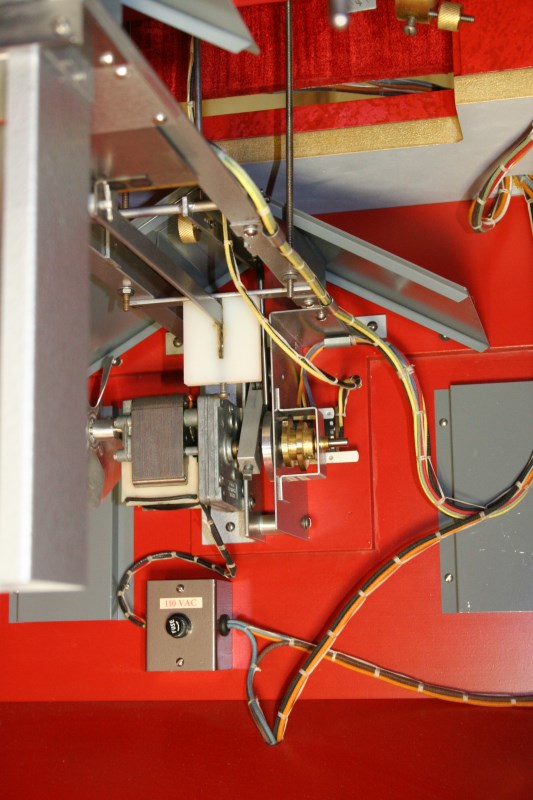
One More View Under the Roof of the Head-Rocking Motor Assembly
-
-
Right Side of Fully Assembled Lower Cabinet Mechanism
-
-
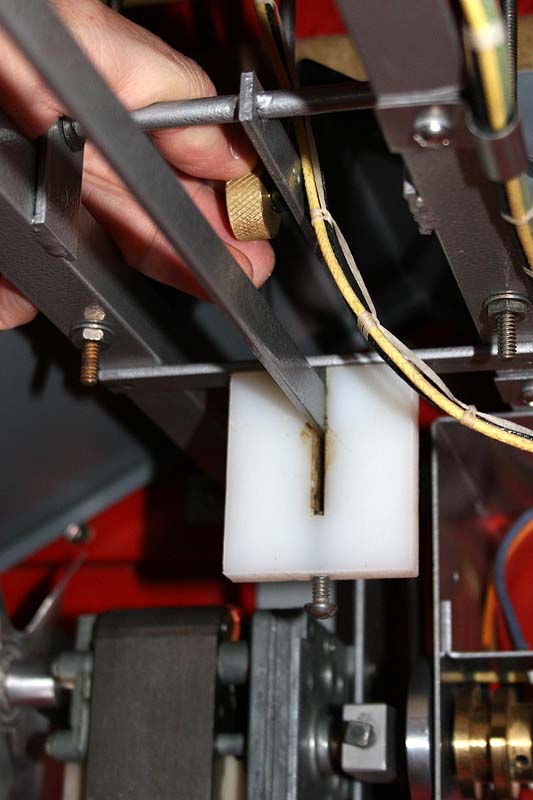
The Brass Knob Allows the Mouth Opening to Be Varied, Changing the Level of Difficulty
-
-
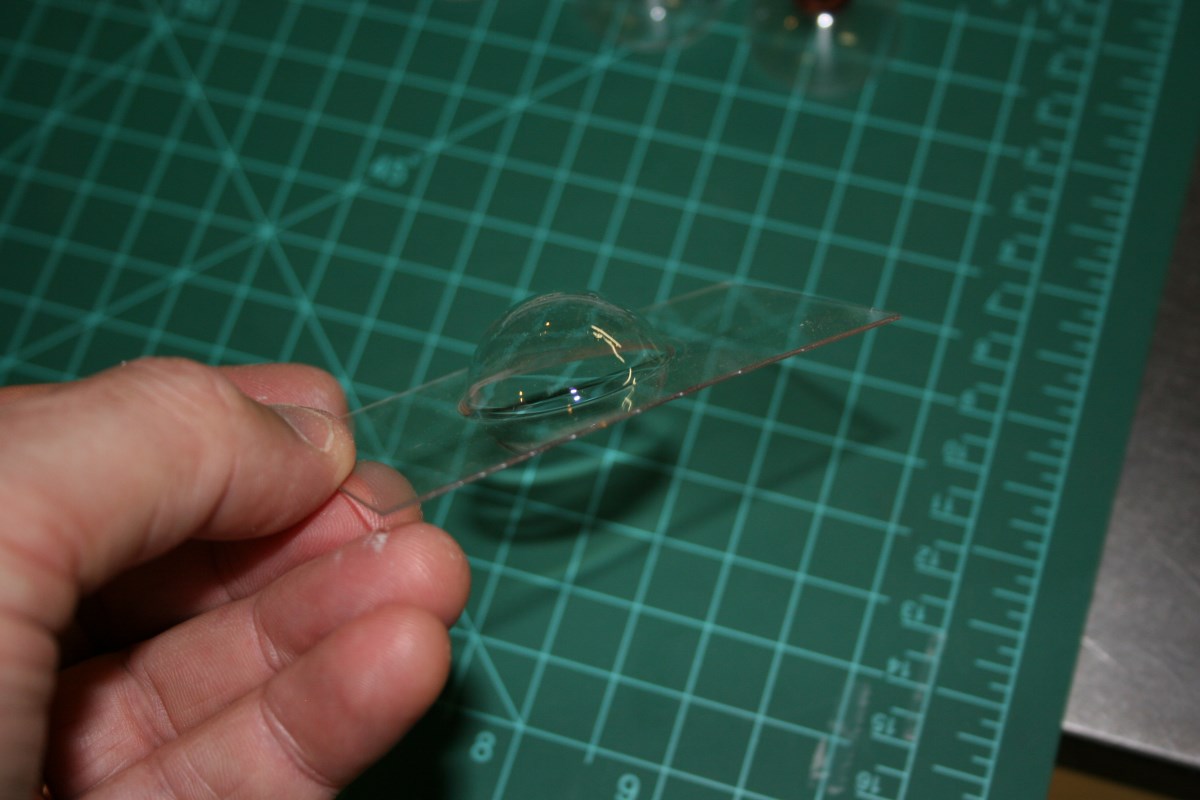
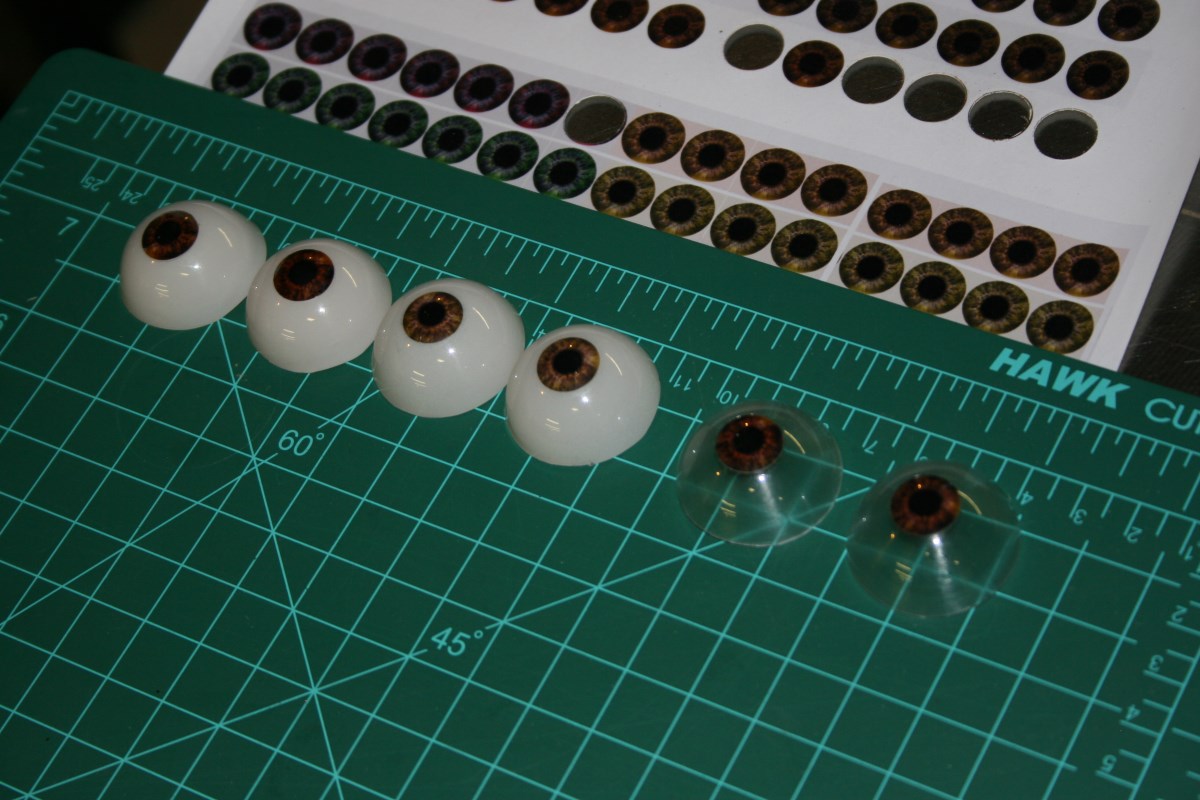
Eyes Started as Vacuum-Formed Polycarbonate Hemispheres Made Using a Steel Ball for a Form
-
-
Making Eyes and Spares
-
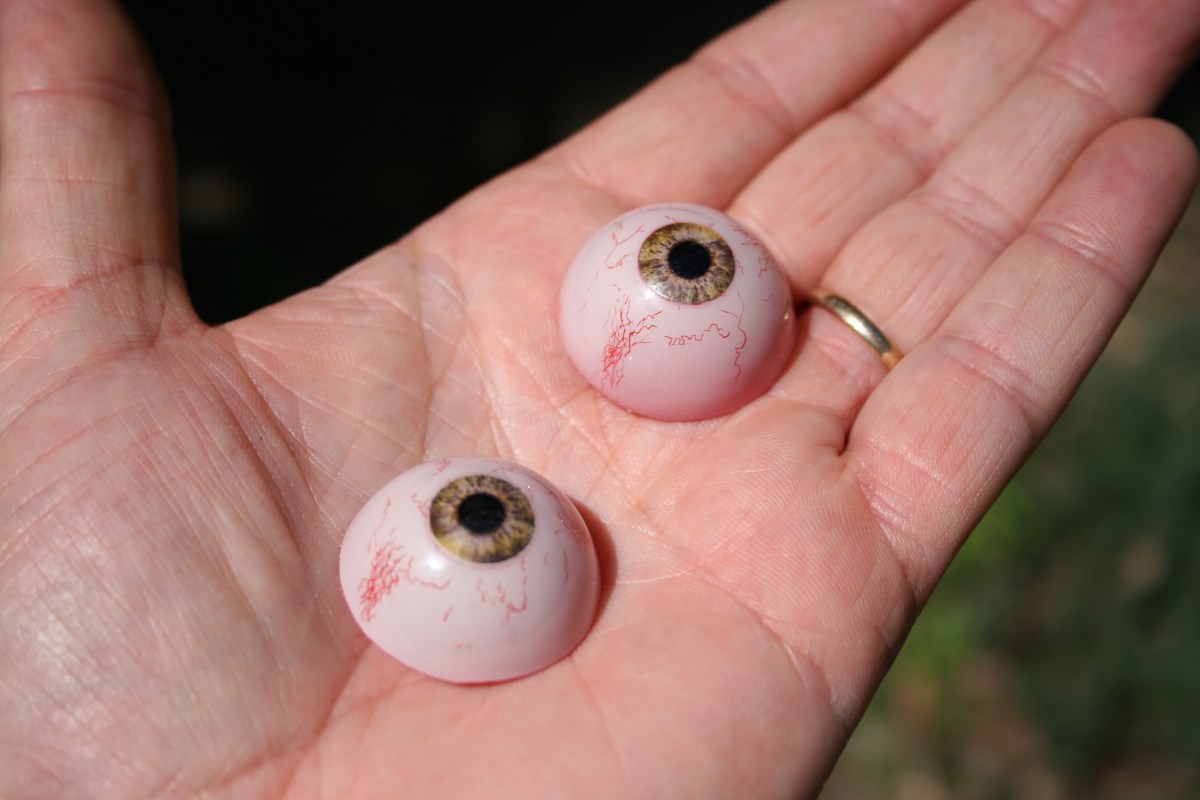
-
Eeek!
-
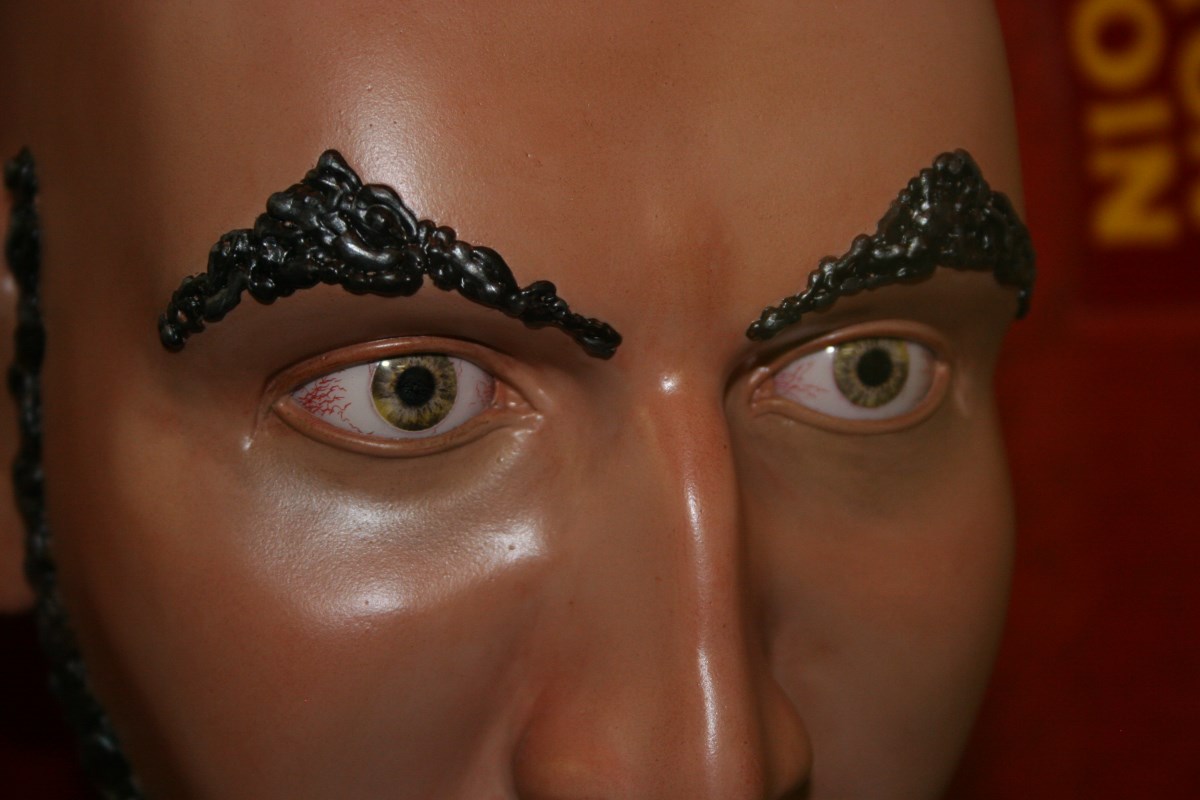
-
I think I Went With Brown Eyes After Seeing This
-
-
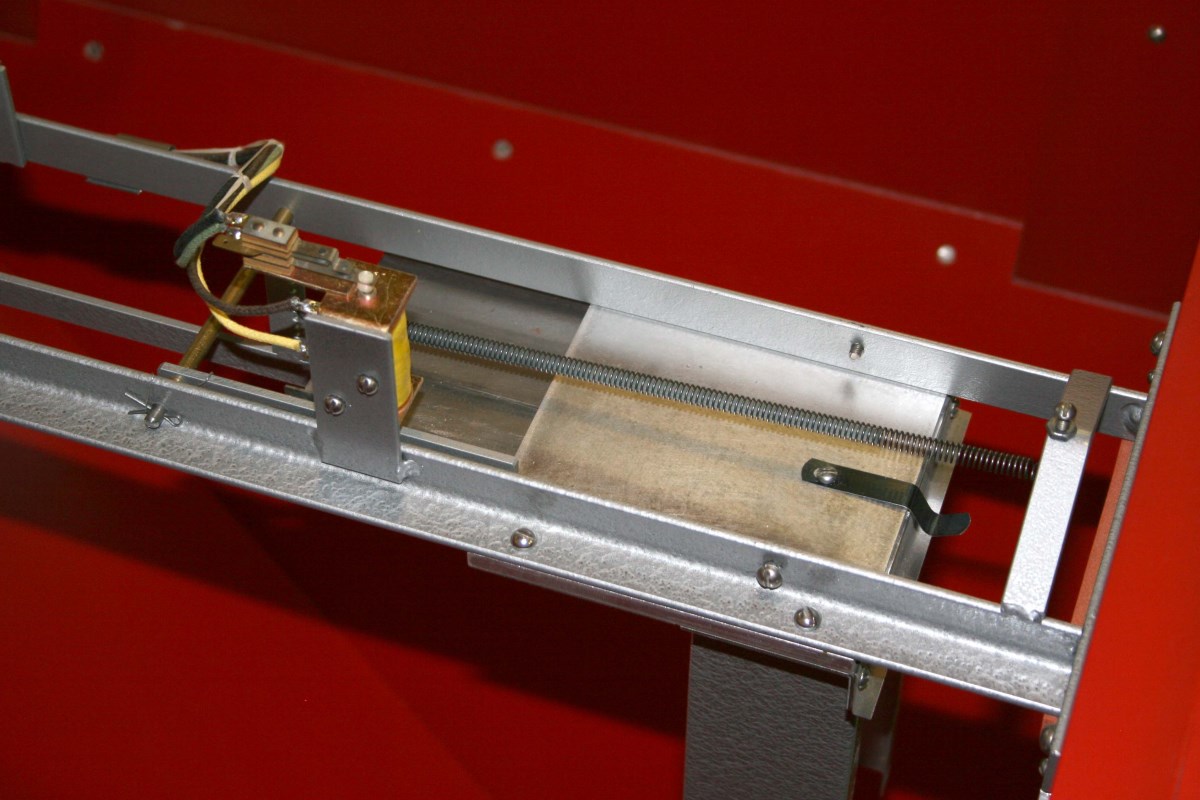
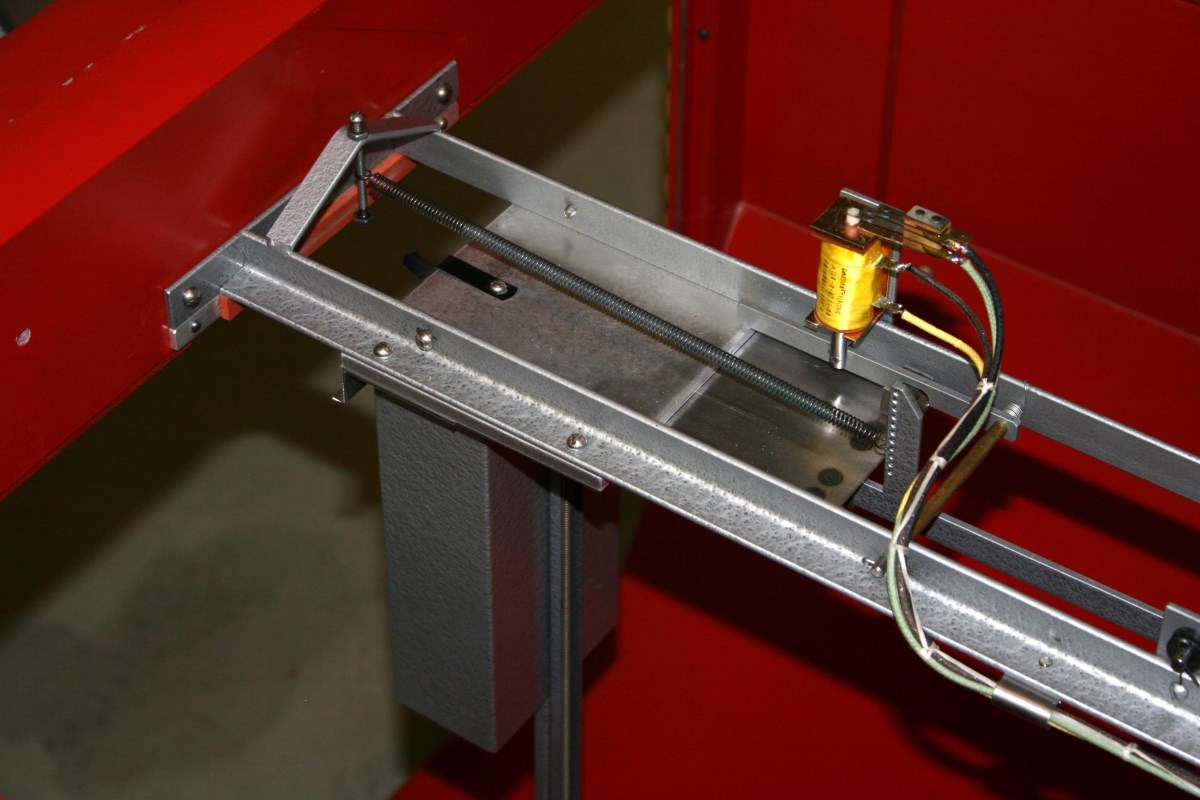
Card Release Mechanism
-
-
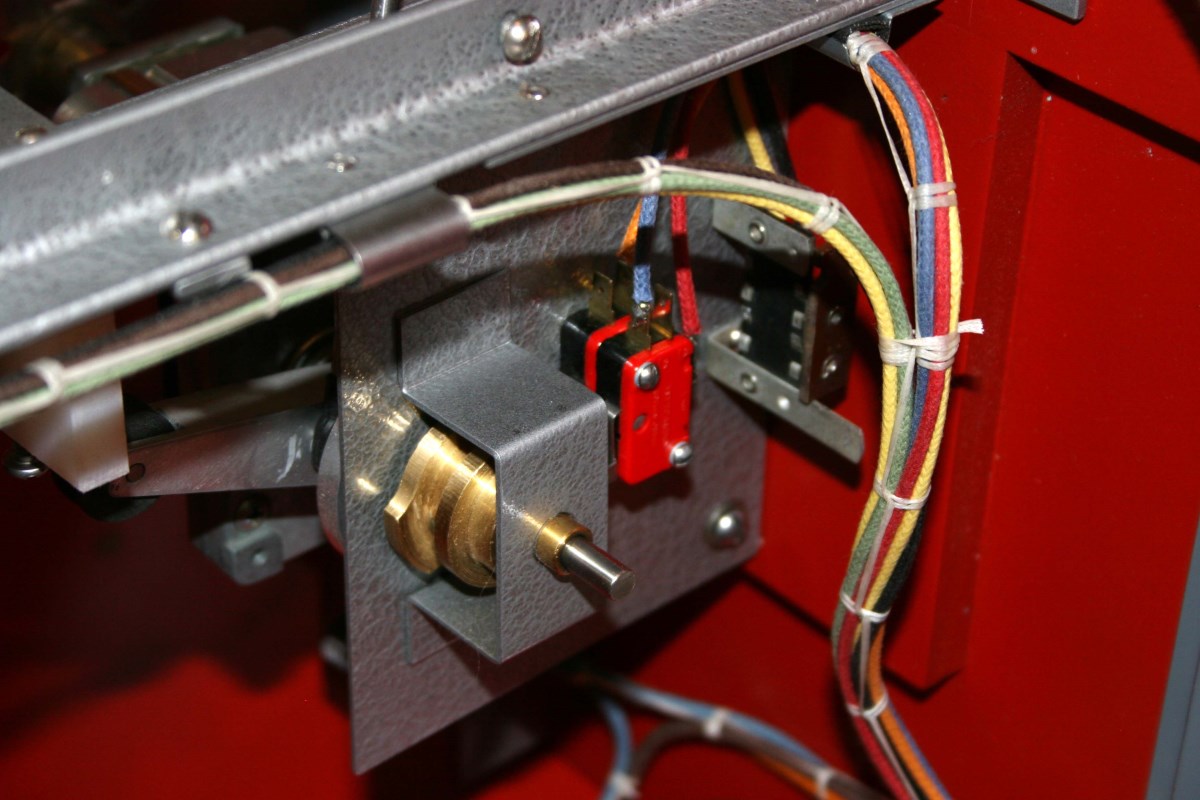
Another View of Card Release Mechanism and Card Holder
-
-
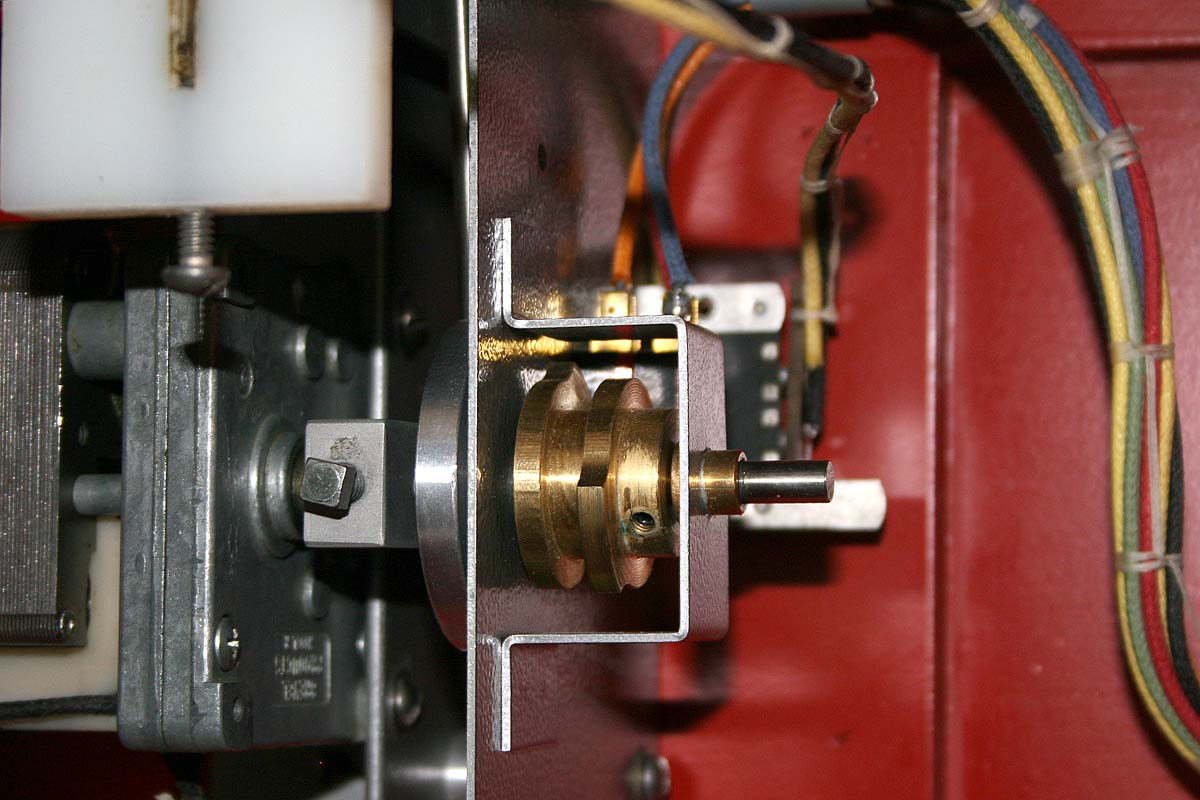
Brass Cams Identify Head Position at Key Times in Sequence
-
-
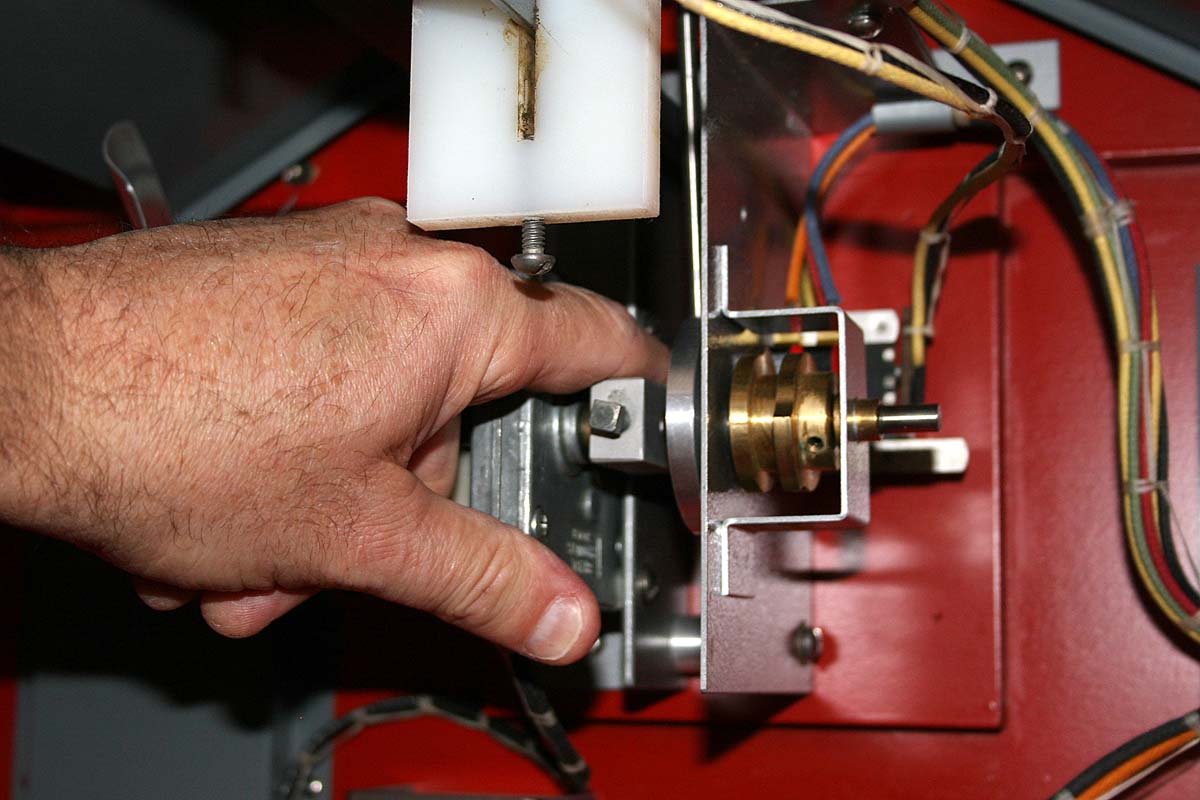
One Cam Times the Coin Release; the Other Makes Sure that the Head Stops With The Mouth Closed
-
-
The Head Motor is Precisely Positioned to Set the Cam-Switch Trip Points
-
-
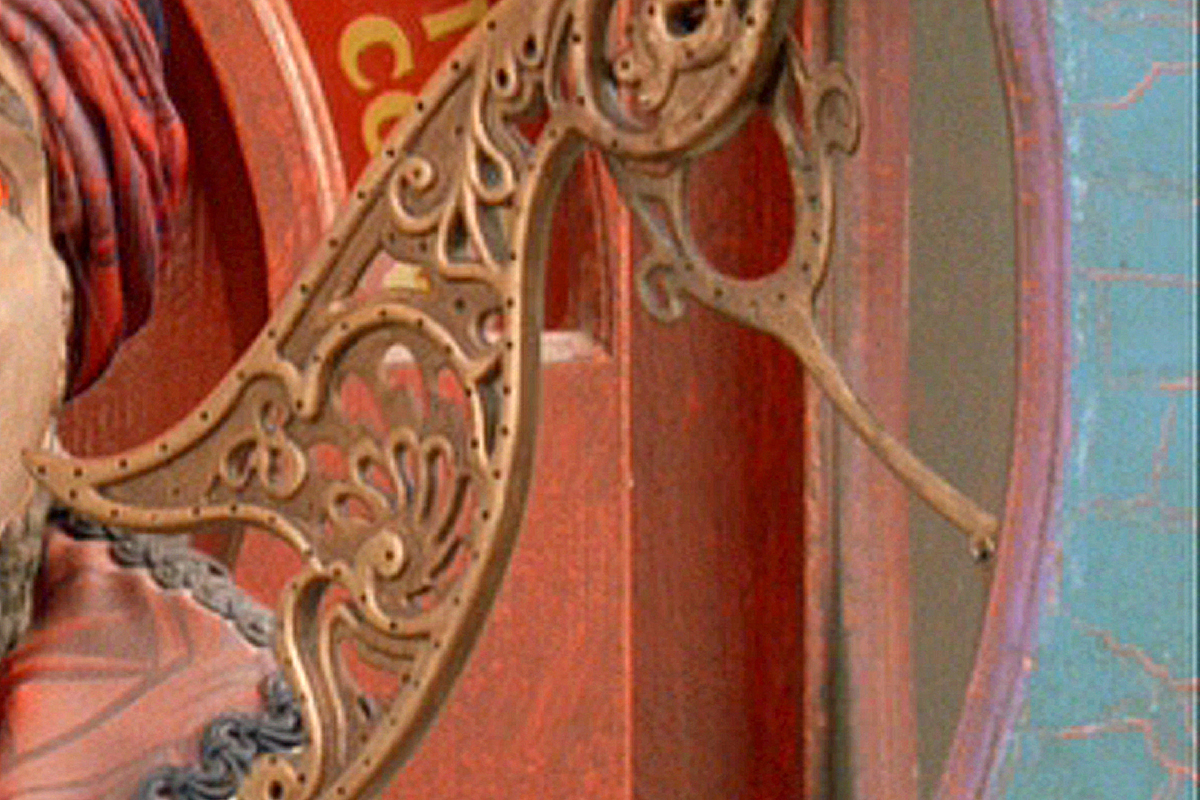
Original Coin Ramp From Film – DVD Screen Capture
-
-
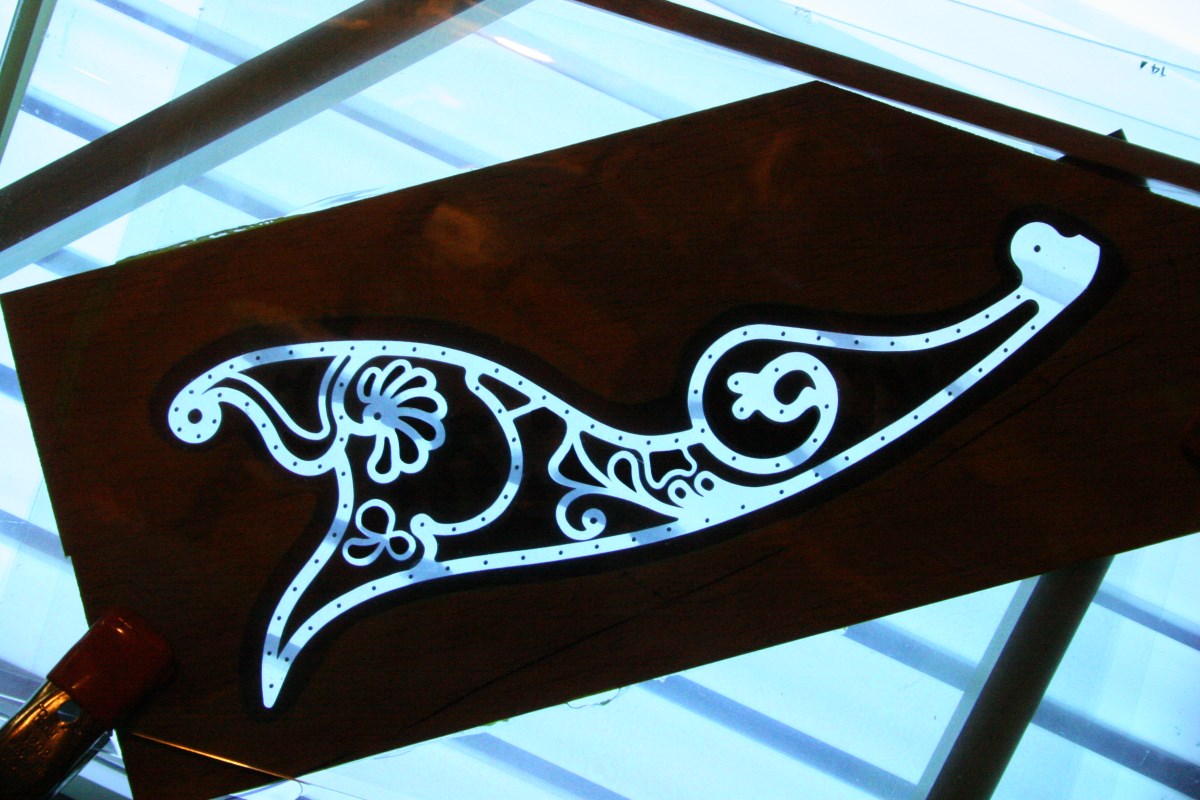
Coin Ramp Artwork Used For Exposure of UV-Cure Polymer Pattern Resin
-
-
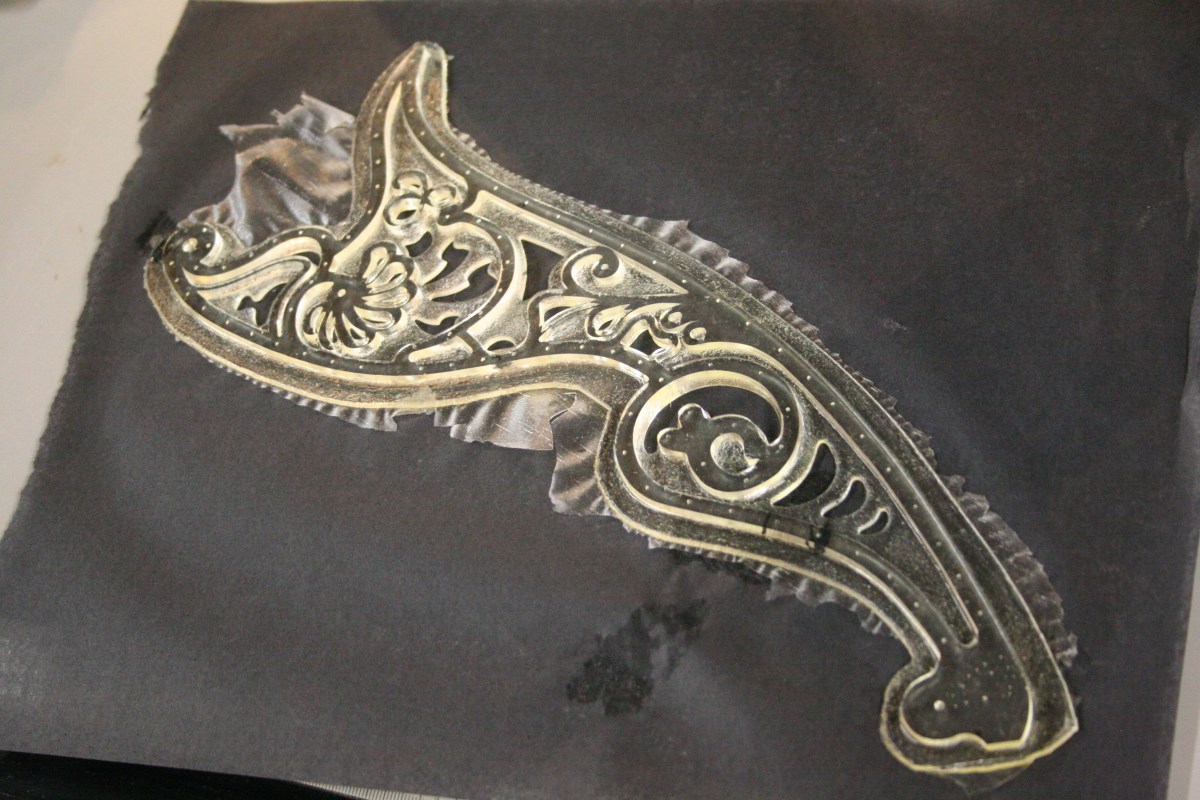
Half of the UV-Cured Resin Coin Ramp Pattern
-
-
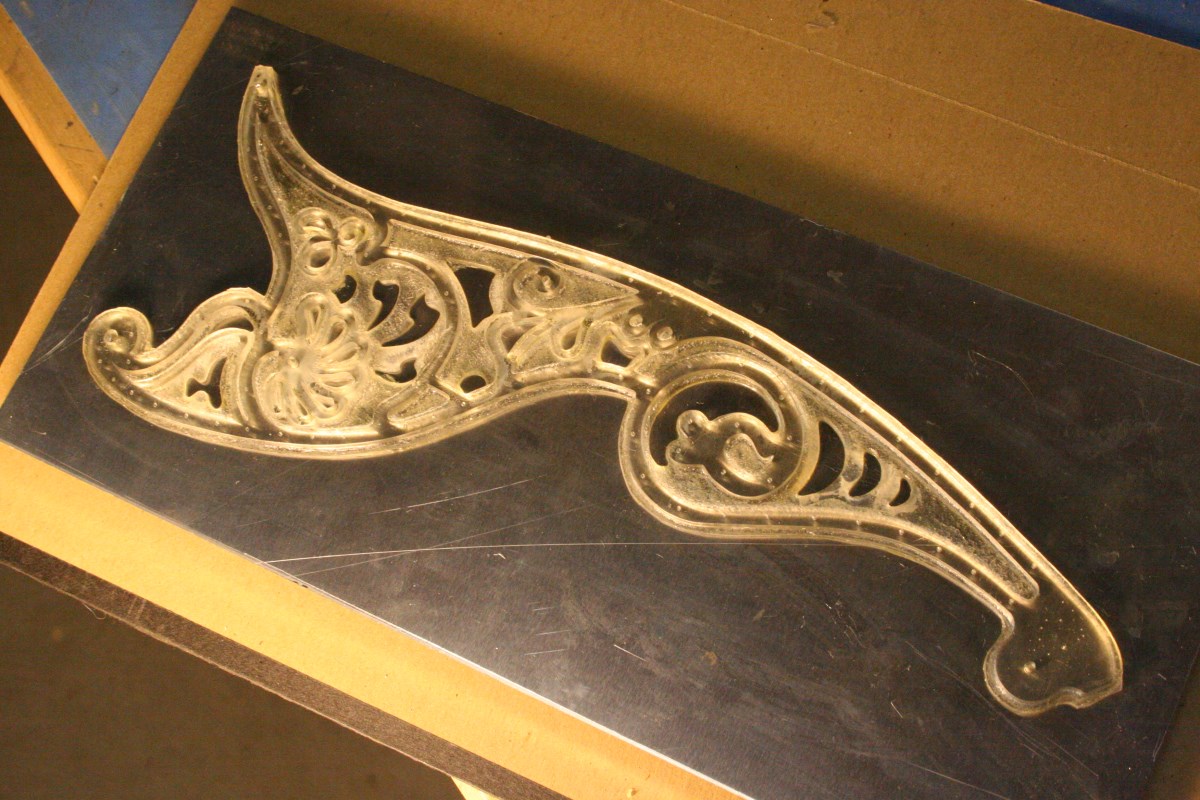
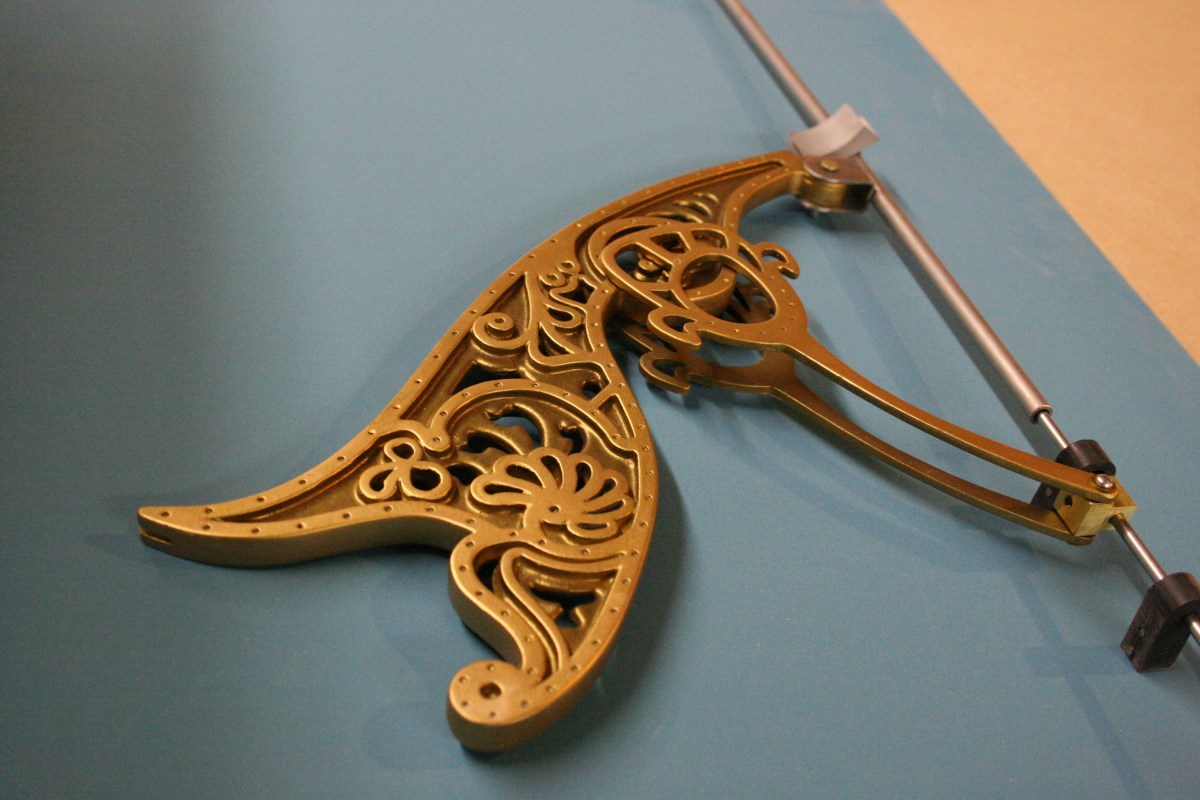
Half of the Coin Ramp Pattern Bonded to Aluminum Match Plate
-
-
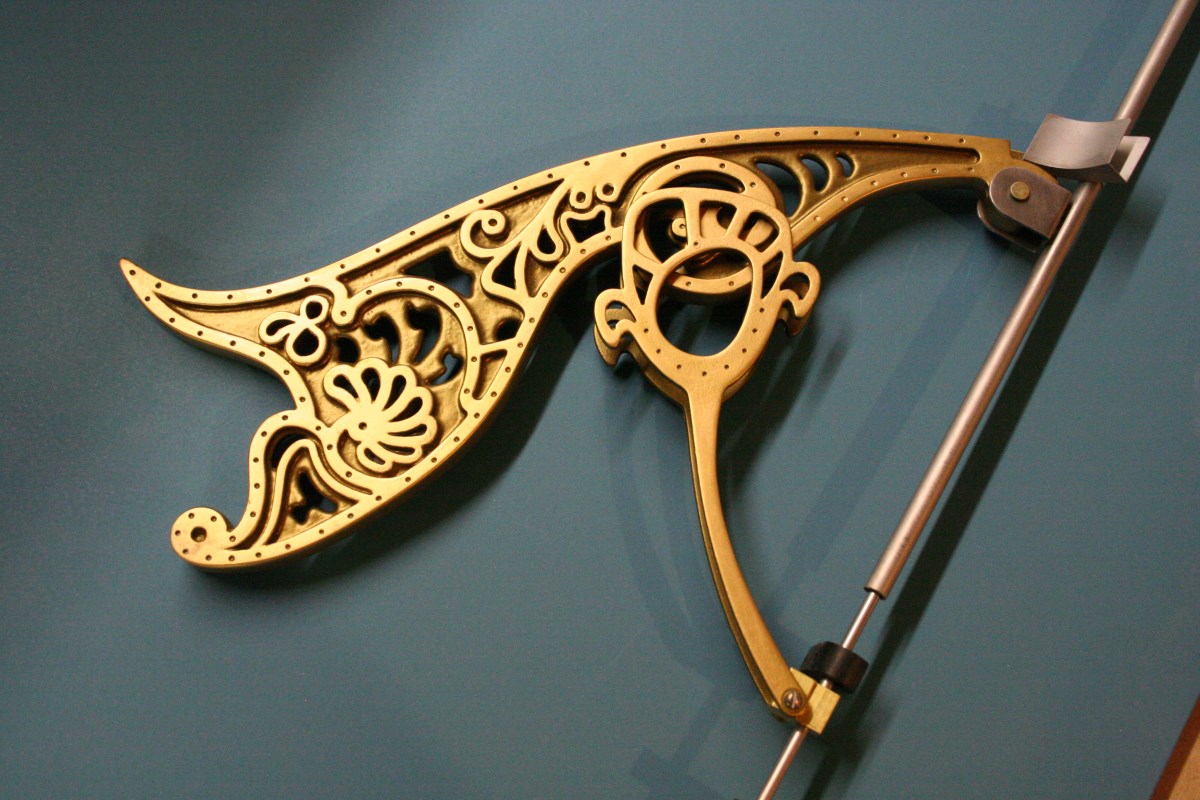
Another View
-
-
Completed Coin Ramp & Guide Mechanism
-
-
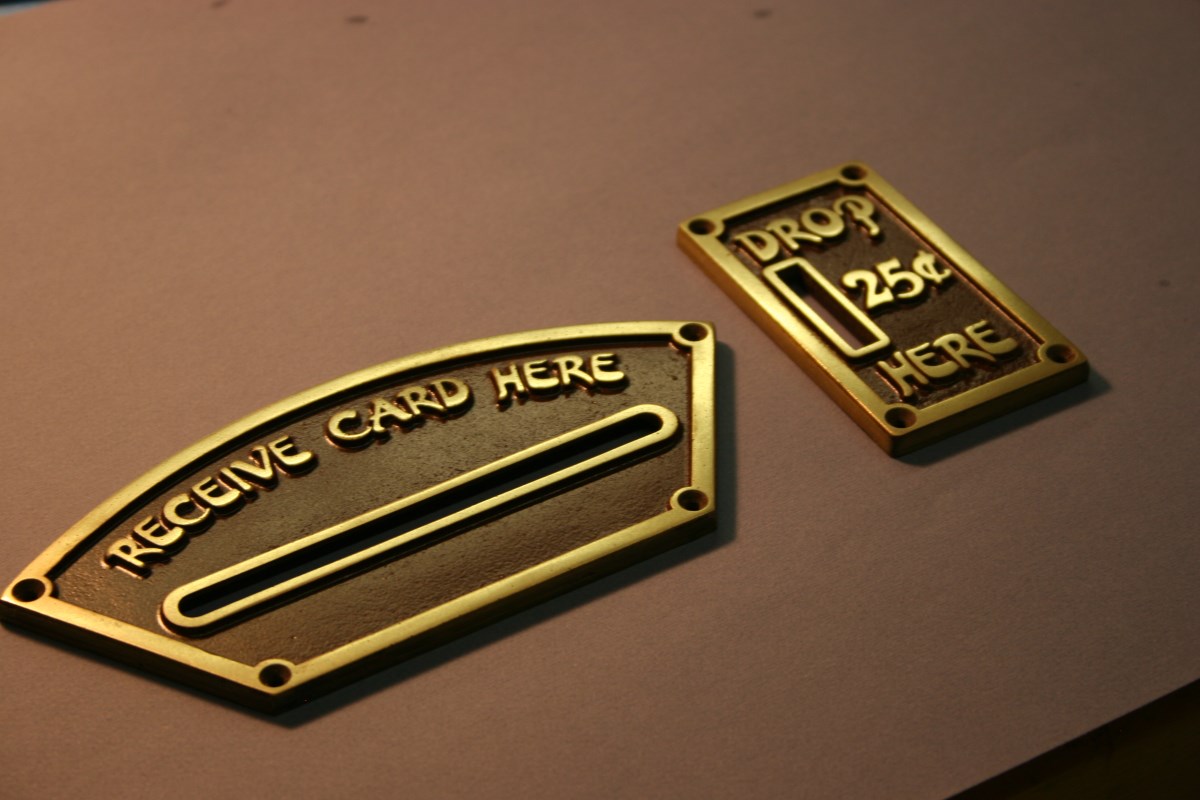
Brass-Loaded Urethane Castings – the Font had to be Hand-Drawn
-
-
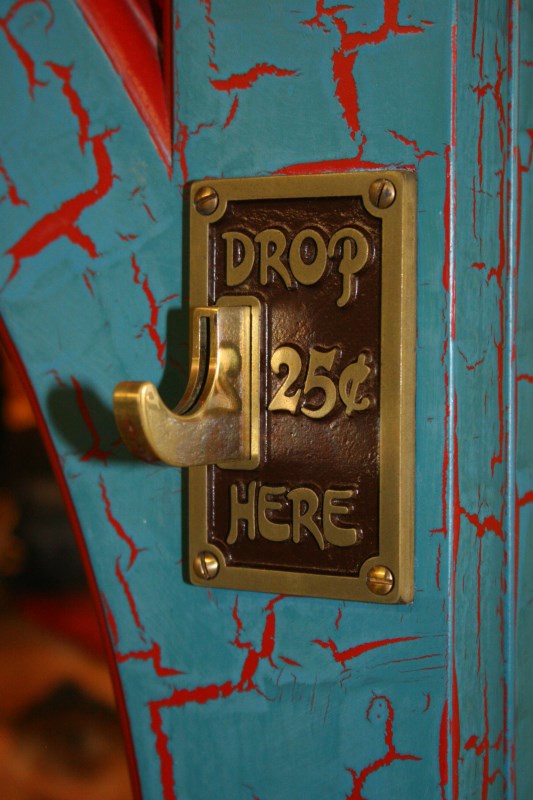
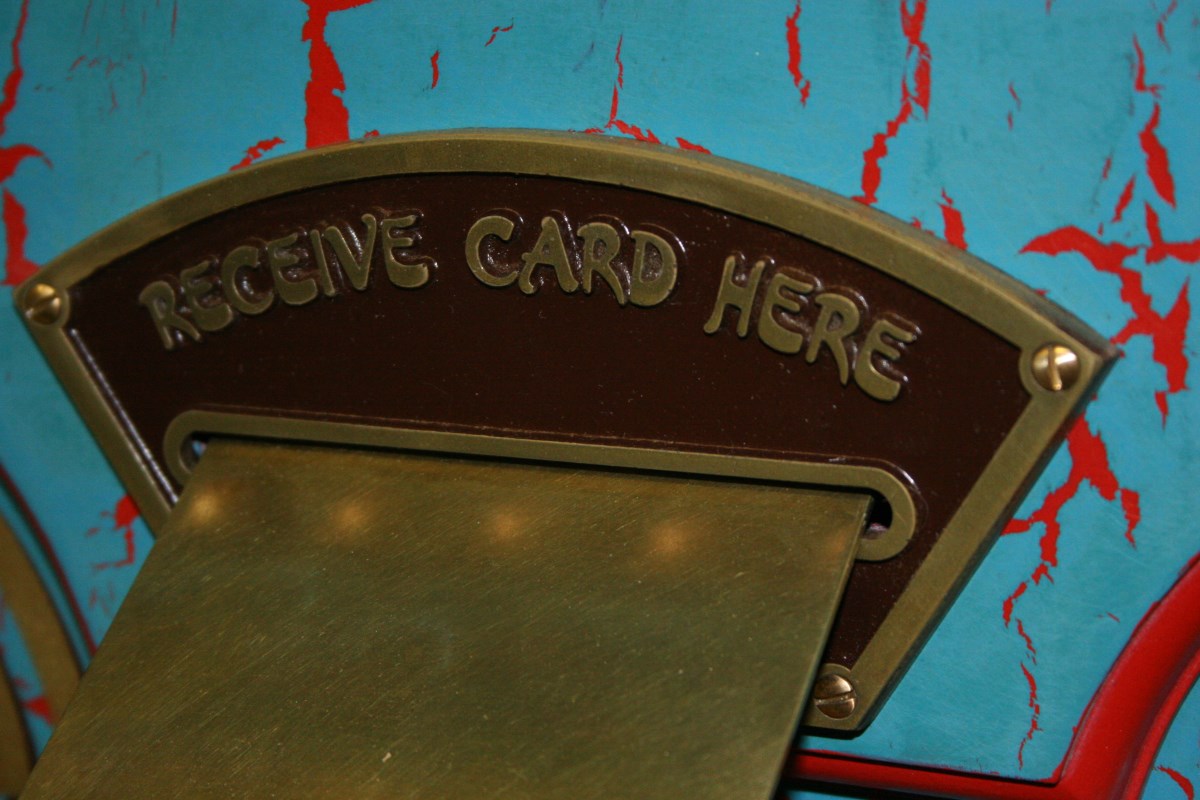
Solid Brass and Brass-Filled Cold-Cast Resin Plate Match Perfectly
-
-
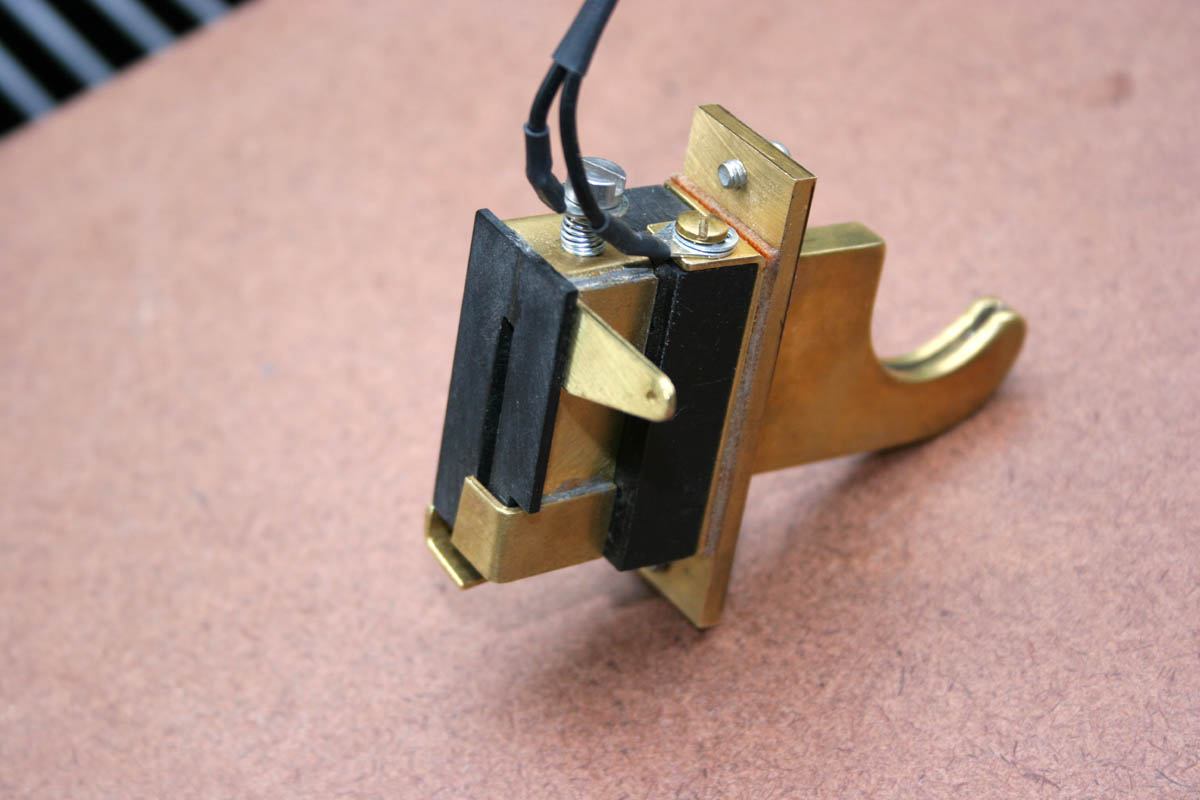
Same Here
-
-
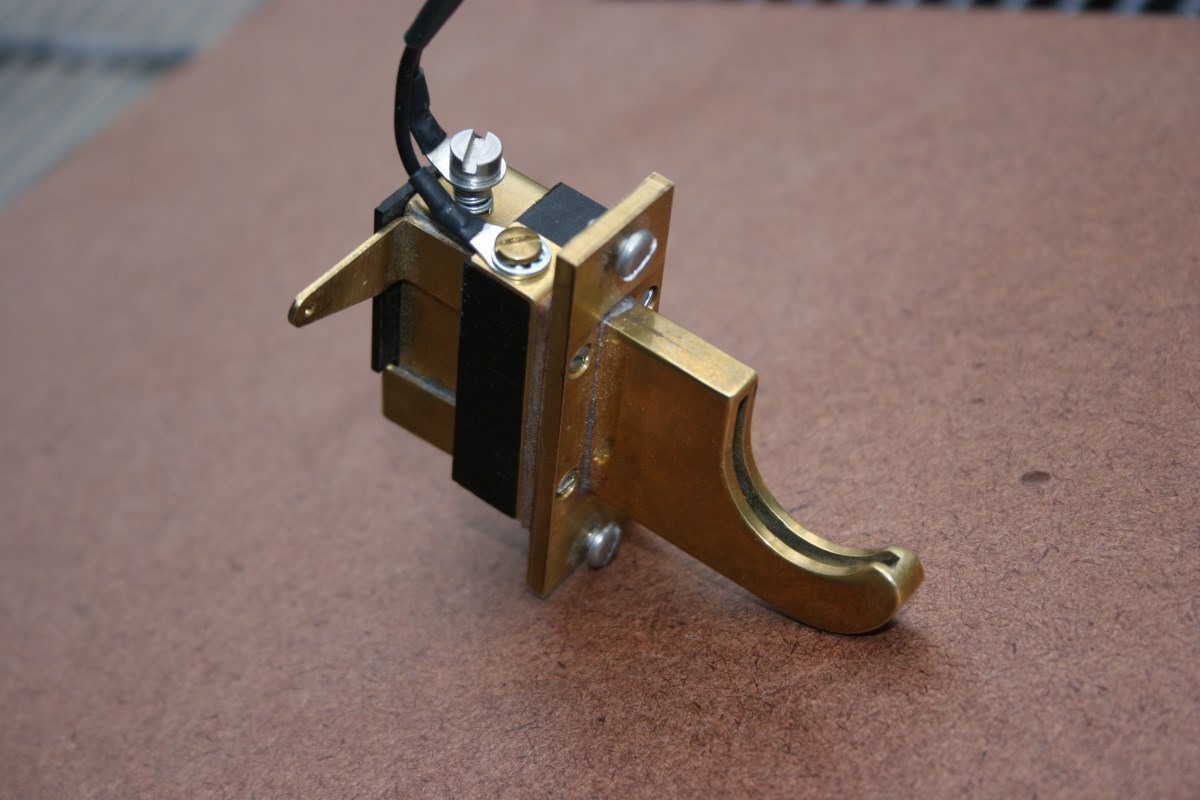
Rear View of Coin Entry
-
-
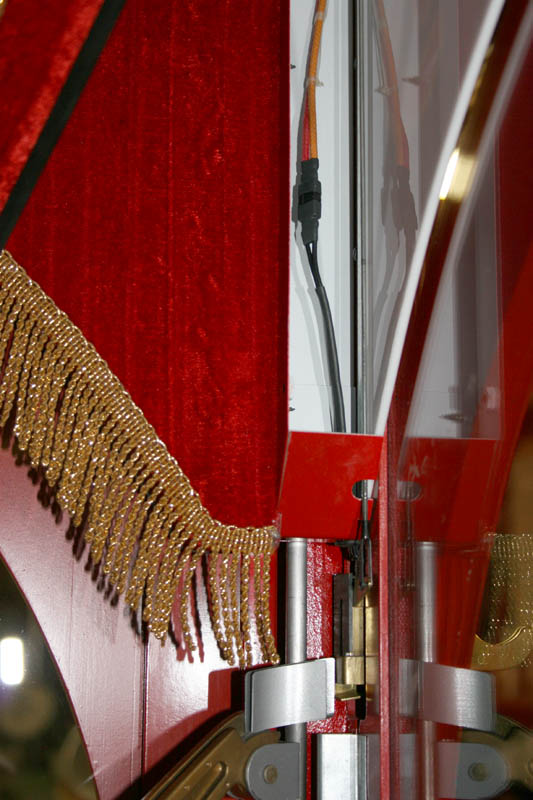
Coin Entry Mechanism – Serves as Both Switch and Coin Release
-
-
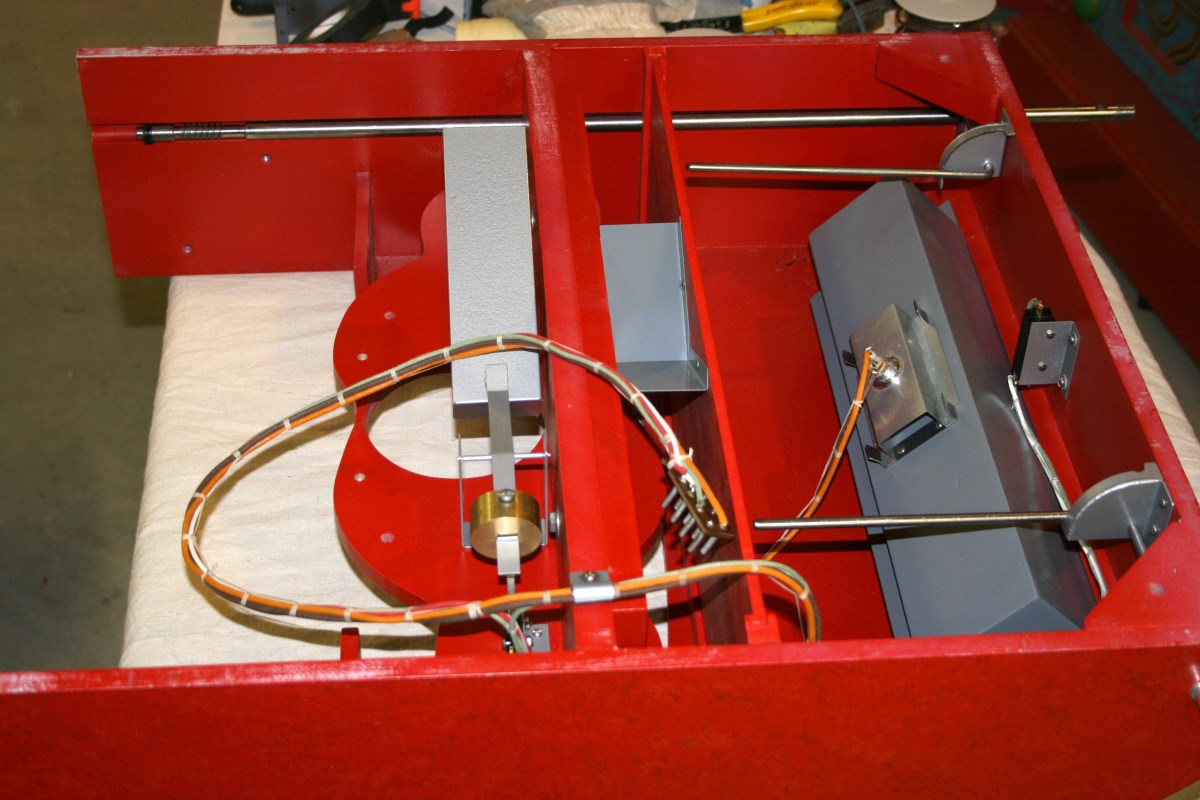
Zoltar’s View of Coin Ramp Support and Coin Entry – Lightbox Cover Is Removed
-
-
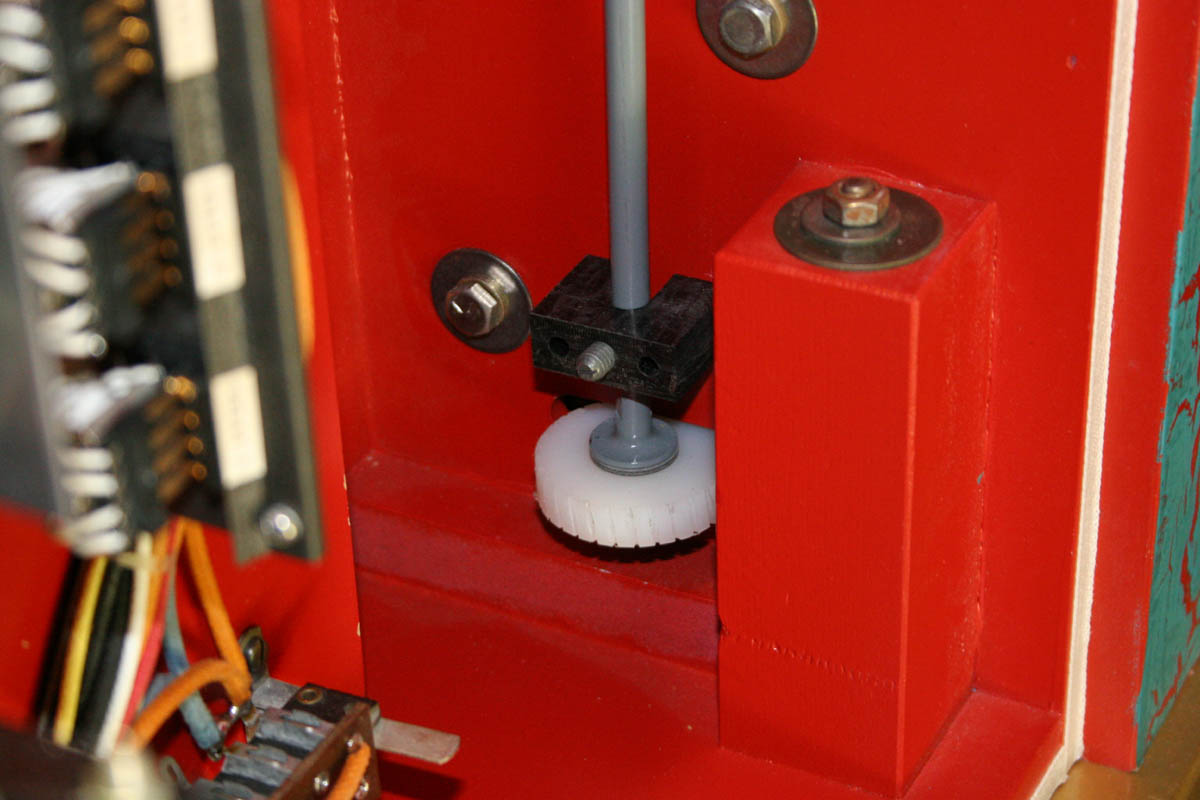
Note the Worm Gear on Left End of Shaft Near Top of Picture
-
-
Nylon Worm Gear, Clutch, Torque Rod For Steering Coin Ramp
-
-
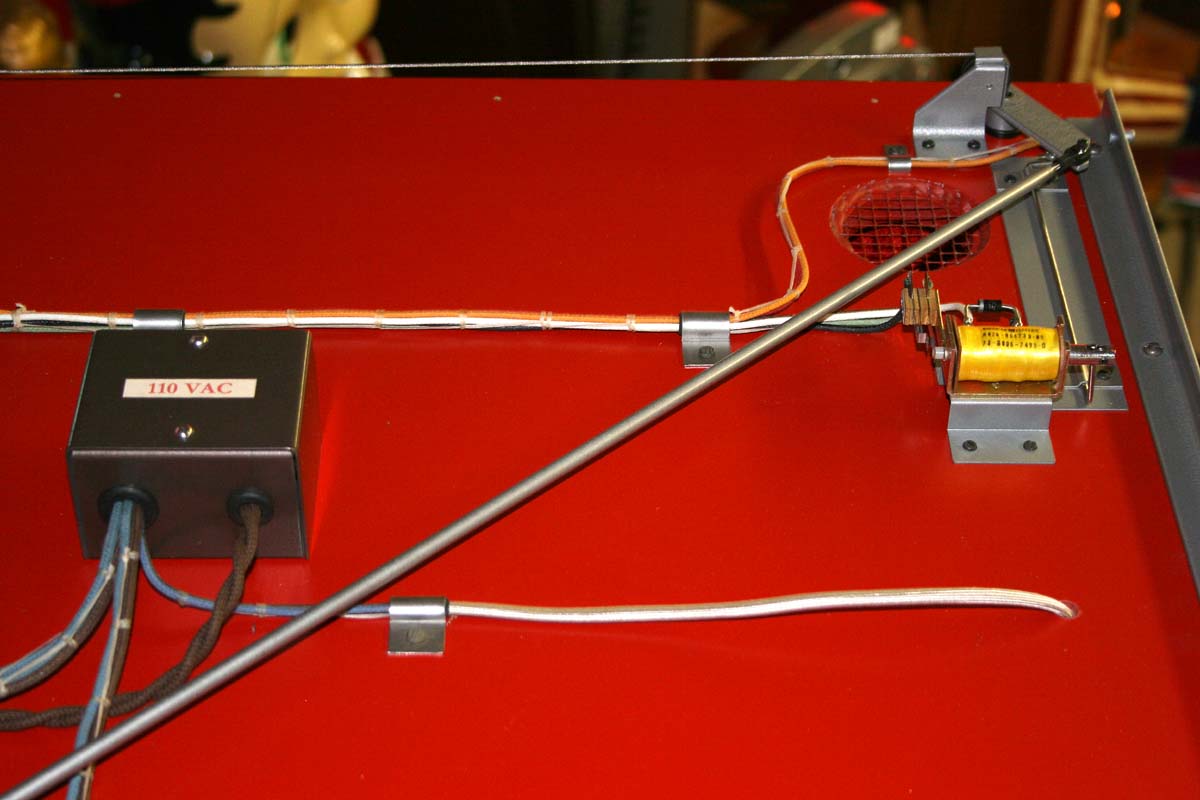
Ramp Steering Linkage Runs to the Front of the Machine
-
-
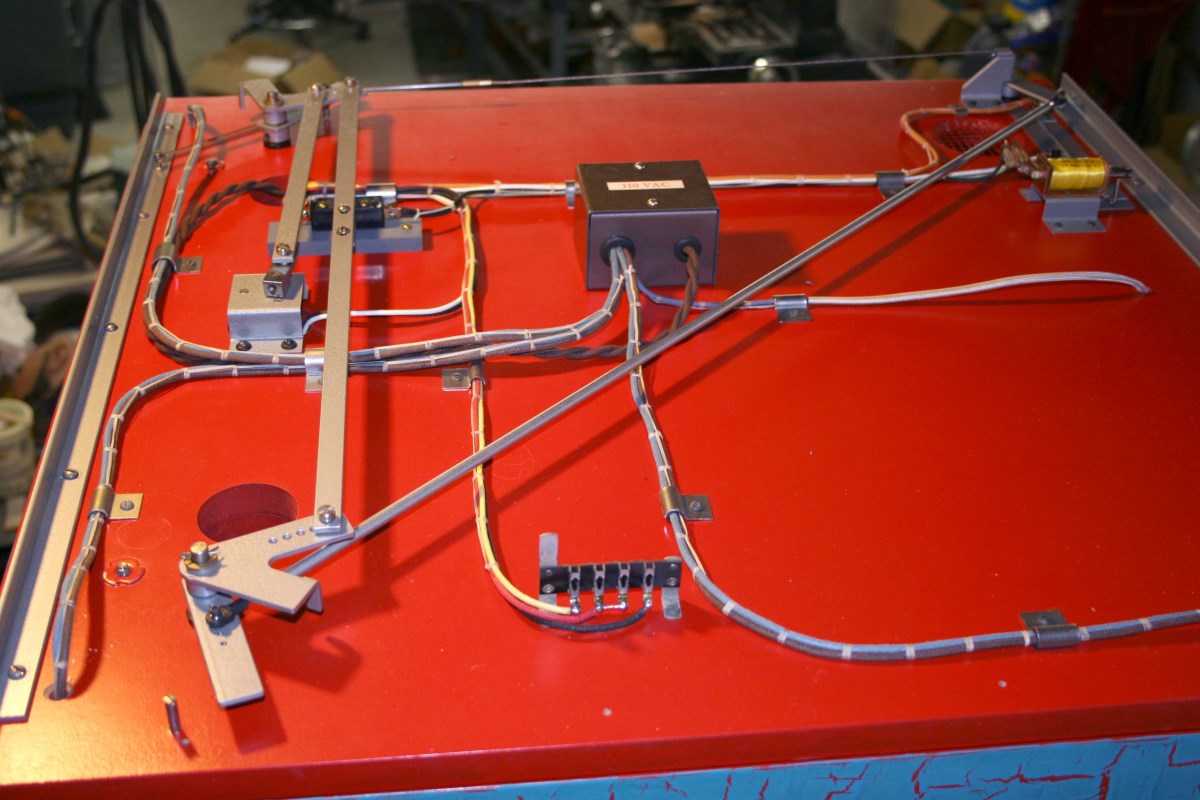
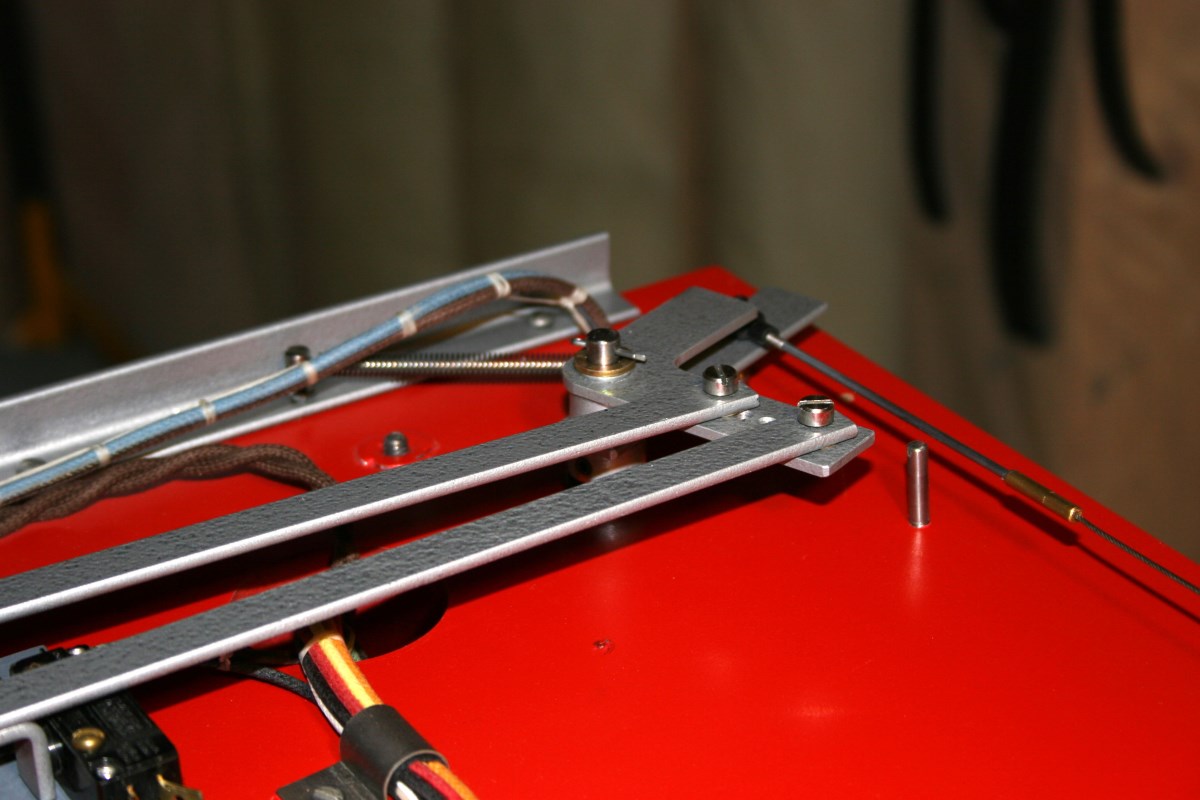
The Top was Hard to Photograph Because it was Inches From My Shop Ceiling
-
-
Right Rear of Cabinet Top – Part of Coin Ramp Resetter
-
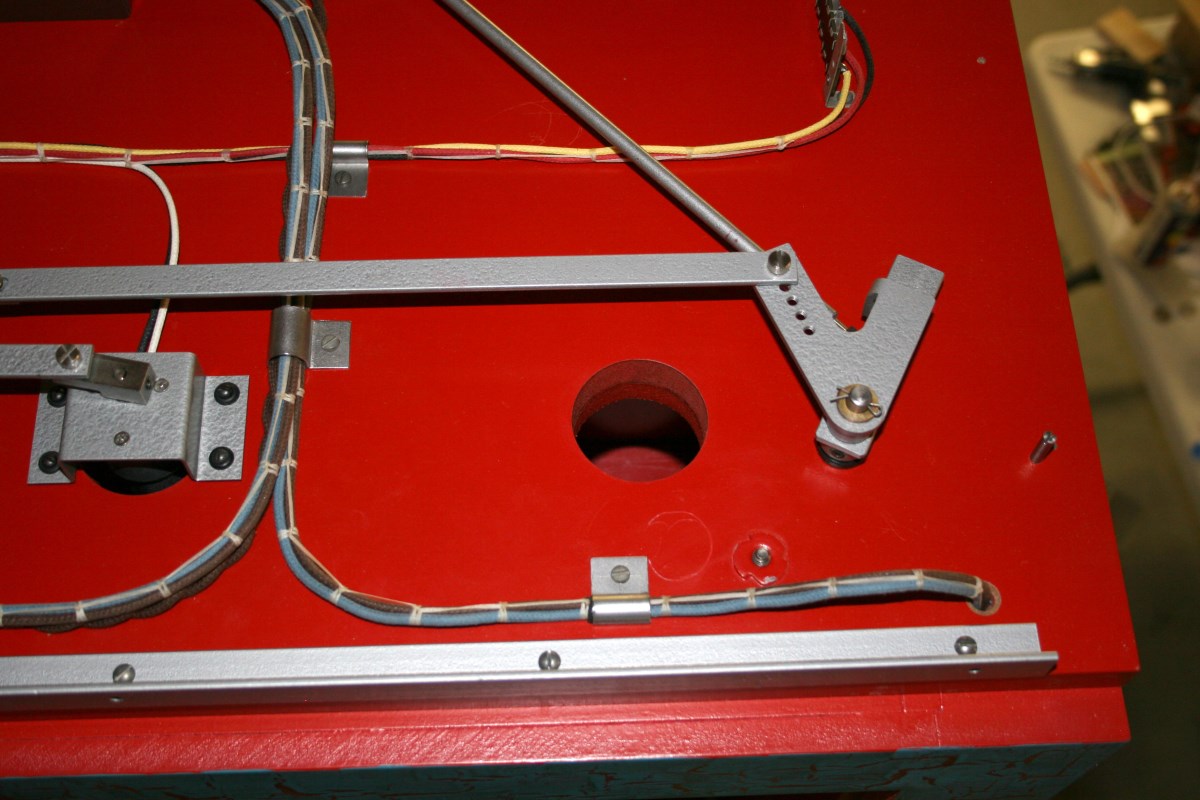
-
Left Rear of Top – The Holes Provide Ventilation for Lighting Heat
-
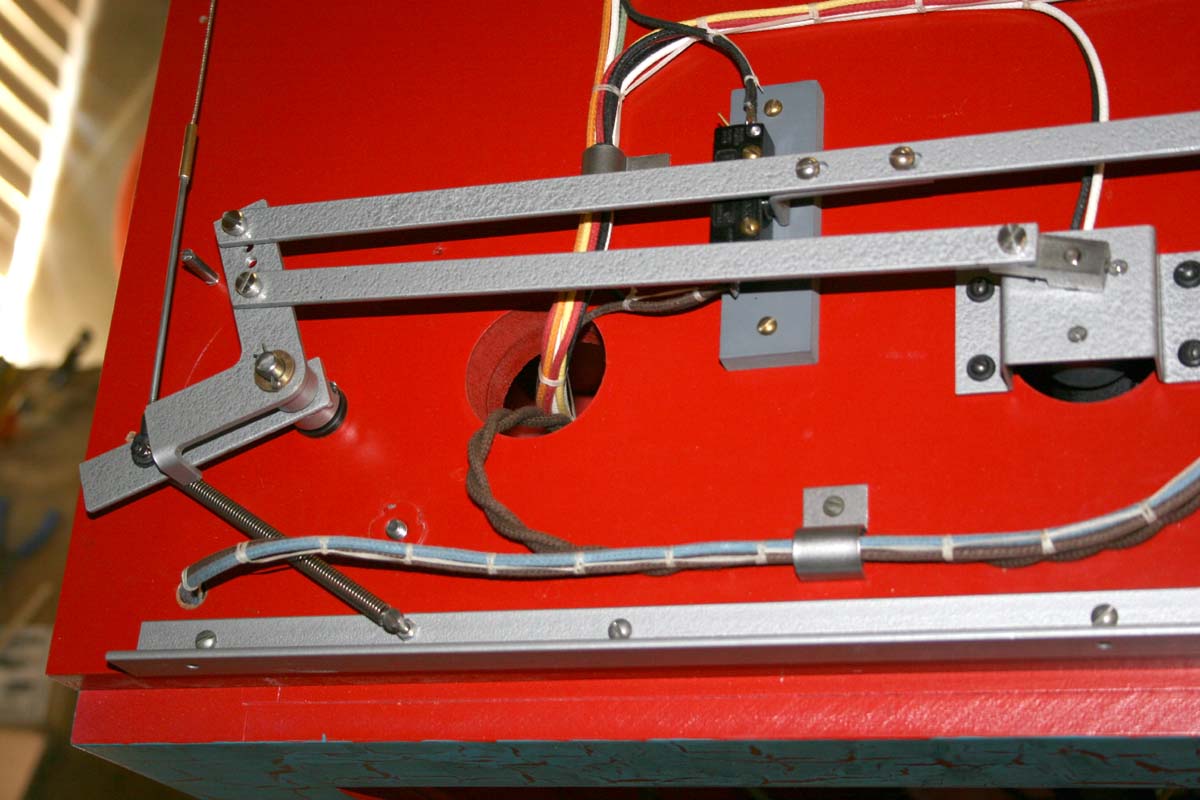
-
Gear Motor at Right Sweeps Ramp-Steering Torque Rods to Home Position
-
-
Fitting Some of the Final Parts
-

-
Three Colors of Vinyl Overlaid on Translucent White Acrylic Panel
-
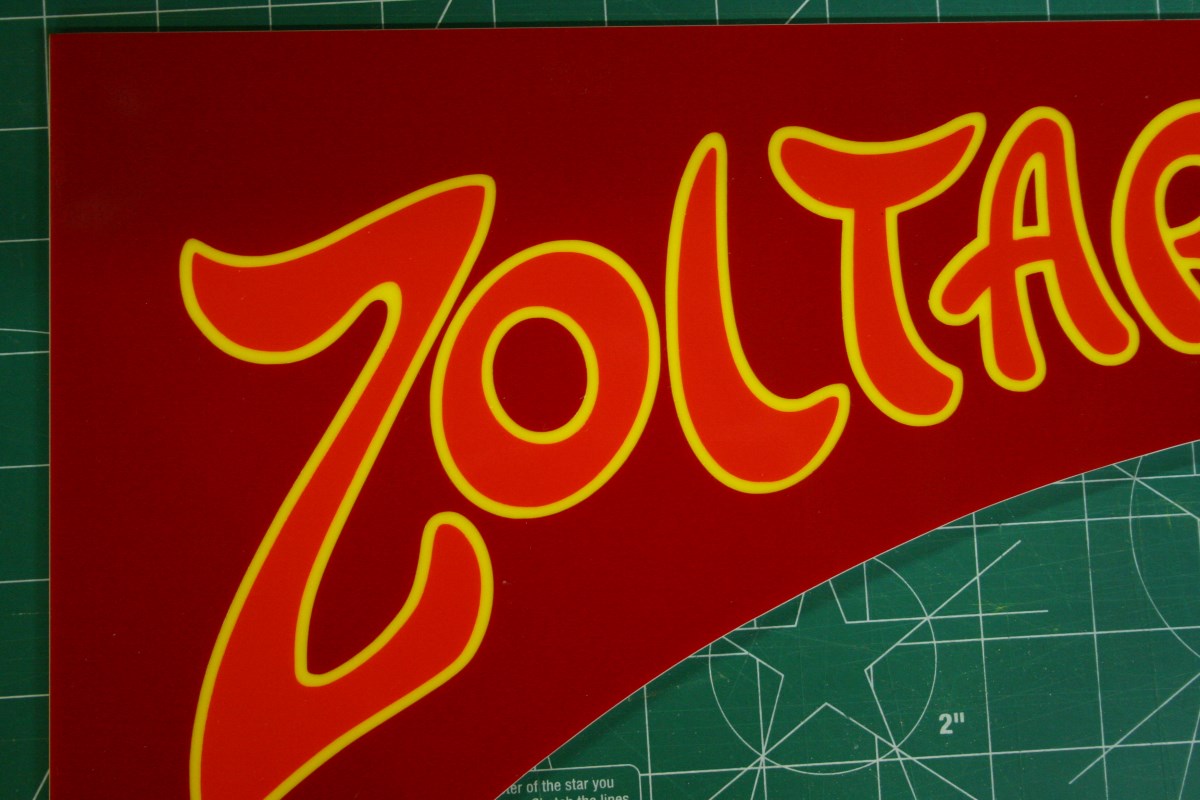
-
Closer View of Vinyl Overlays
-
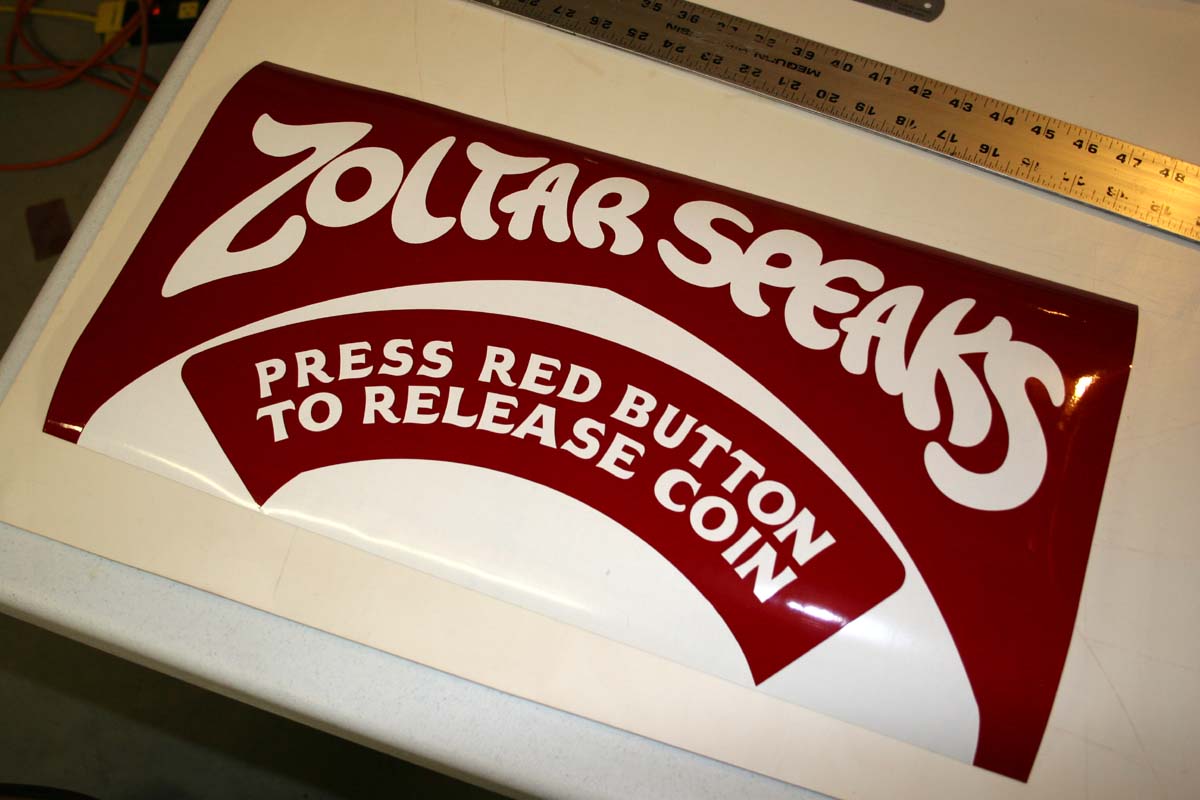
-
Translucent Vinyl Cut and Weeded, Ready for Wet Application
-
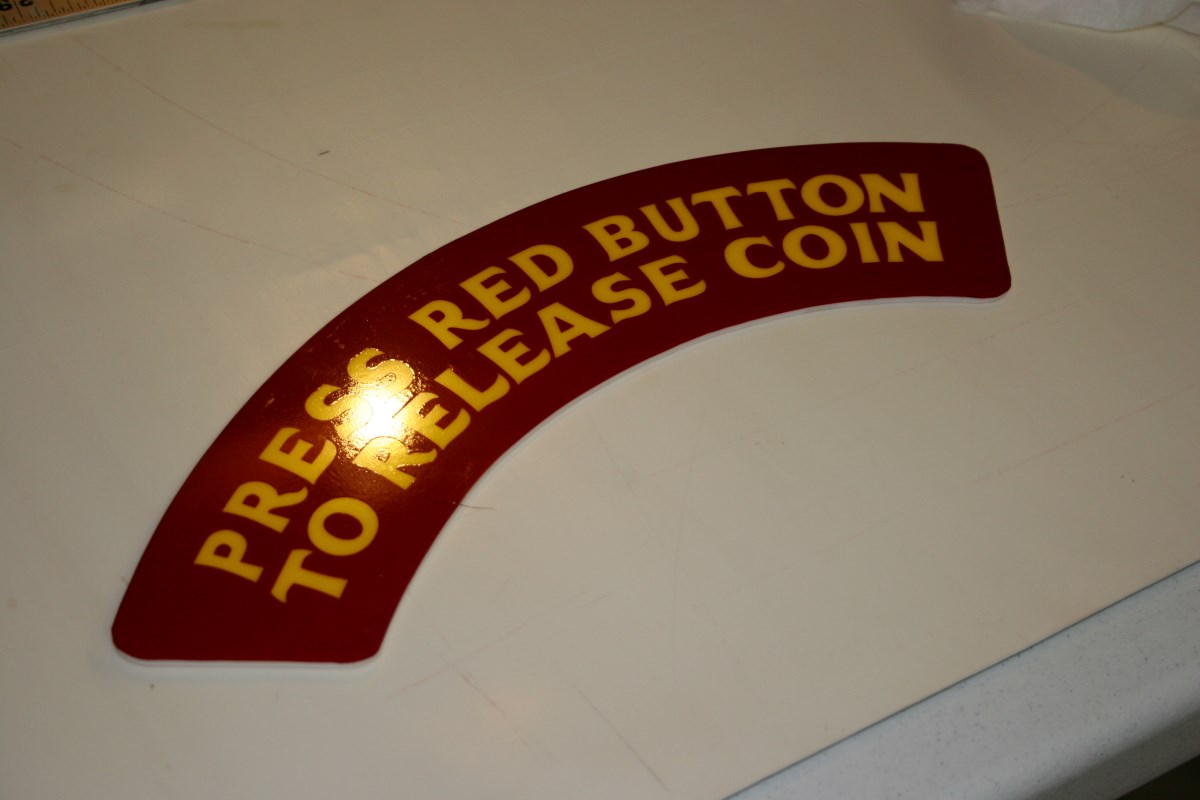
-
Translucent White Acrylic Panels with Yellow and Red Translucent Vinyl Overlays
-
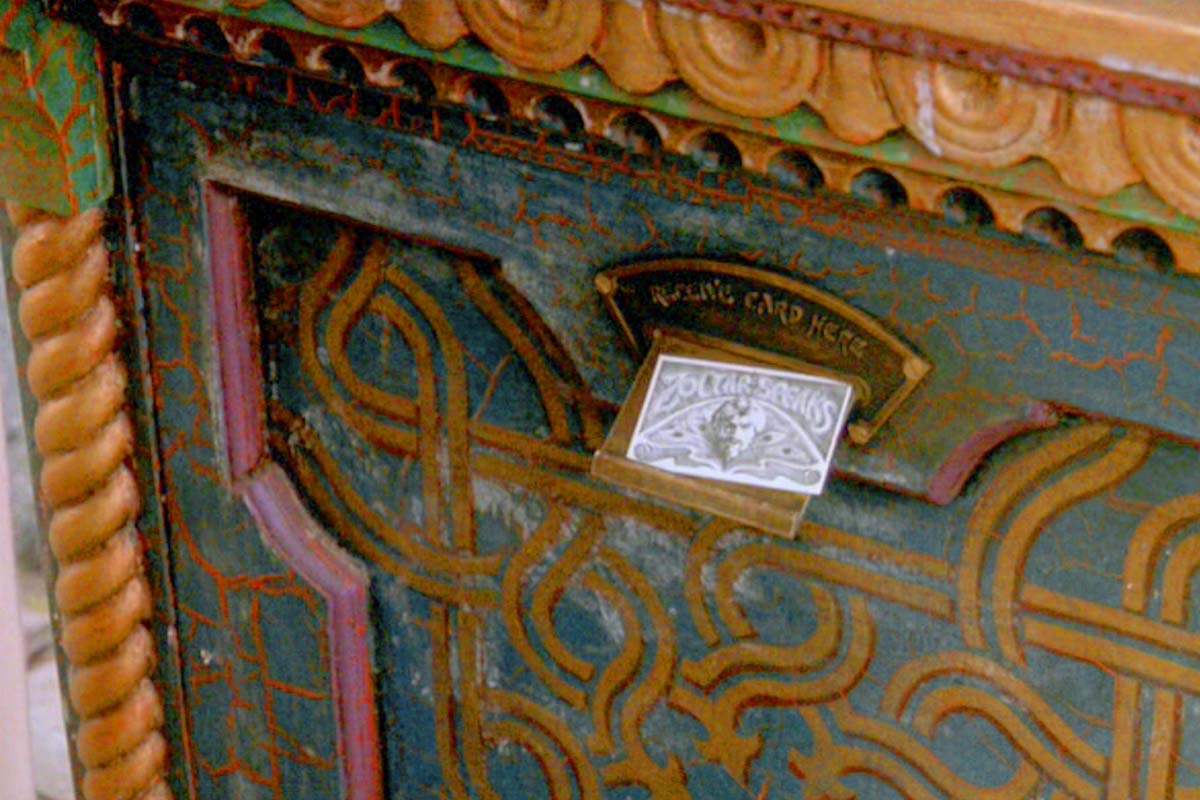
-
Paint Finish on the Original Machine From Film – DVD Screen Capture
-
-
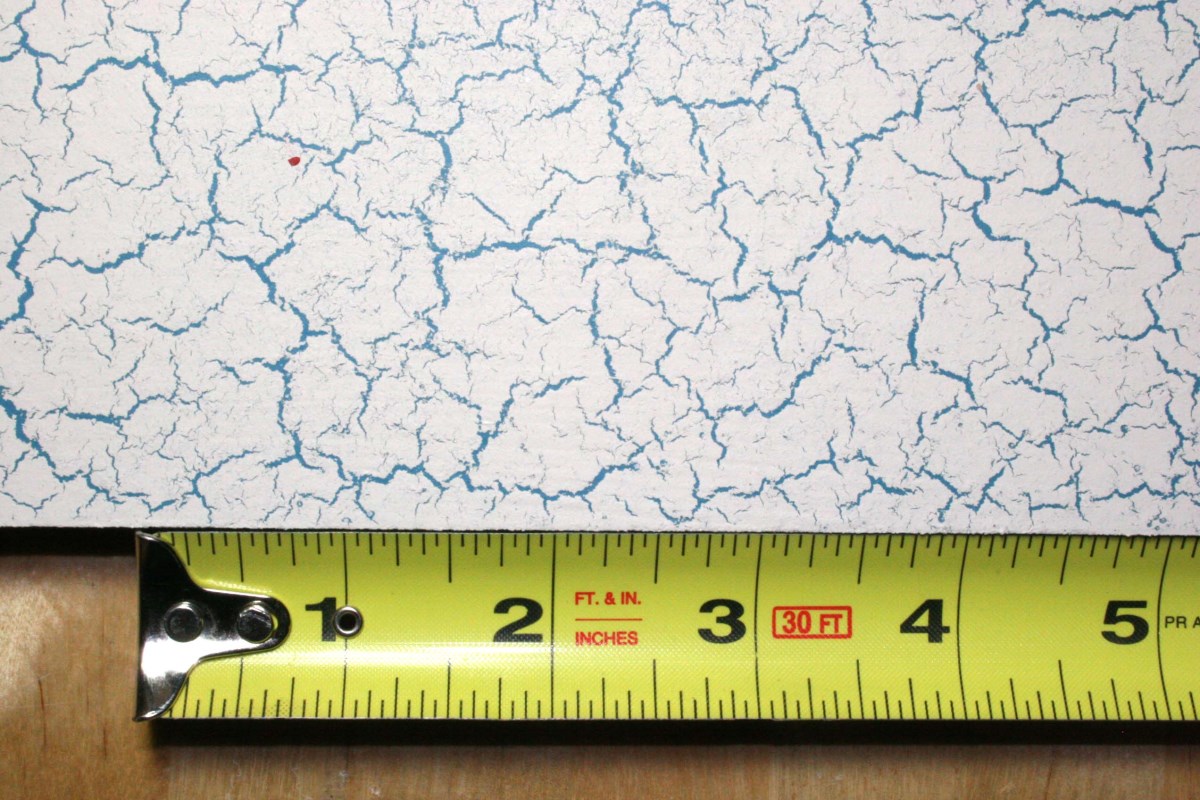
Sprayed Topcoat Will Produce Random Cracks – Size Depends on Paint Thickness
-
-
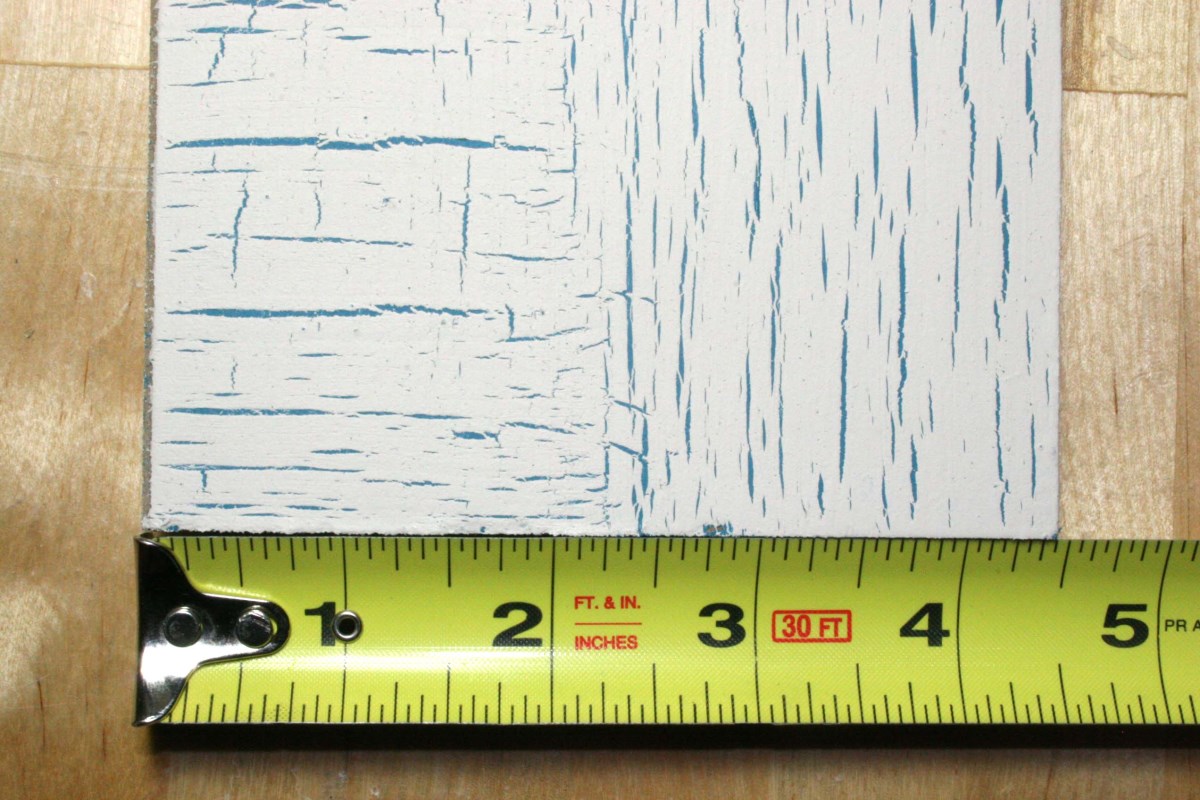
Brushed Topcoat Cracks in Lines – Thin Coat Produces Small Cracks Shown Here
-
-
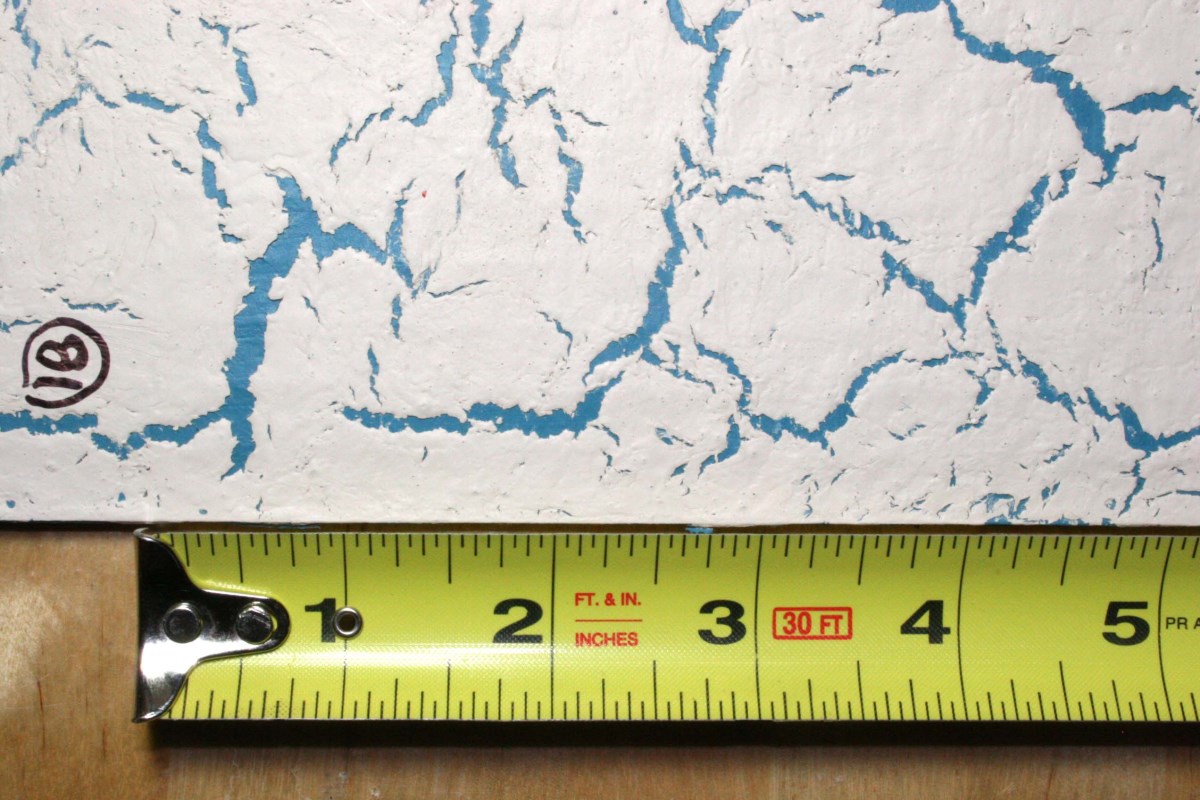
Thick Sponged-On Topcoat Produces Large Random Pattern
-
-
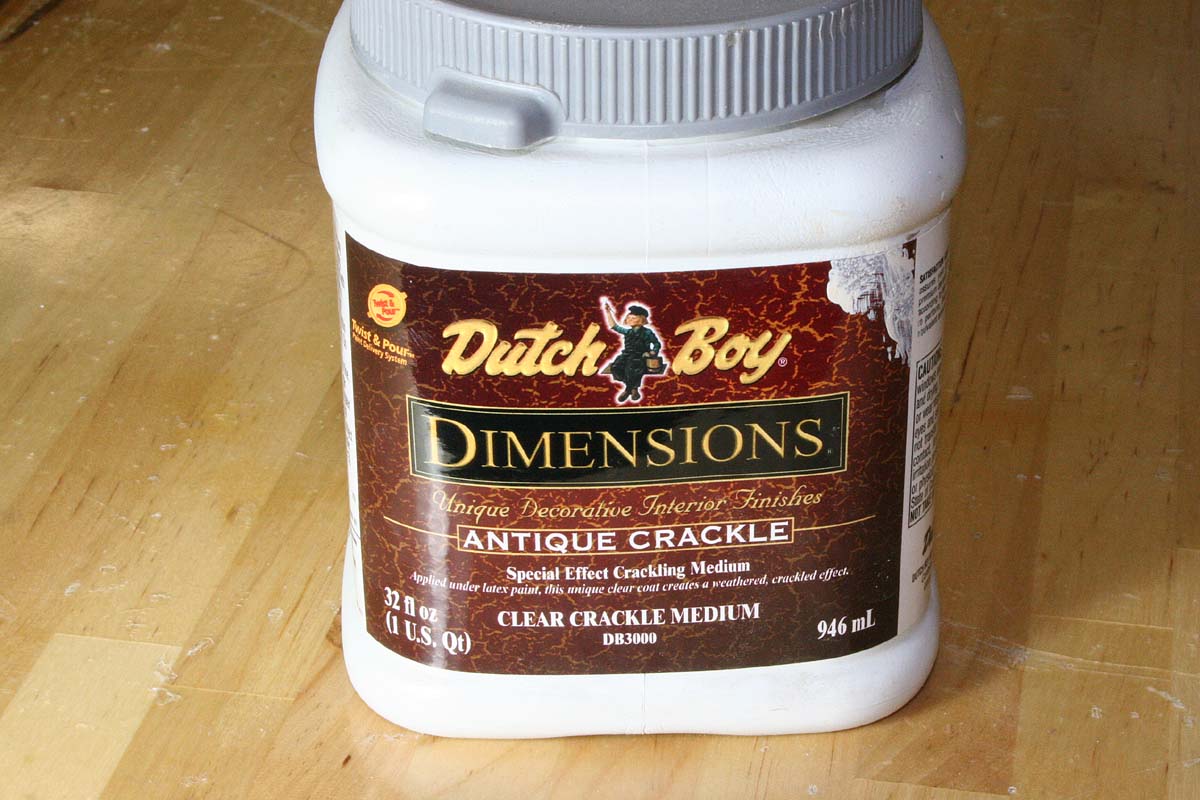
Crackle Medium Used on This Project – White Glue Works Too
-
-
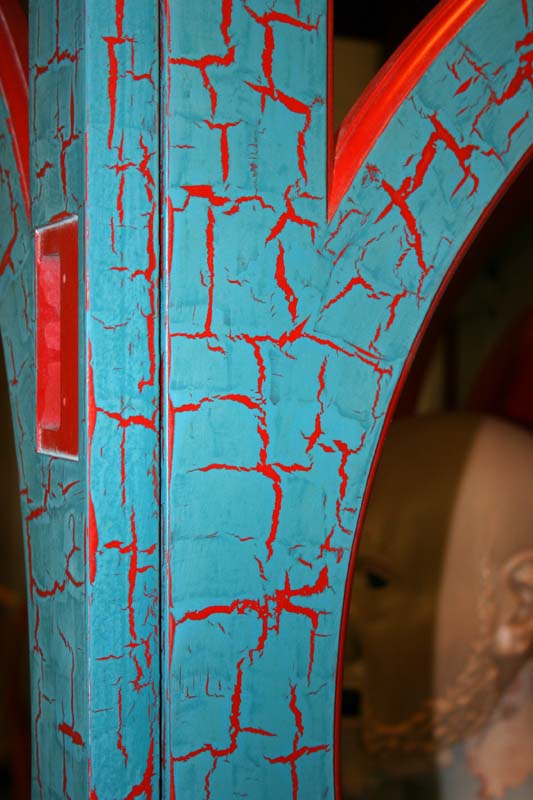
Paint Texture – Cracks Are Dominant at Right Angles. See Text
-
-
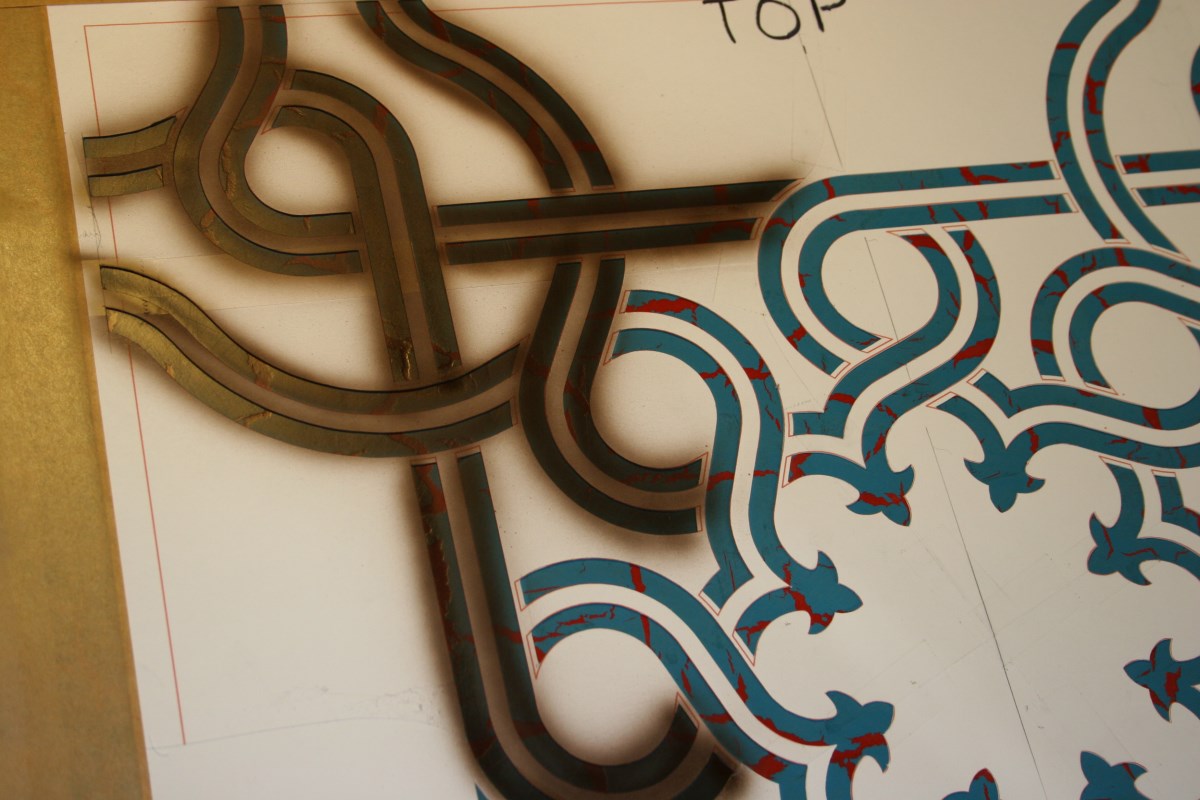
First Coat of Pattern Was Dark to Give a Shadow Appearance. Hand-Cut Stencil Was Shifted Horizontally and the Highlight Gold Sprayed On Top
-
-
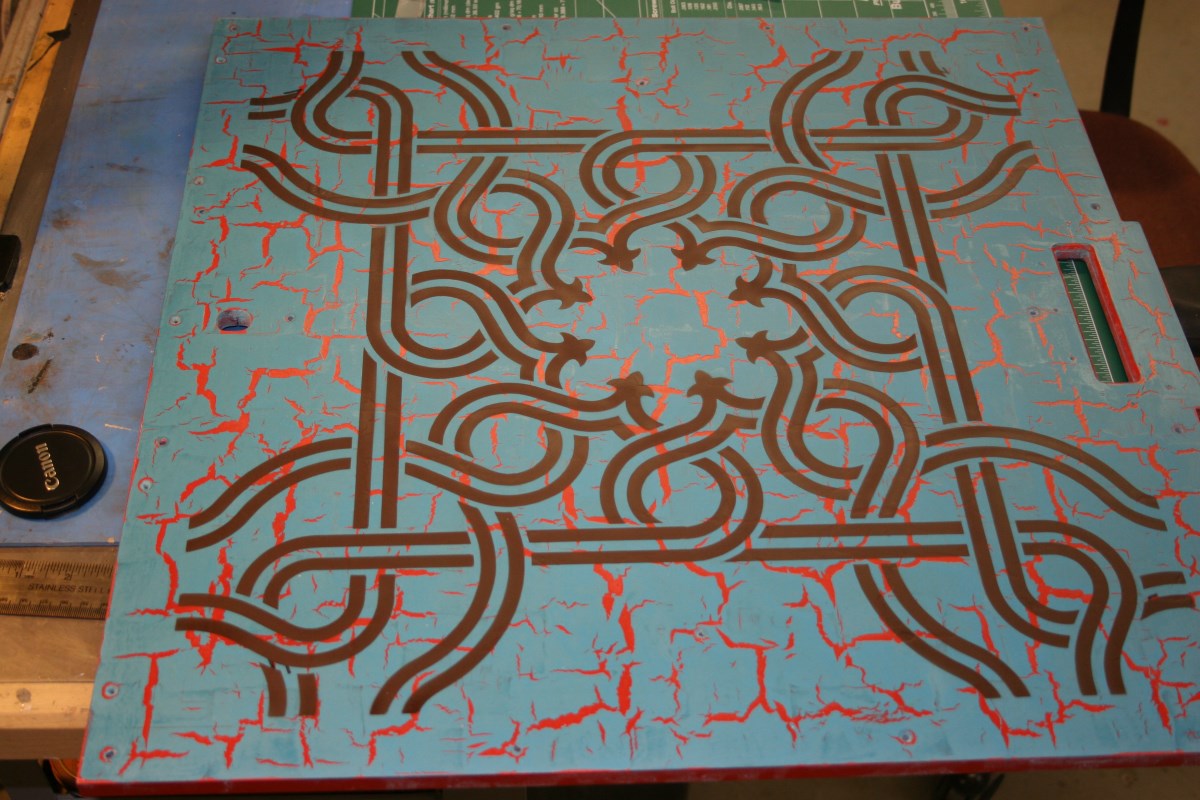
Finished Shadow Layer on Front Panel
-
-
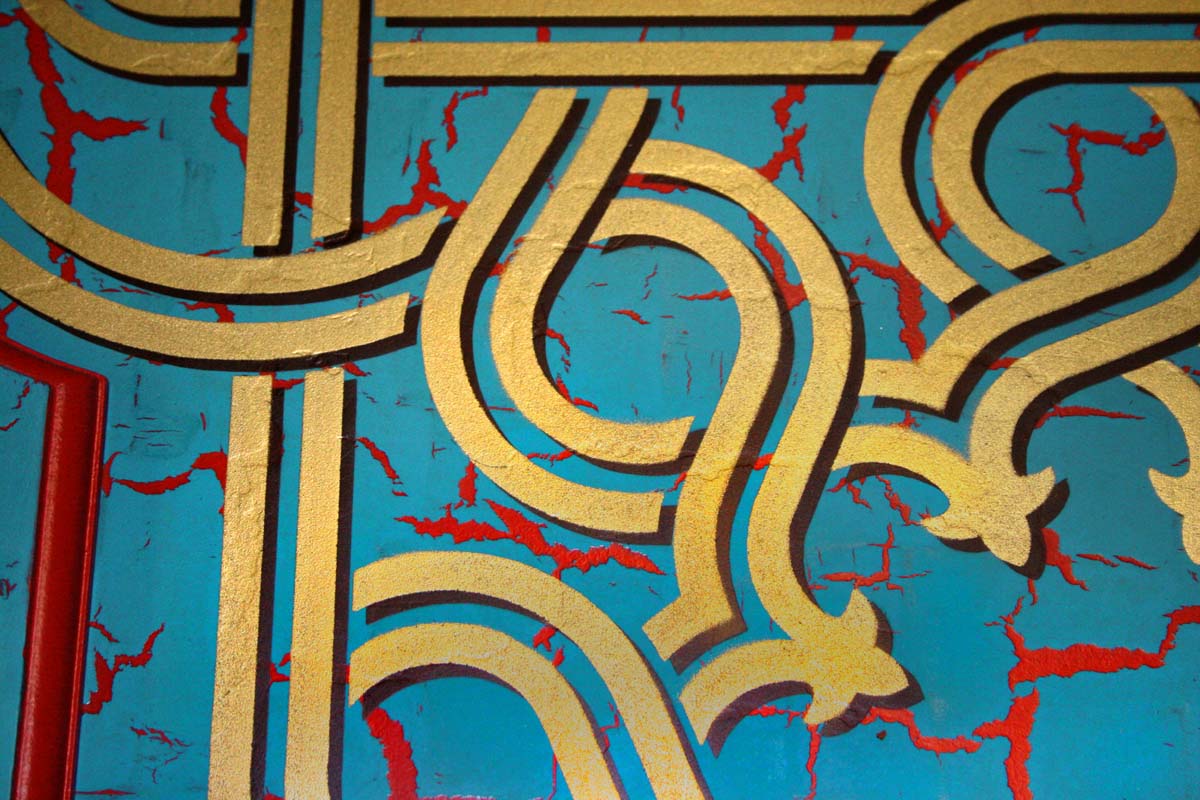
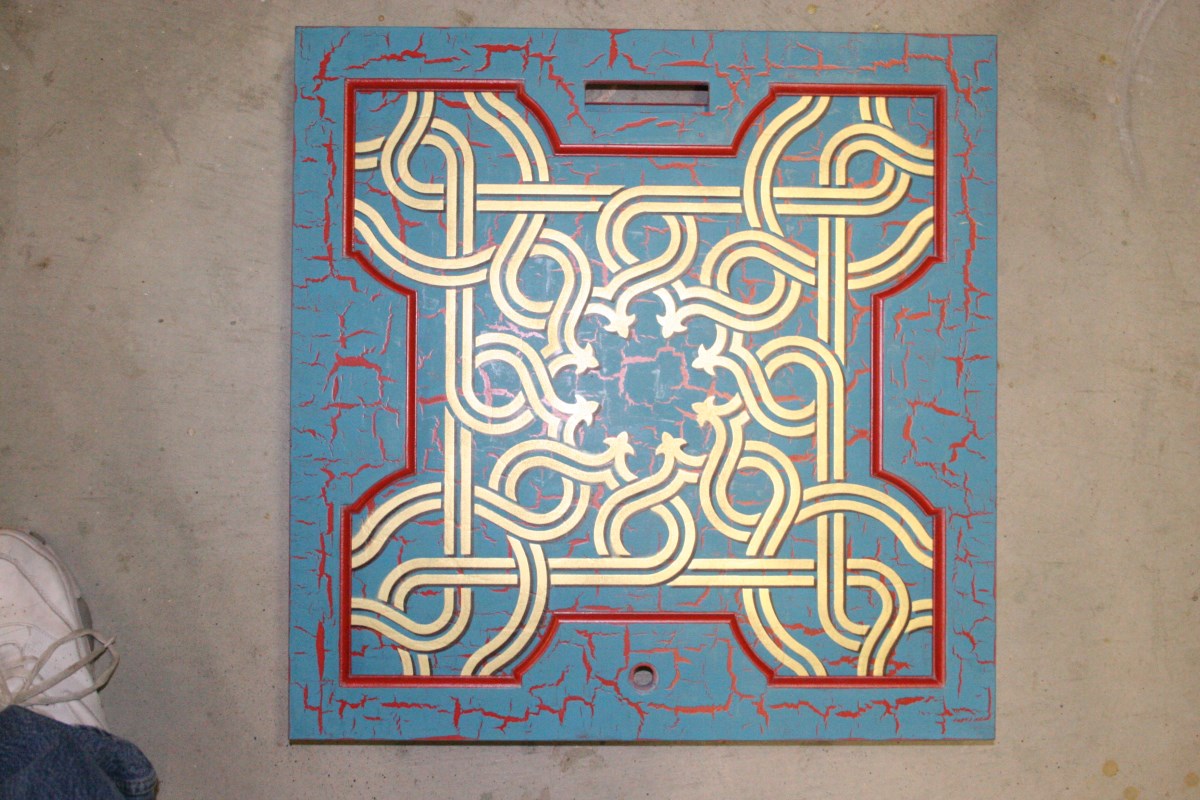
Detail of the Shadowed Panel Decoration
-
-
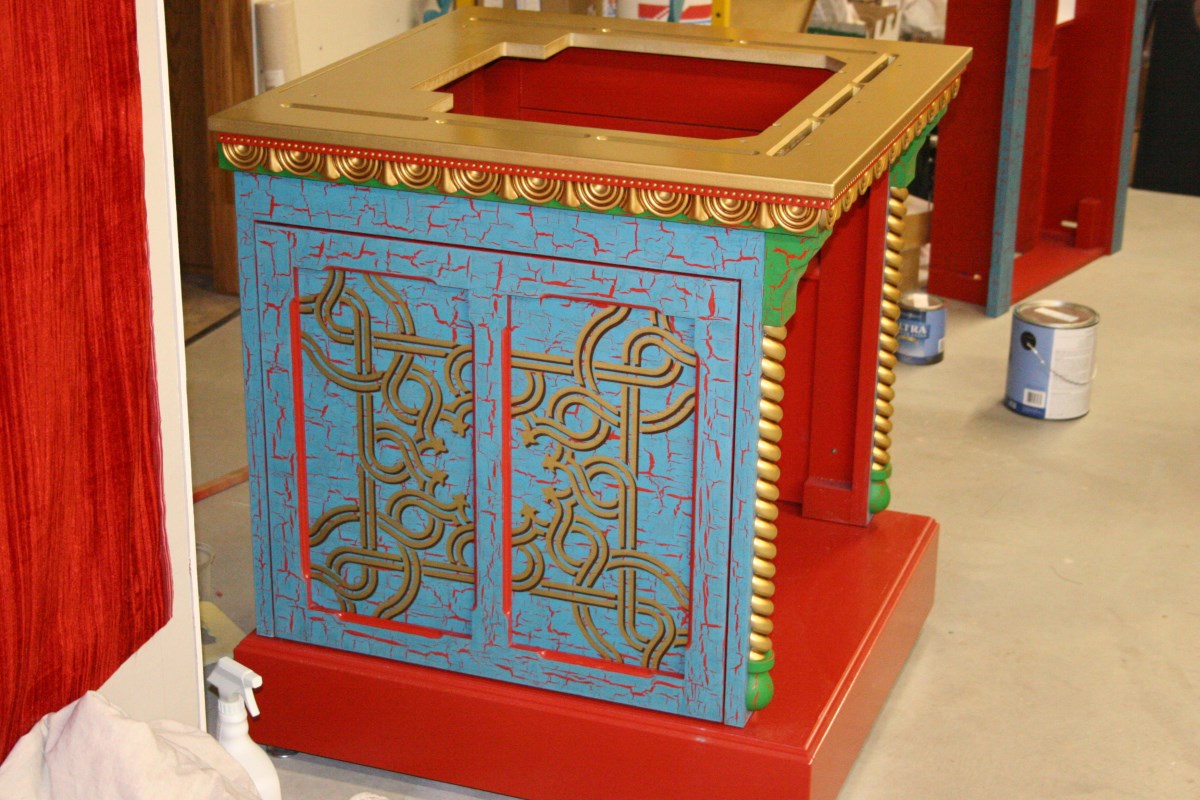
Finished Lower Front Panel
-
-
Sides Used the Same Stencil as the Front Except it was Painted With a Center Gap to Account for Center Stiles
-
-
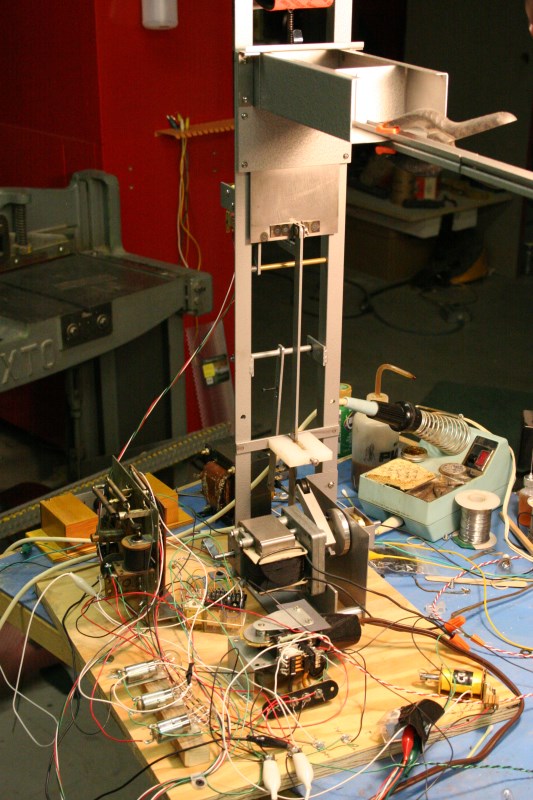
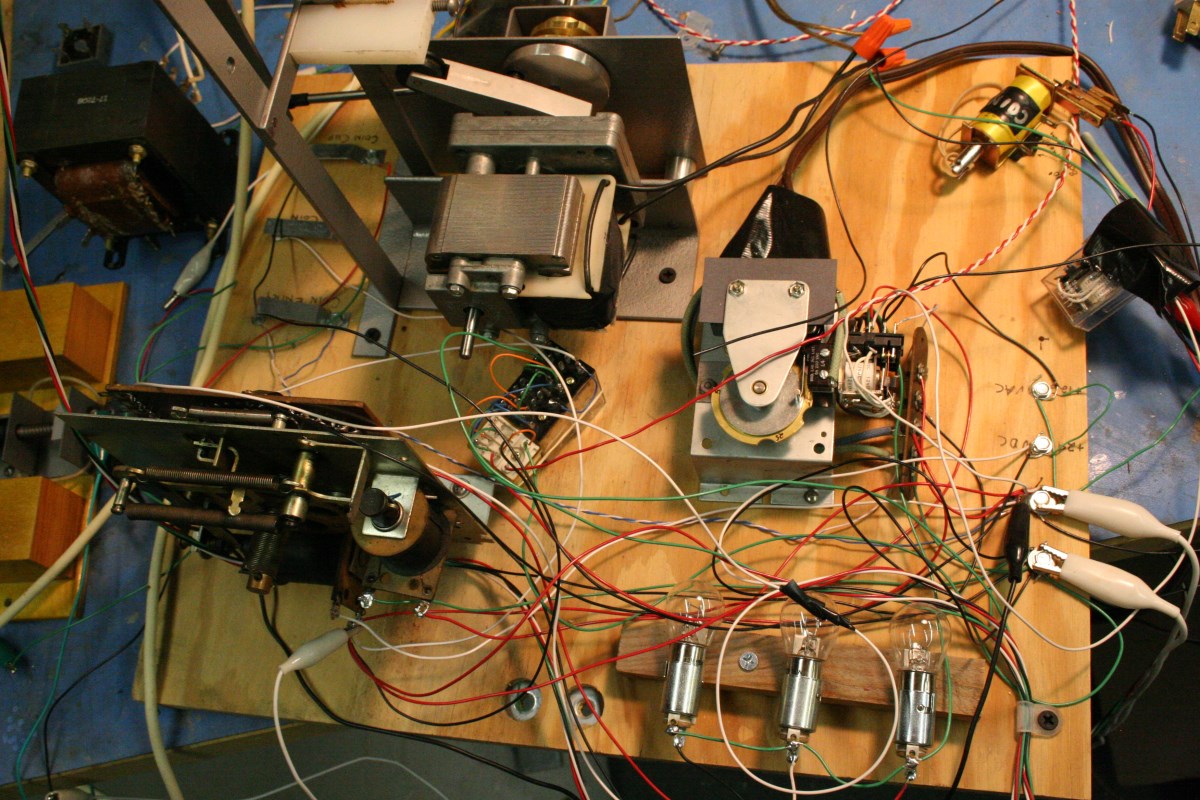
This Kludge Was Used for Electromechanical Logic and Software Development
-
-
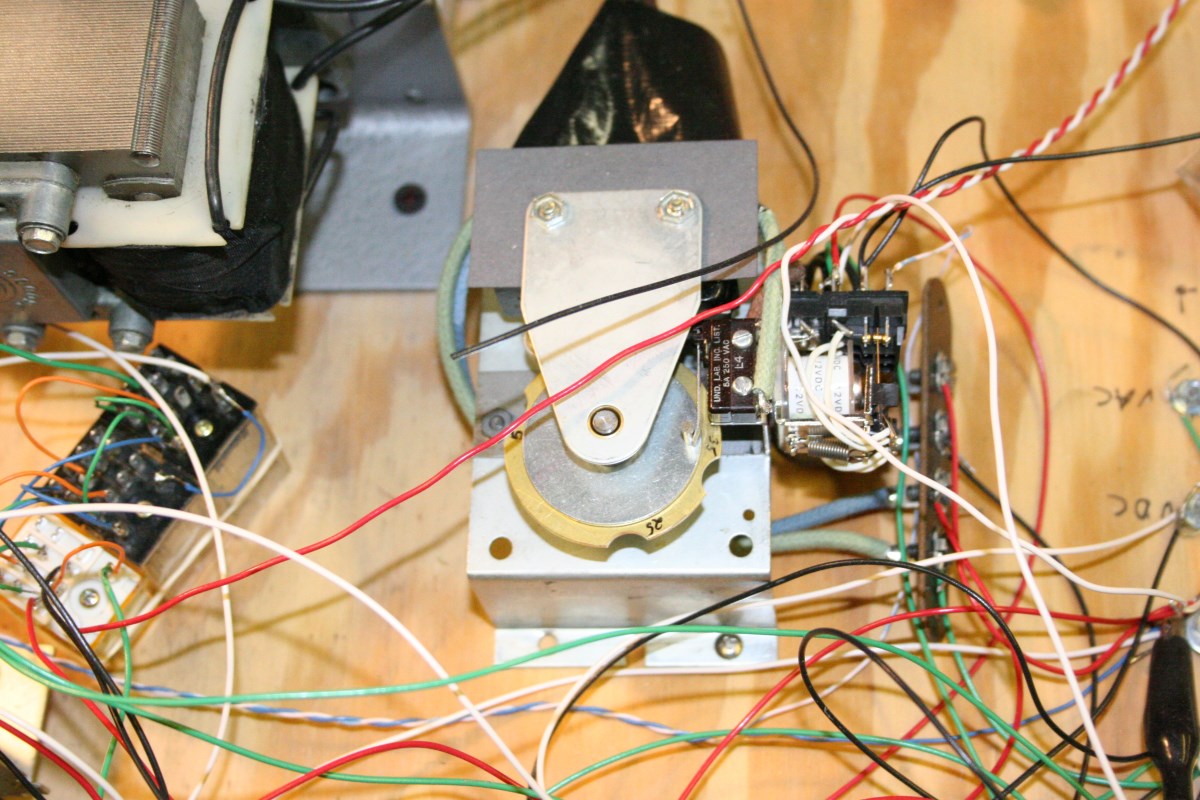
A 1 Minute Timer With a Custom Cam Performs All Time-Sequencing
-
-
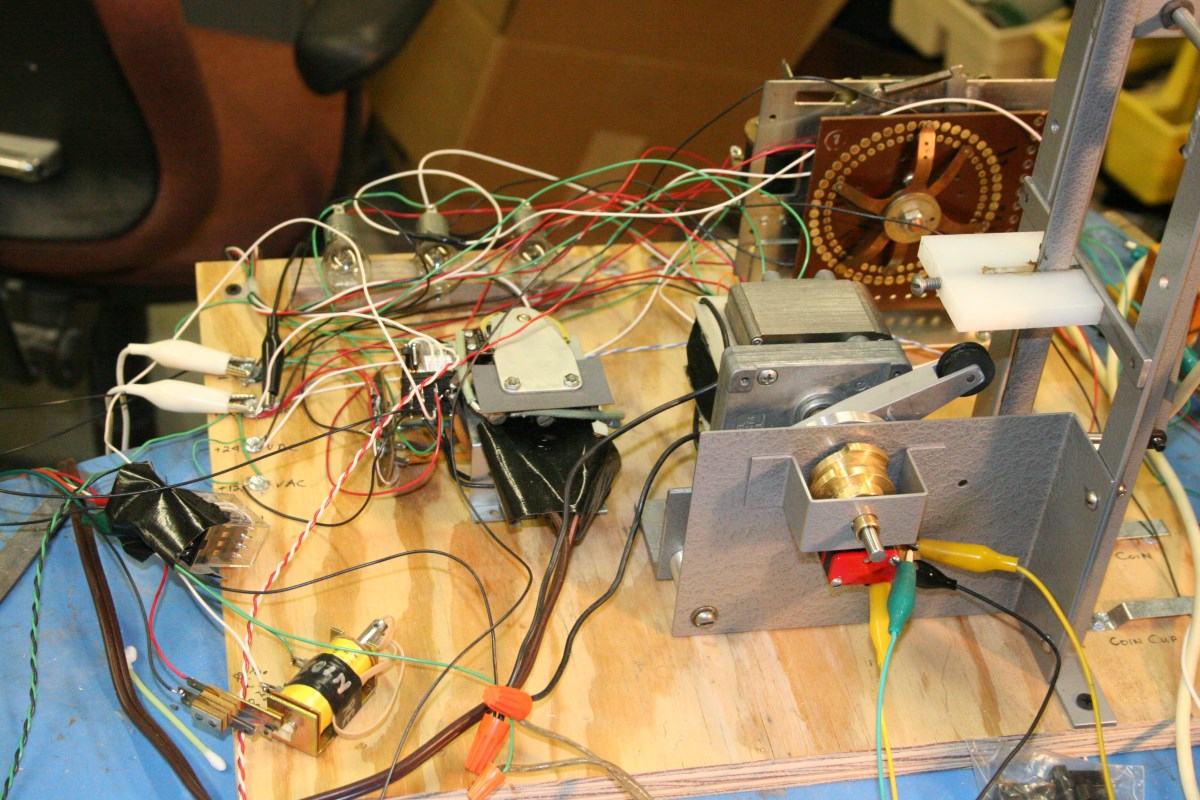
Stepper Switch from a Bowling Machine, a Timer, the Head-Rocking Motor, and Miscellaneous
-
-
A Better View of the Stepper Switch & the Head-Rocking Motor Assembly
-
-
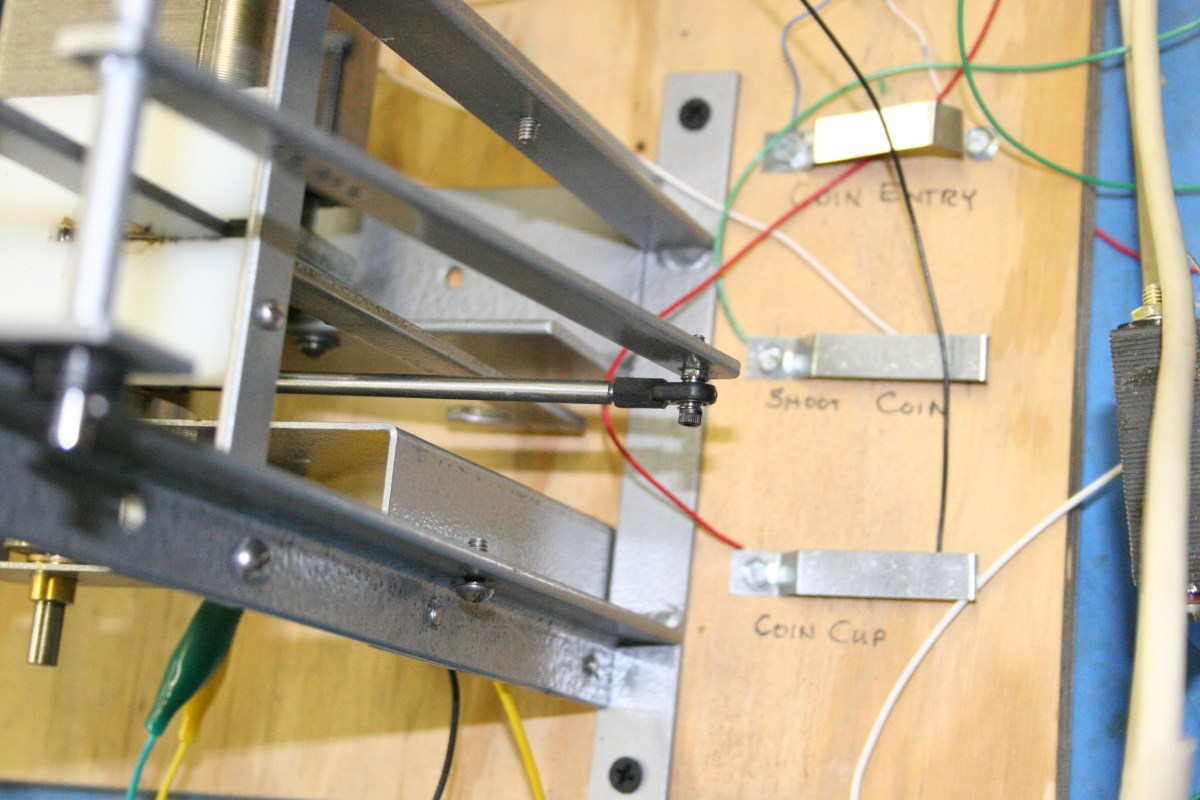
Simple Switches on Test Board Used to Simulate Coin-Activated Events
-
-
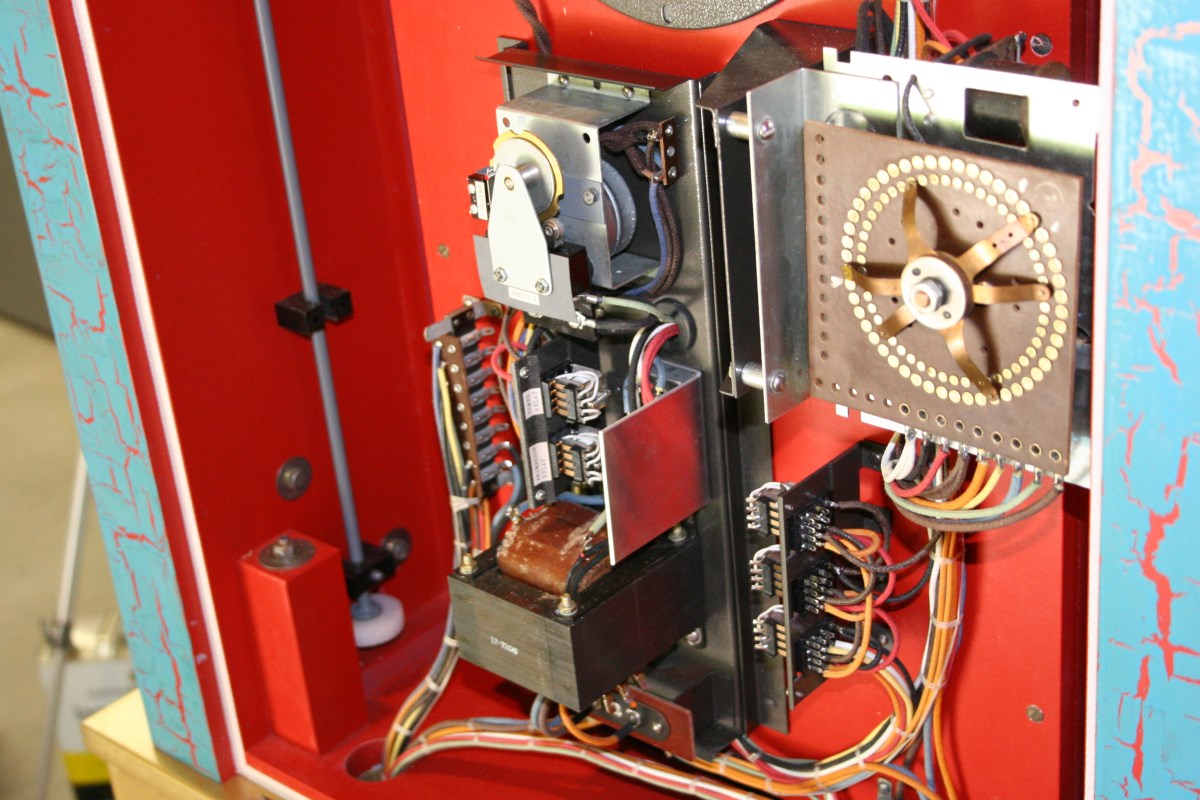
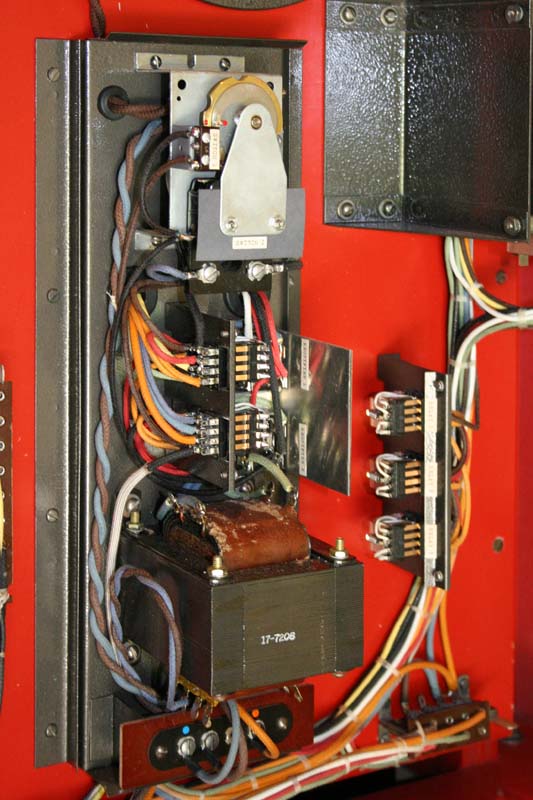
Most of the Electromechanical Play Logic Relays and Stepper Switch are Visible Here
-
-
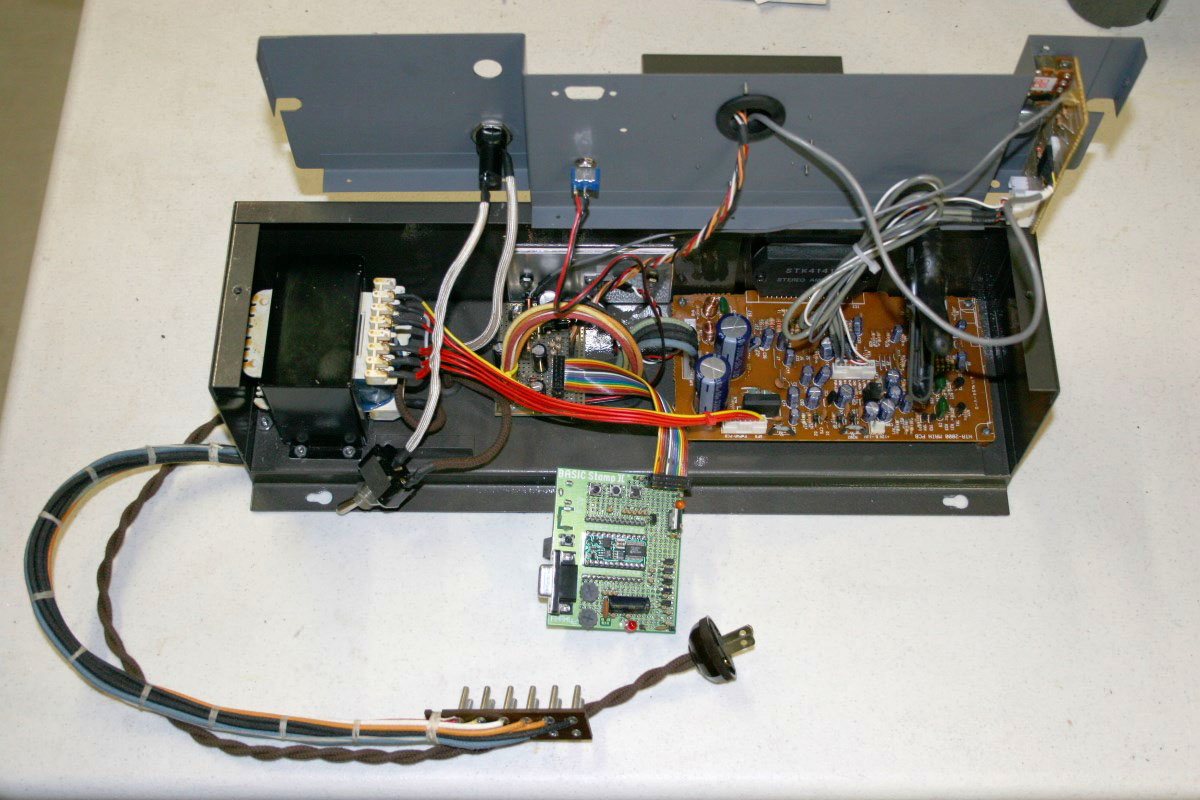
Timer & Power Supply Module has Mixed Low and Line Voltages and is Enclosed for Safety
-
-
This is the Optional Sound/Music Module and Microprocessor; The Machine Functions (Quietly) Without It.
-
-
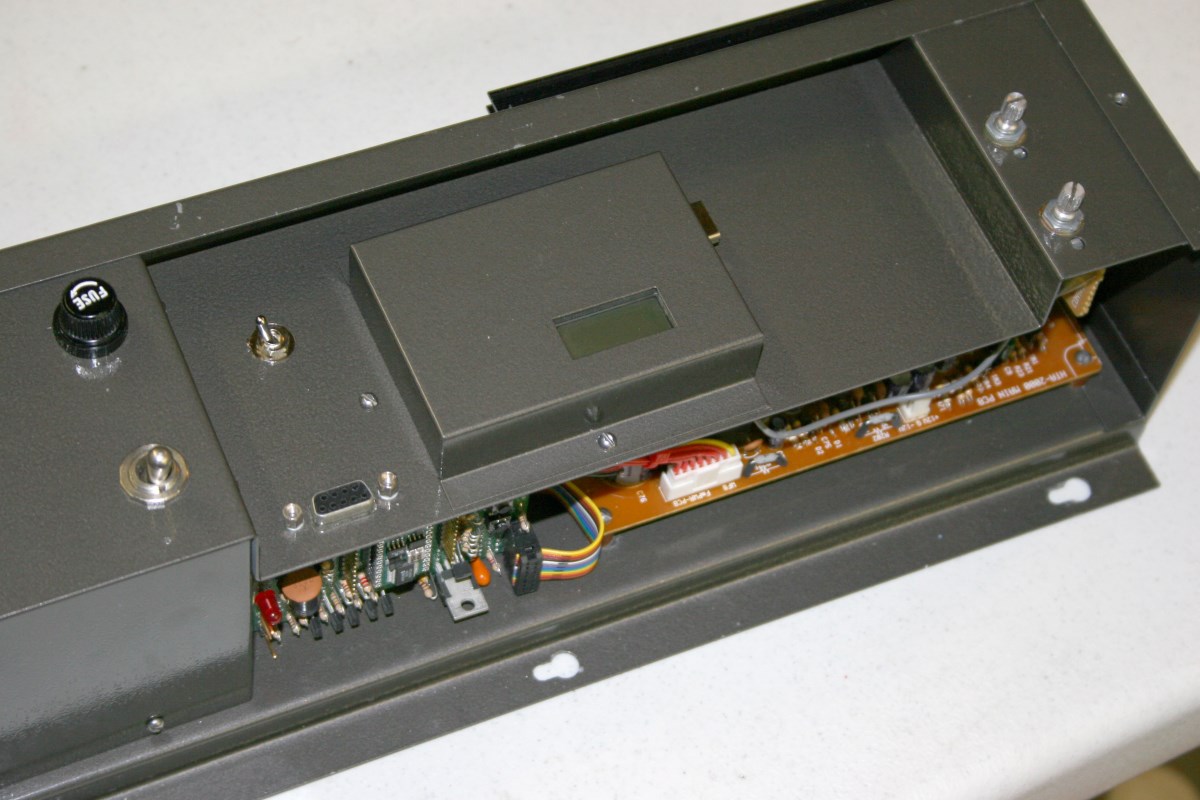
Separate Protective Cover Over The MP3 Player Still Allows Access to LCD Panel; Another Cover Hides Everything
-
-
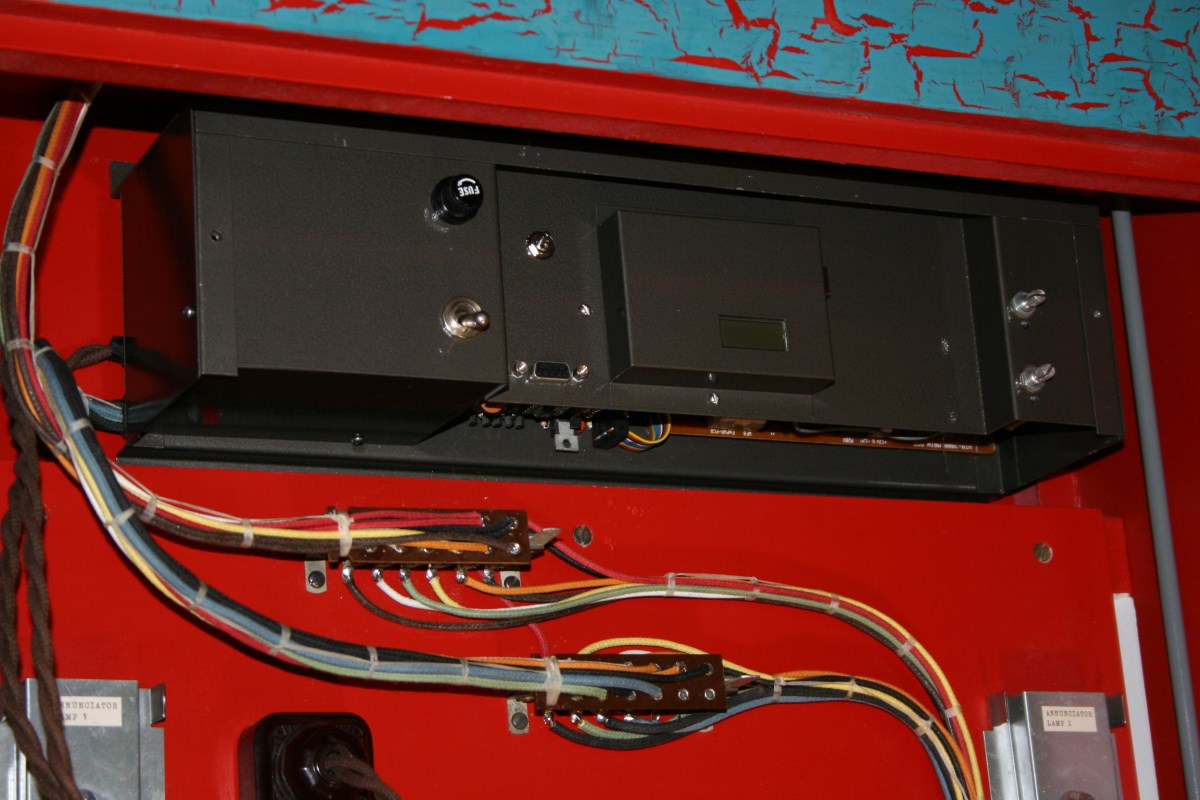
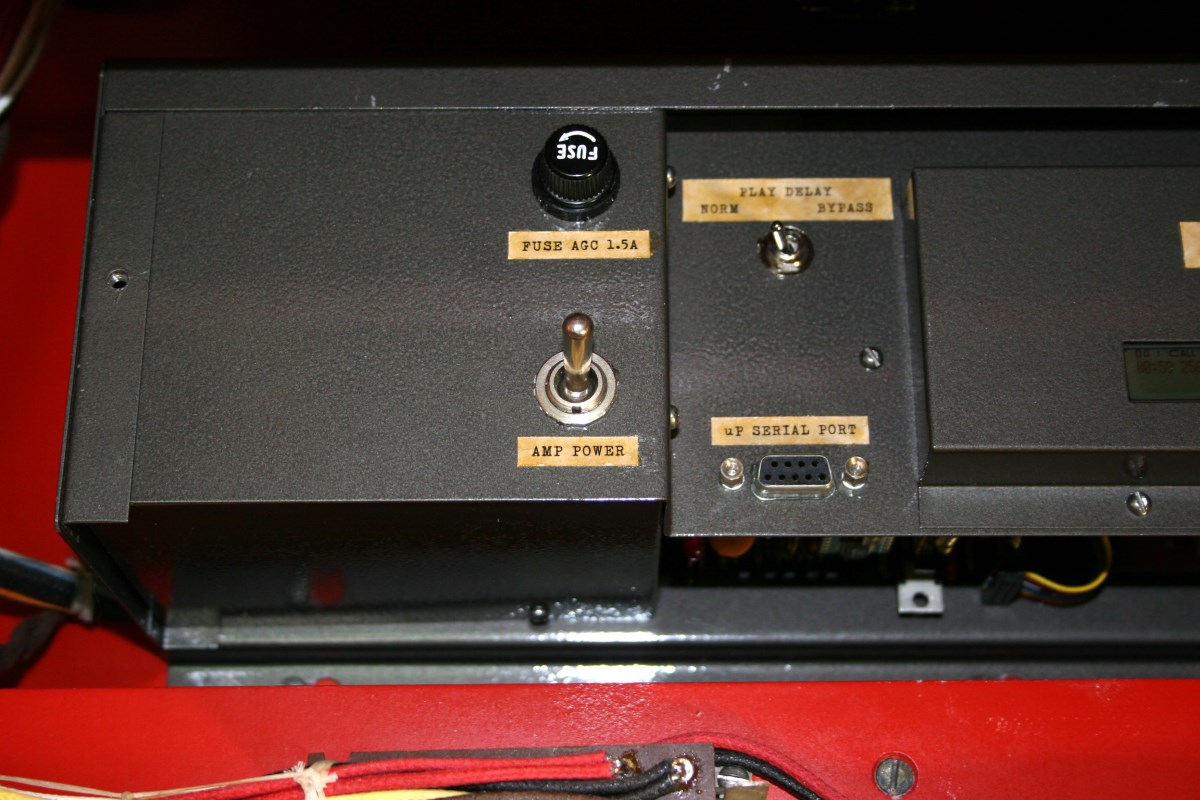
Sound/Microprocessor Module – Another Cover Hides Electronics
-
-
Typewritten Labels to Emulate Look of Interior Labels of Old Arcade Machines.
-
-
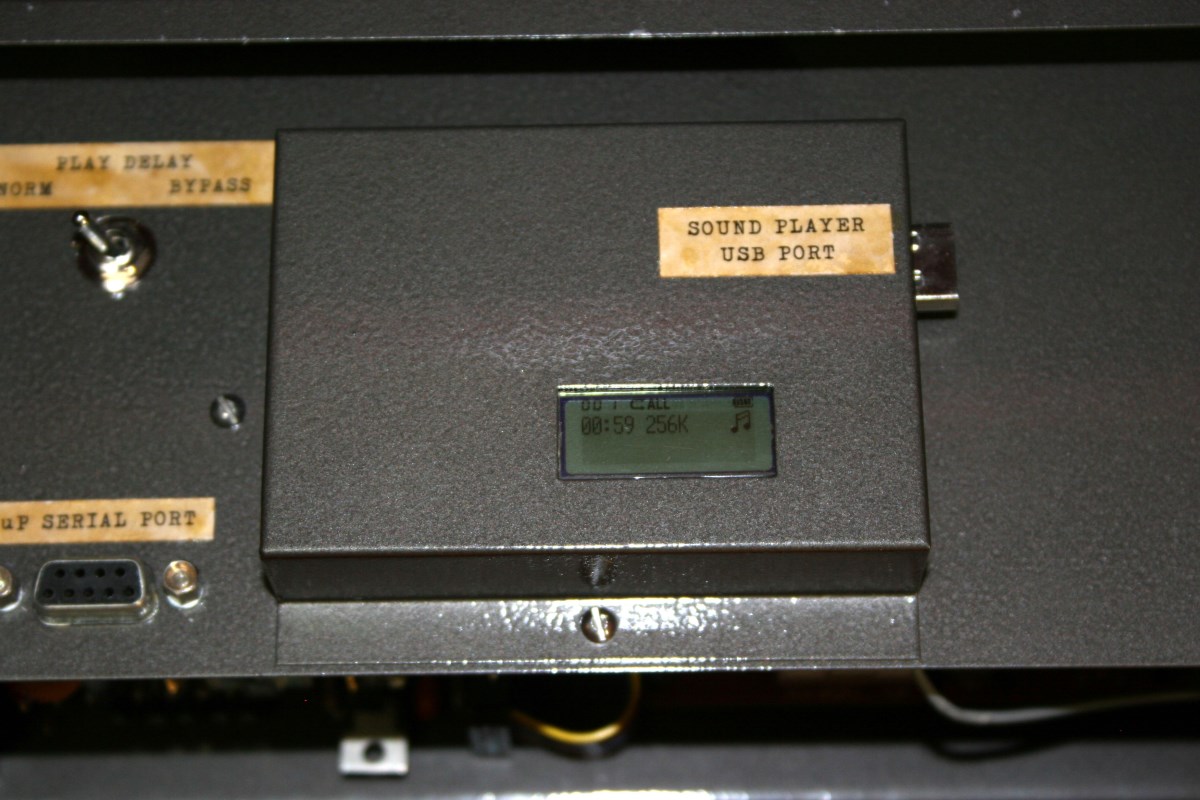
LCD Panel is a Dead Giveaway as to Age; USB and Serial Connectors Don’t Help Either. Shown With Main Cover Removed
-
-
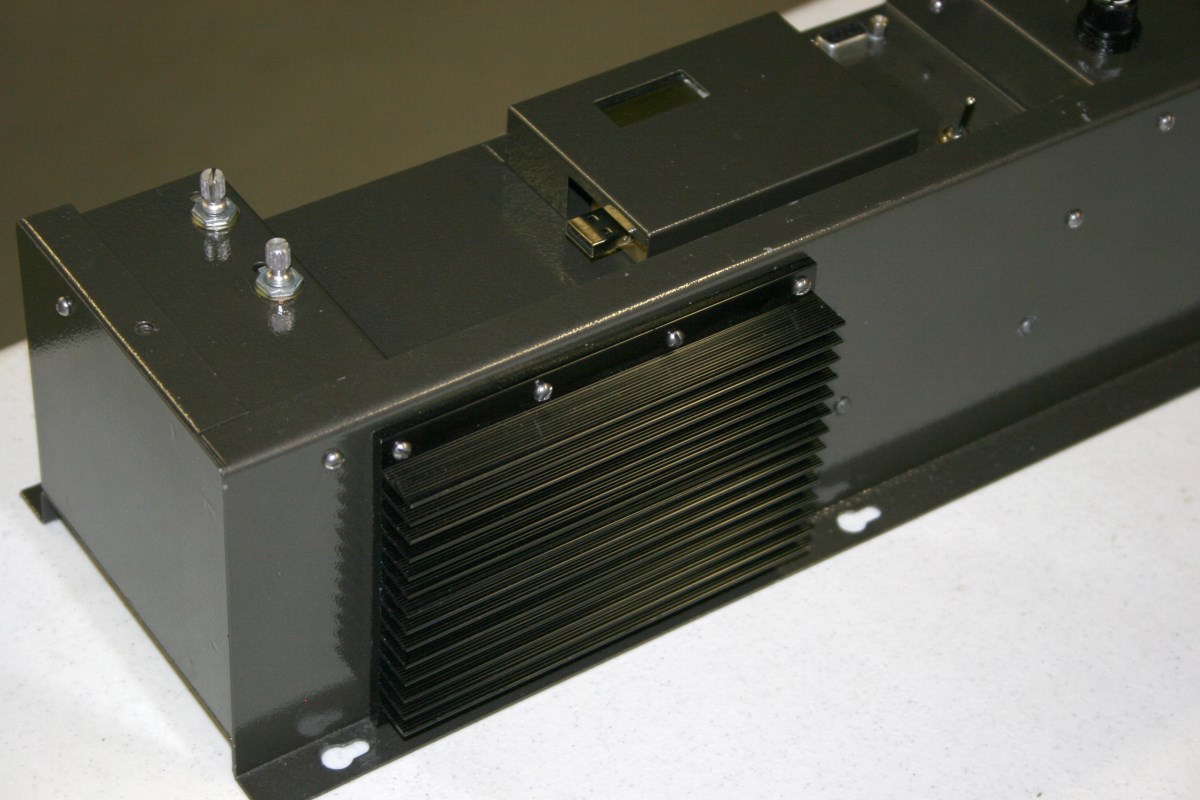
Heat Sink for Audio Amplifier on Top of Sound Module
-
-
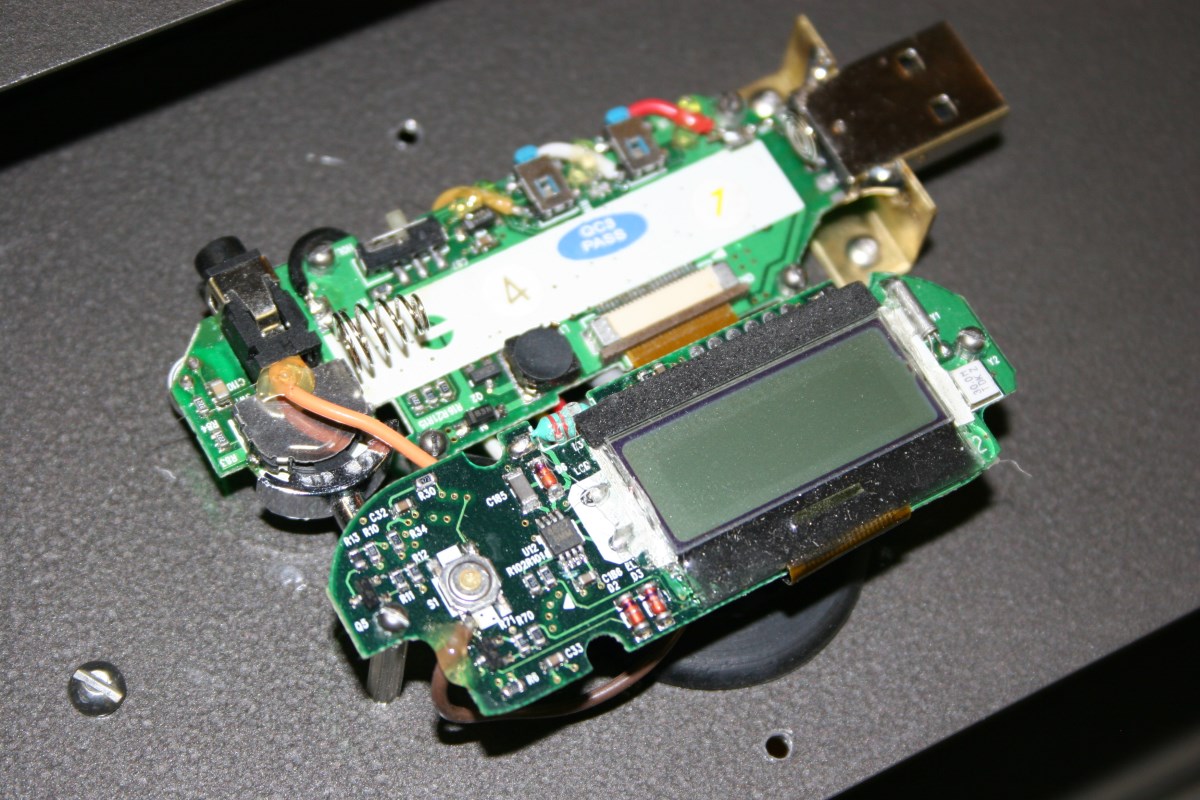
Modified MP3 Player Provides Sound Effects; Microprocessor Sends the Correct Trigger Pulses
-
-
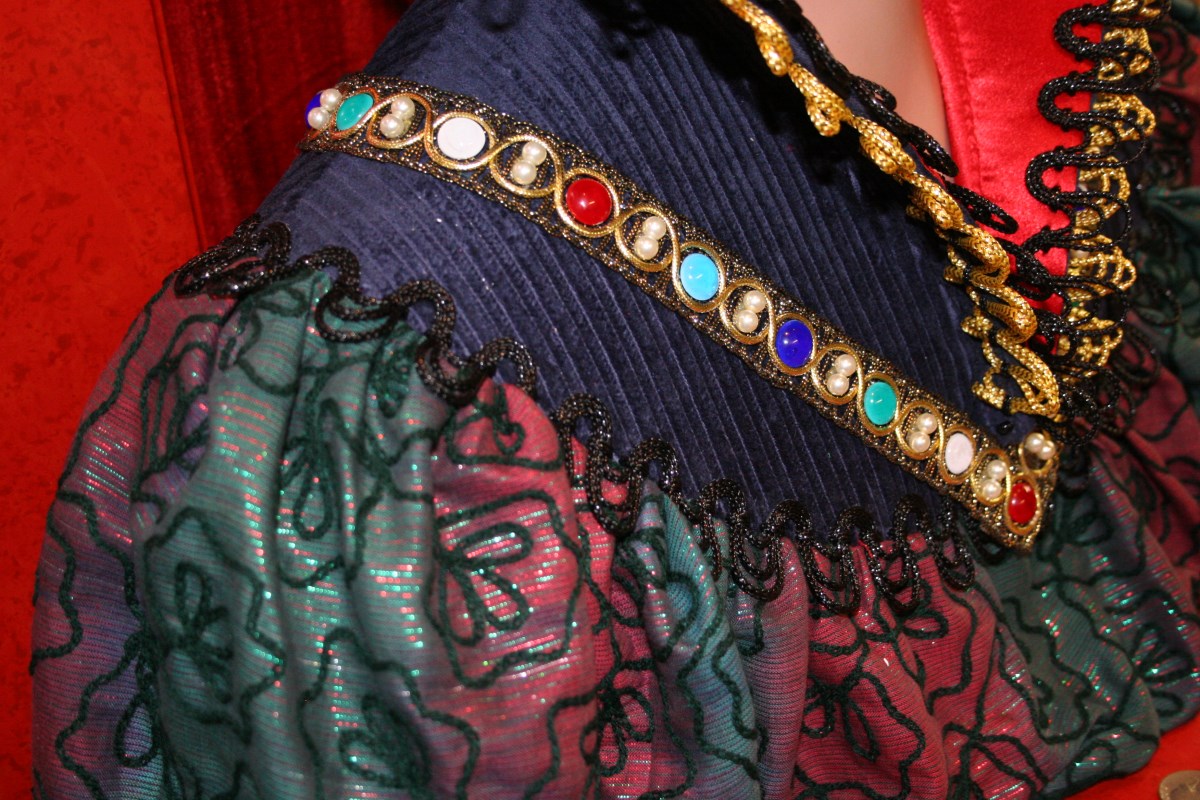
Fabric Match to Original was Impossible – I Did the Best I could
-
-
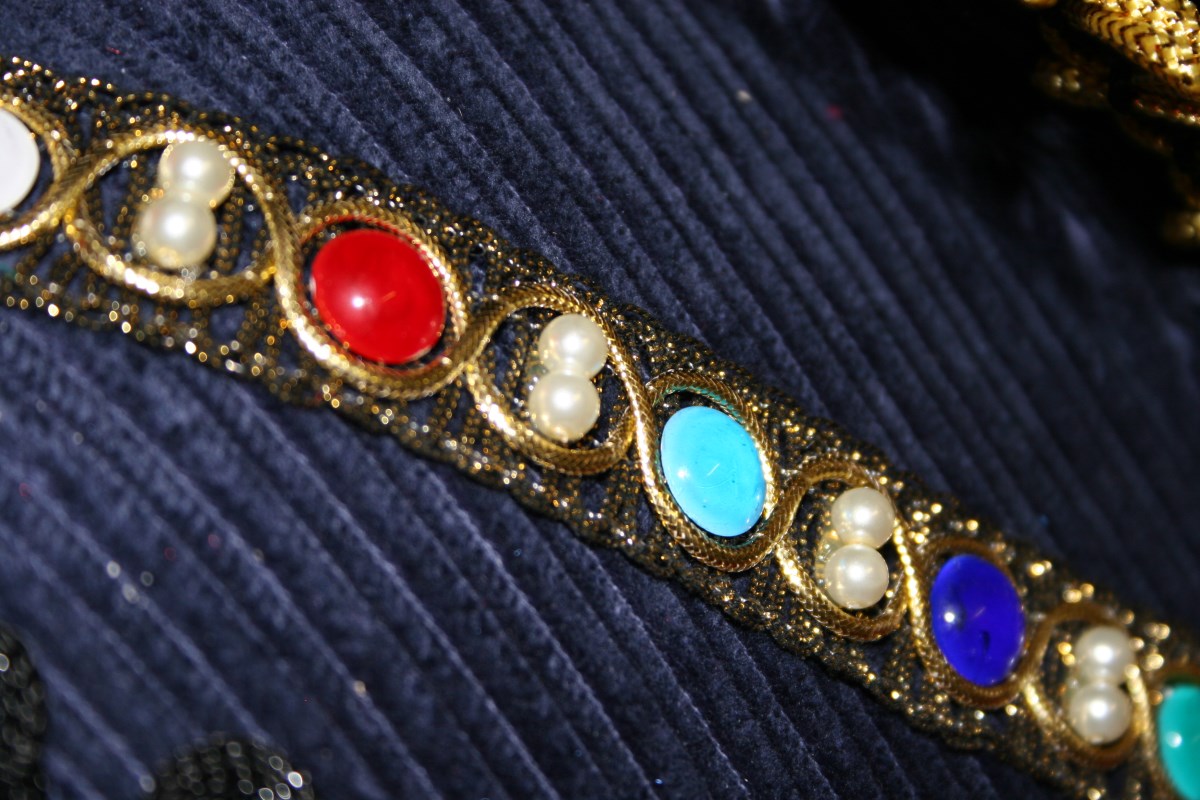
Becky Made the Lampwork Colored Glass Cabochons for the Necklace
-
-
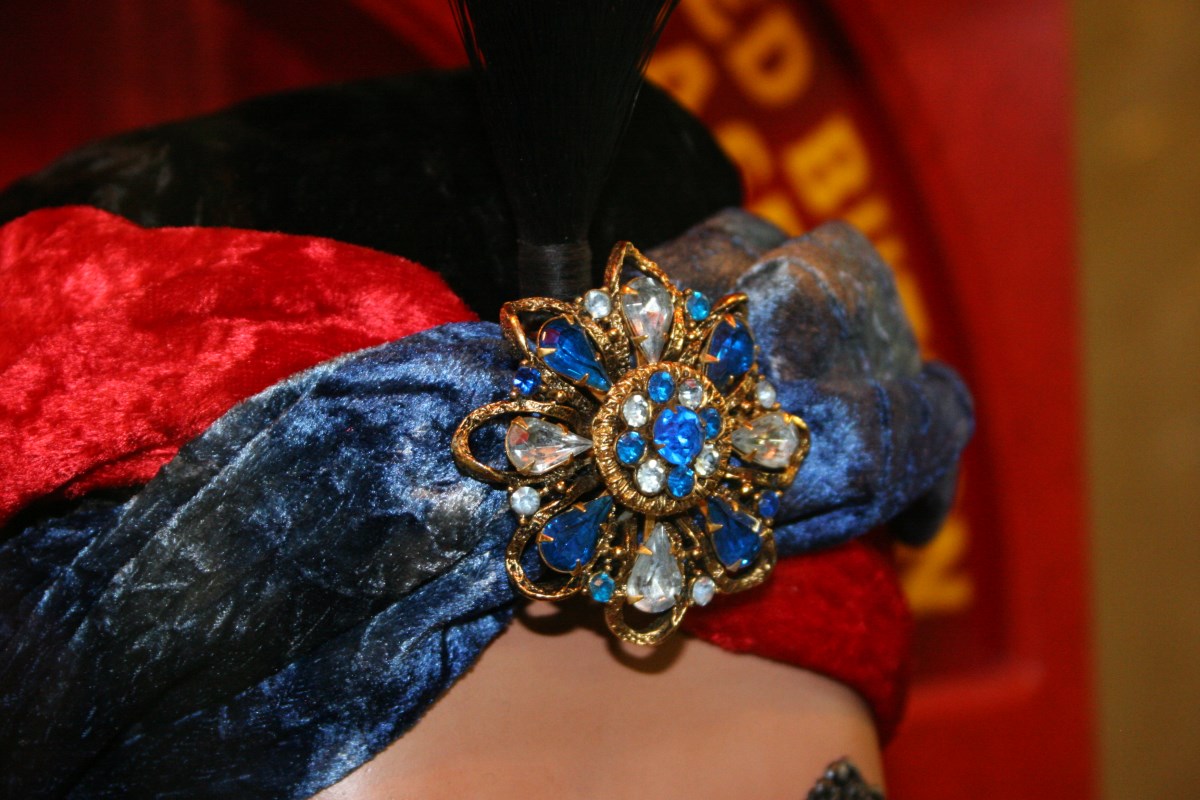
Vintage Brooch is Not Like the Original Decoration but Looks Pretty Nice
-
-
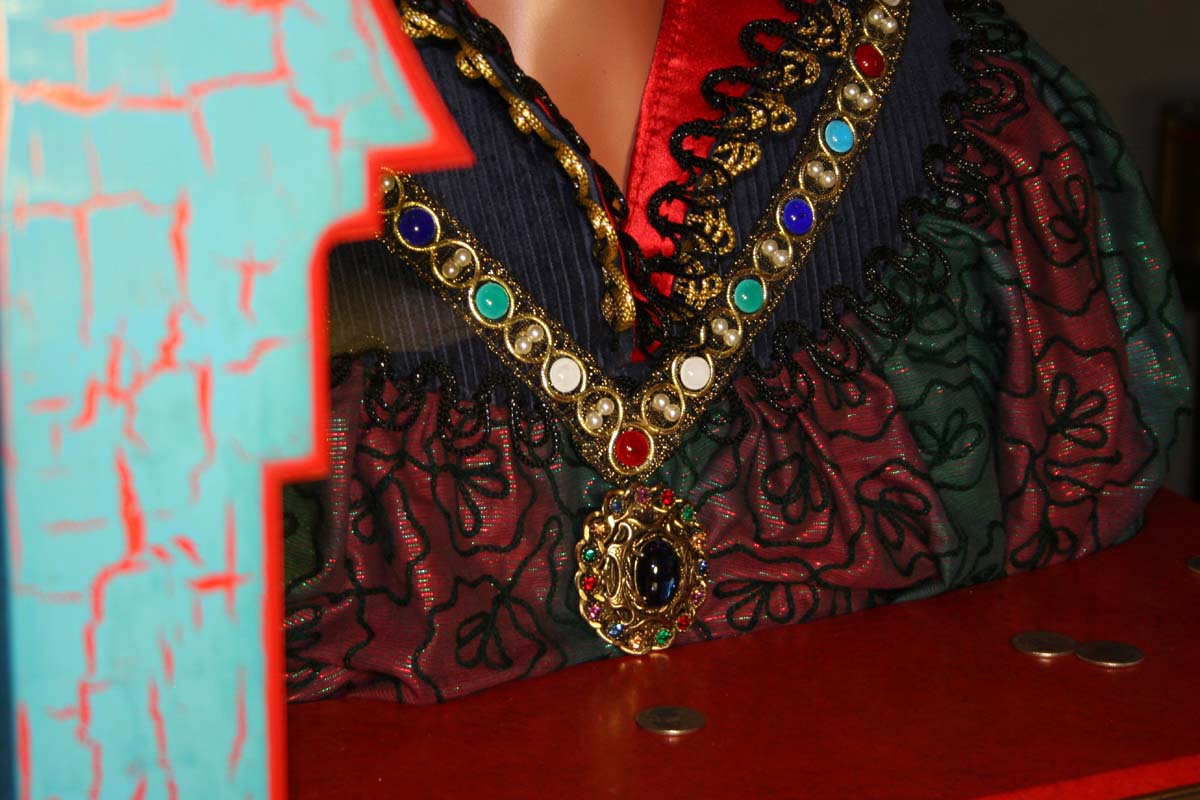
Oval Pendant is Different From Original But a Good Fit
-
-
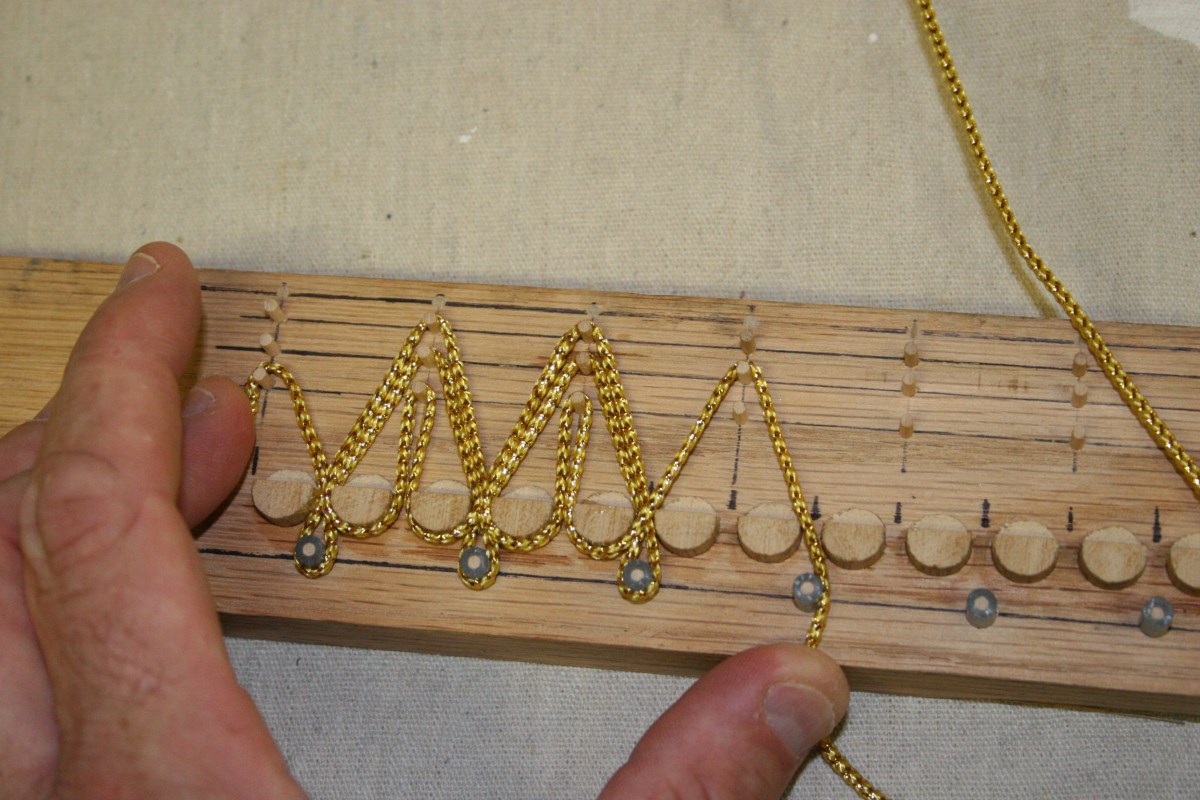
This Jig Was Used to Preform the Trim for the Neck of the Costume
-
-
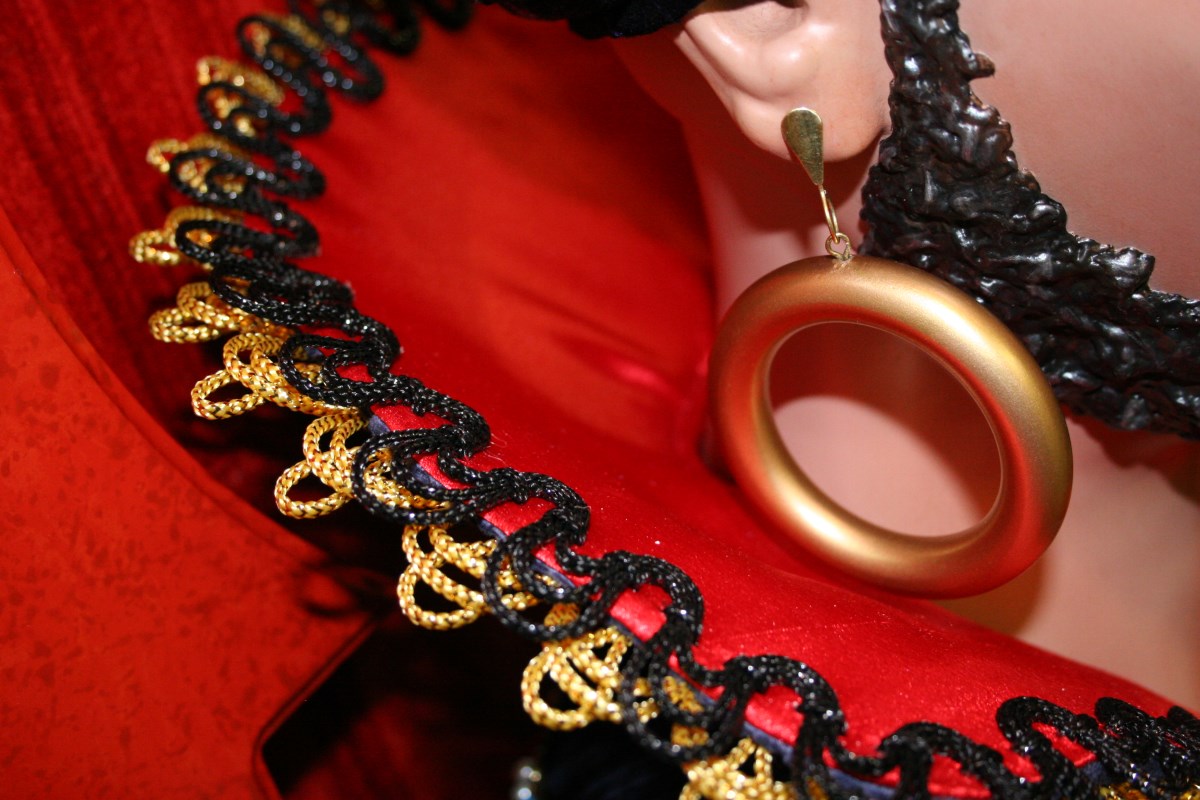
Trim was Hand-Laced and Stitched in Place
-
-
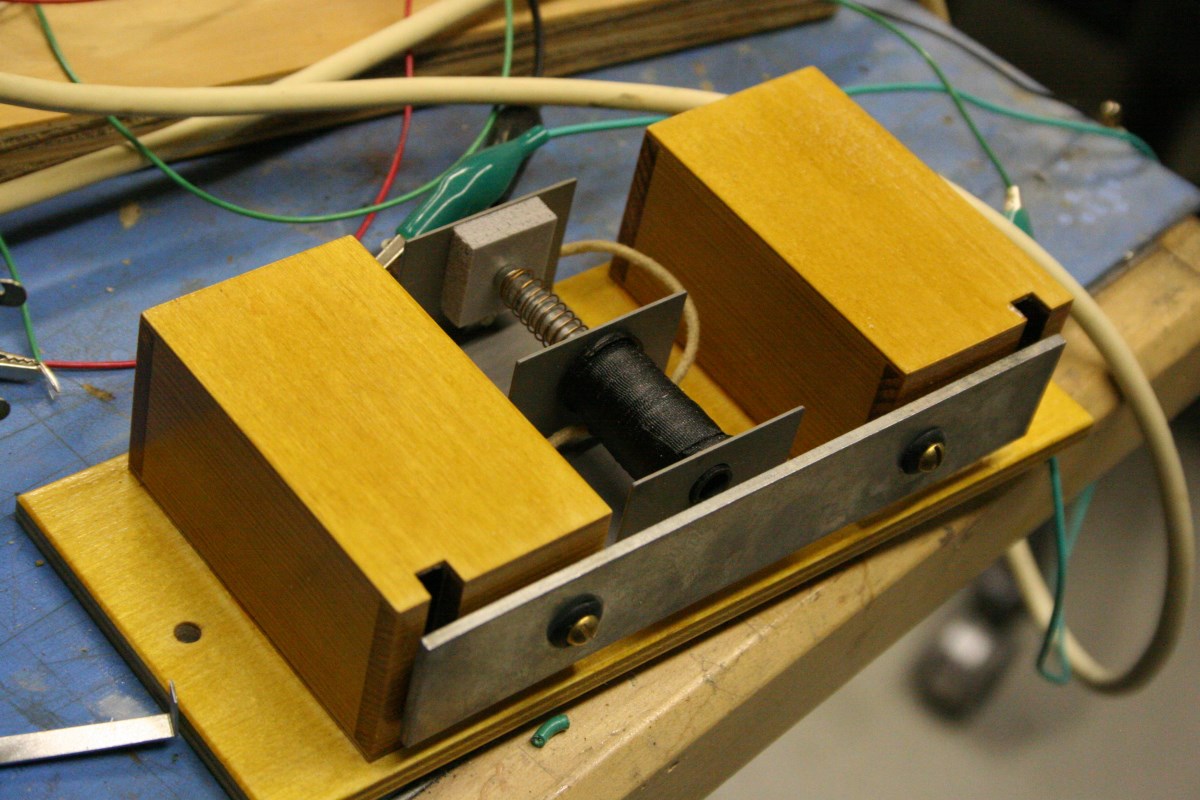
Custom-Made Wood Resonator Chambers for Chime
-
-
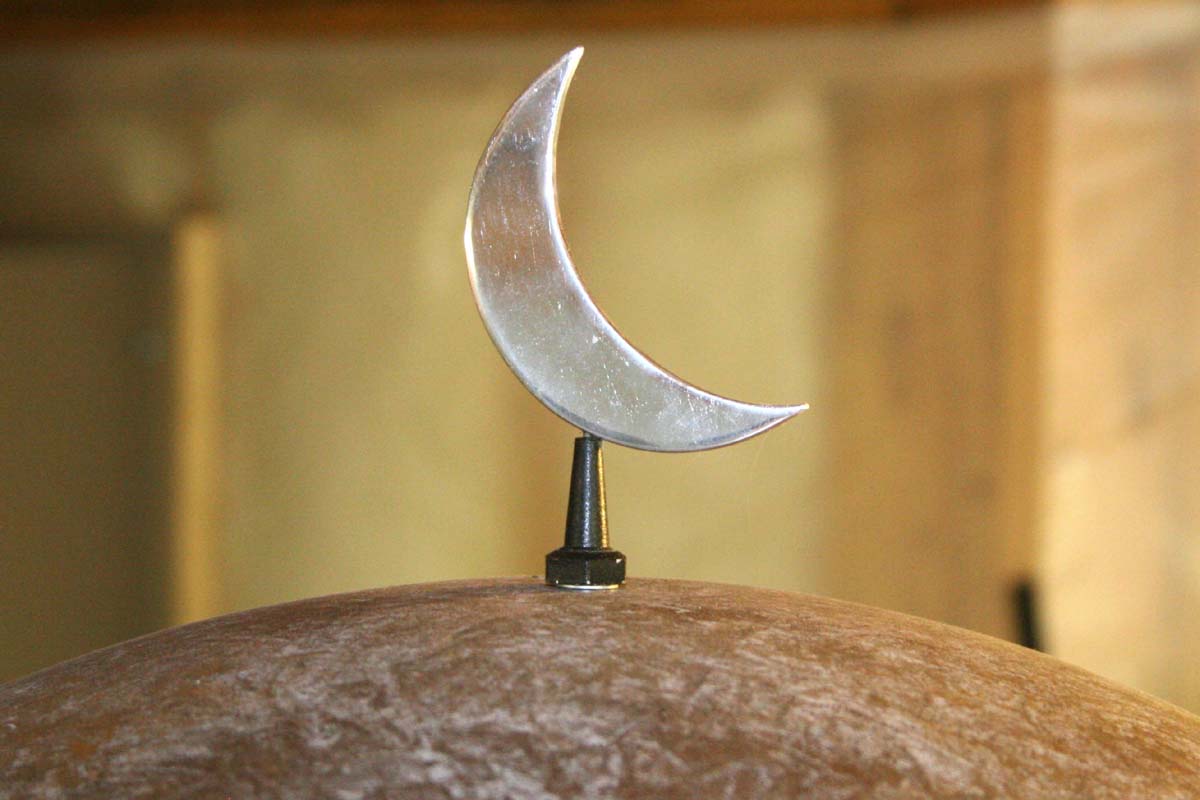
Swiveling Moon Detail on Dome-Retaining Nut
-
-
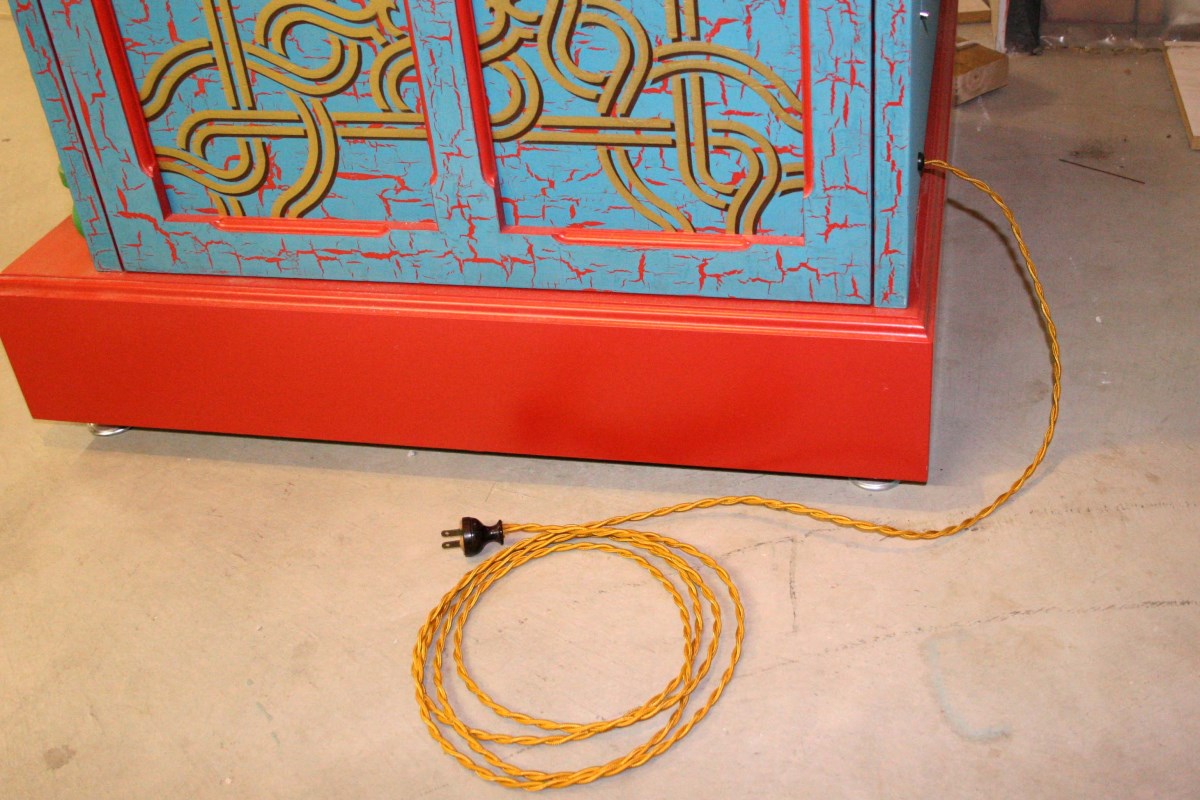
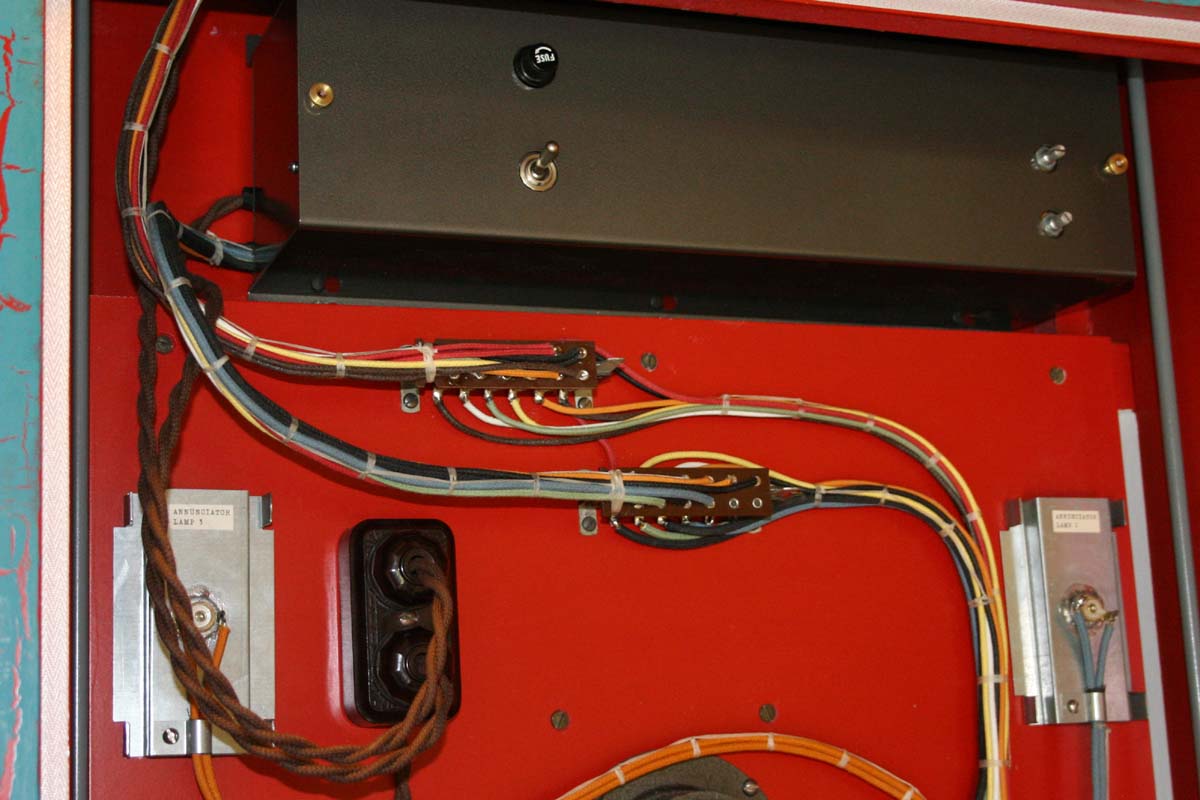
I Tried to Use Period-Authentic Wiring Wherever Possible
-
-
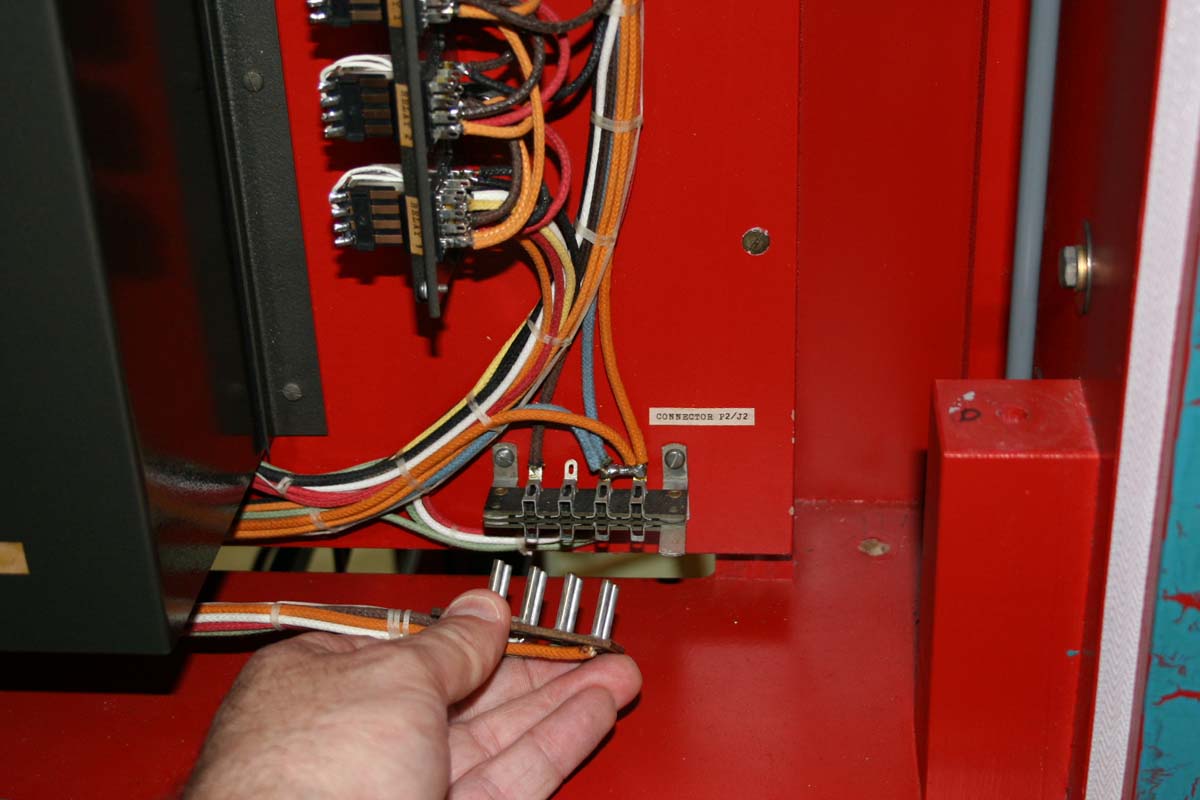
Cloth Insulated Wiring and Vintage Connectors
-
-
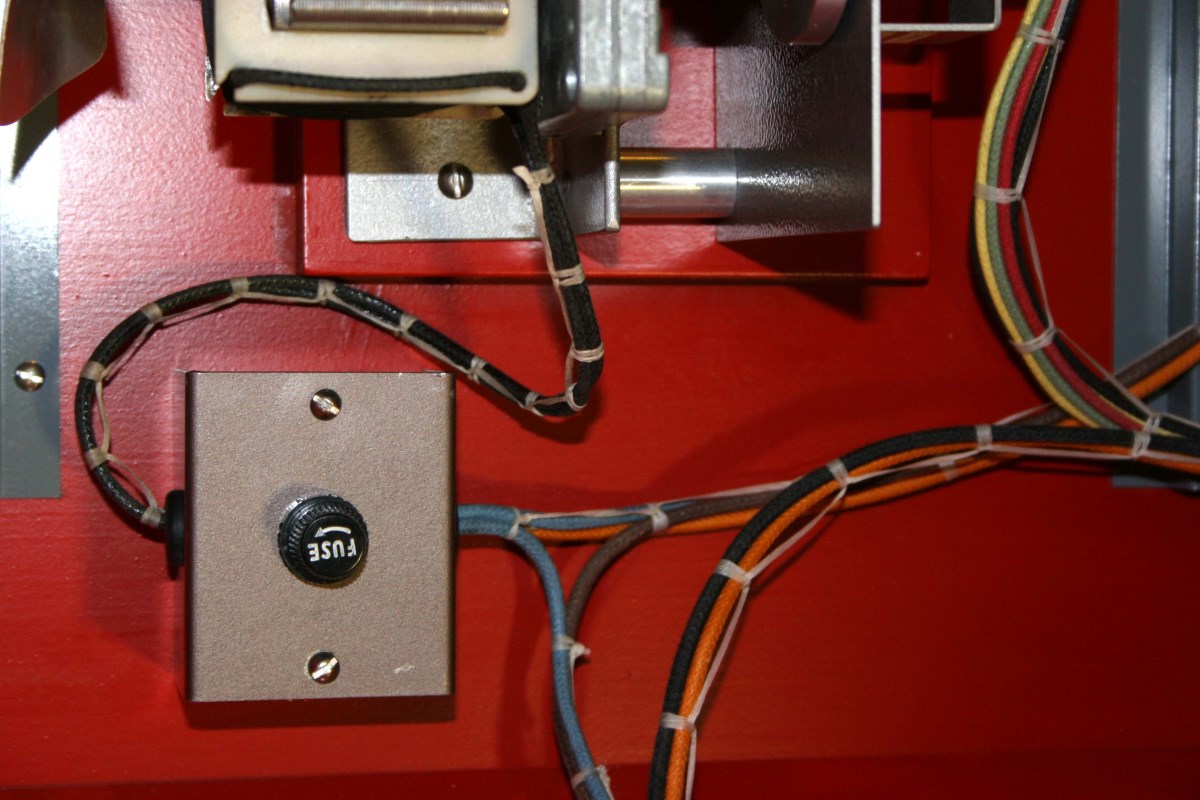
110 VAC Wiring is Separated and Fused Independently of Low Voltage Wiring
-
-
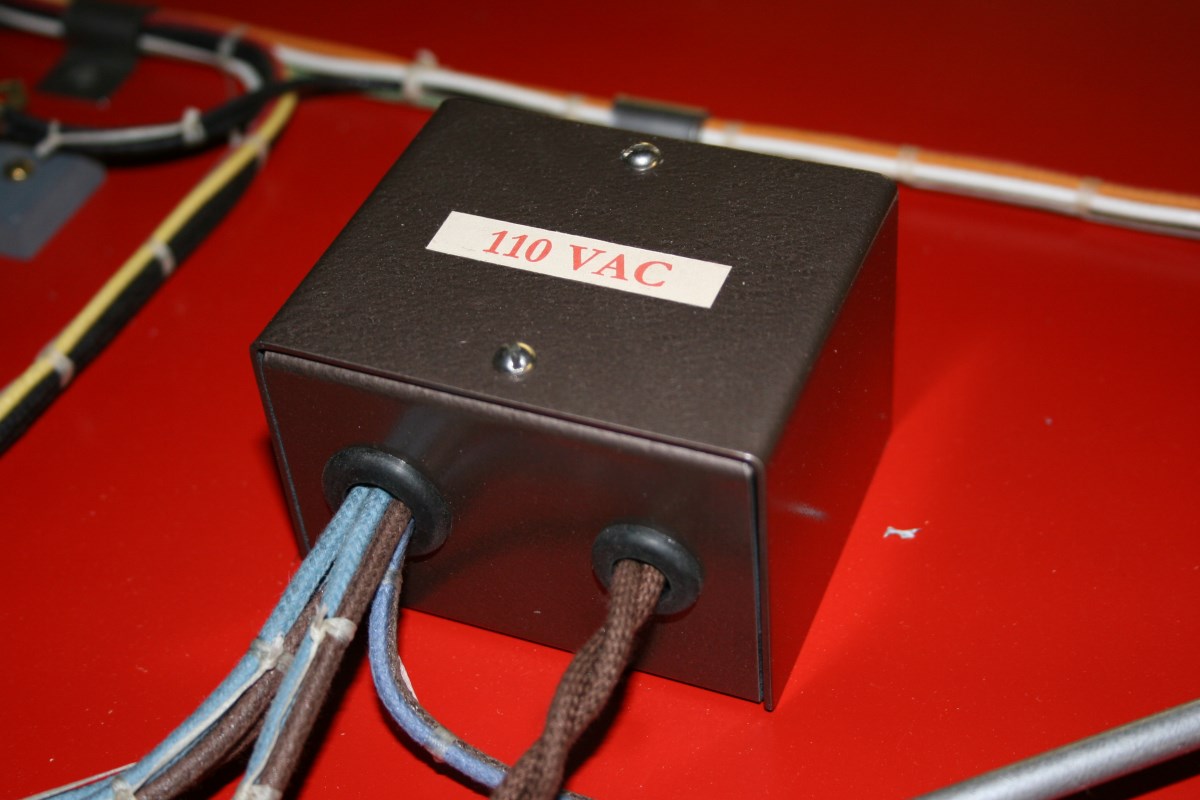
As with the Lower Cabinet the Line Voltage Wiring on Top was Segregated and Labeled
-
-
Enclosed Electronics, Cloth-Insulated Wiring, and Vintage Connectors Enhance the Look
-
-
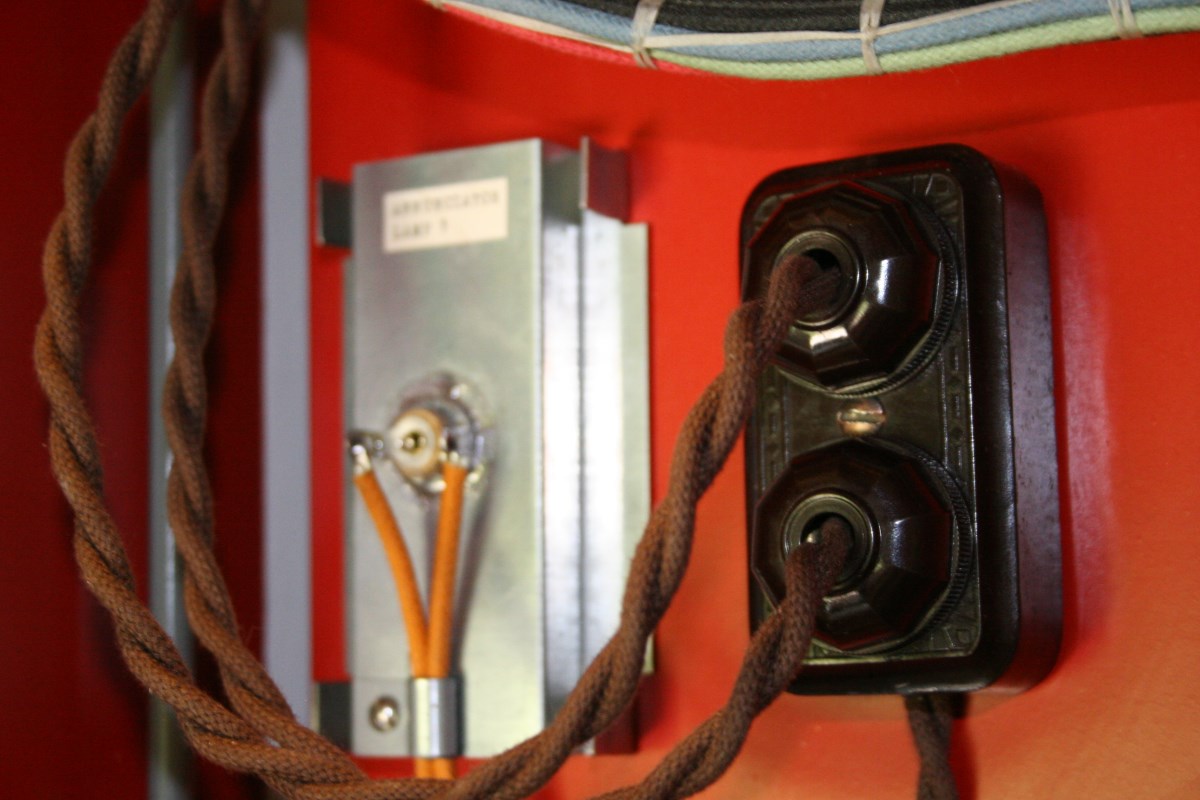
I Used Vintage Parts Wherever Possible – These are Old Rodale Plugs
-
-
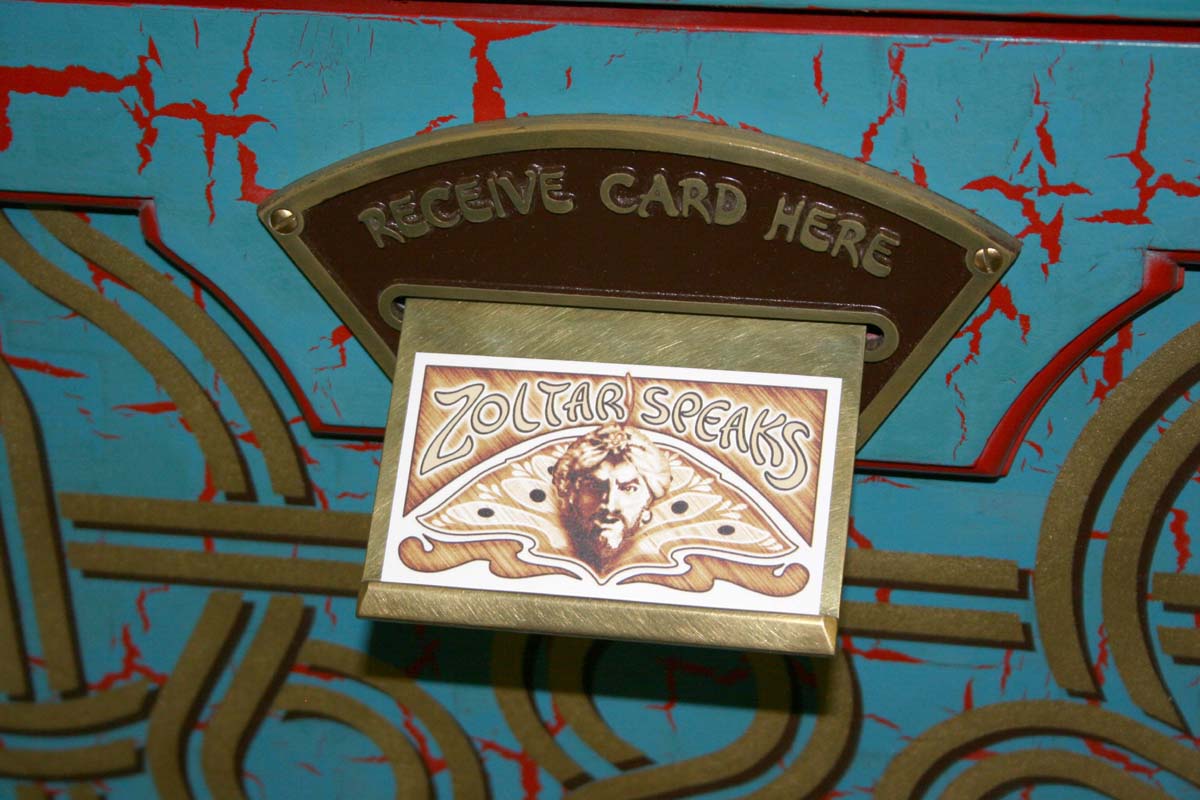
I Recreated the Card Image In Adobe Illustrator. This Artwork Has Been Borrowed by a Few on the Net.
-
-
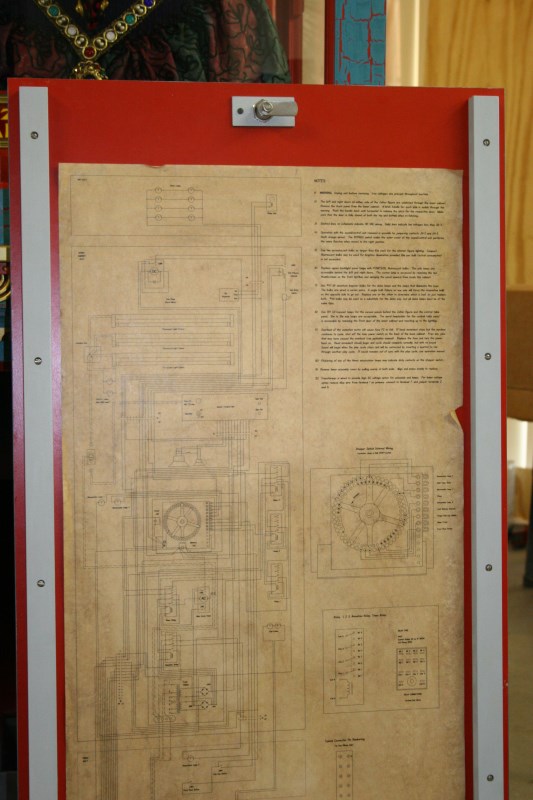
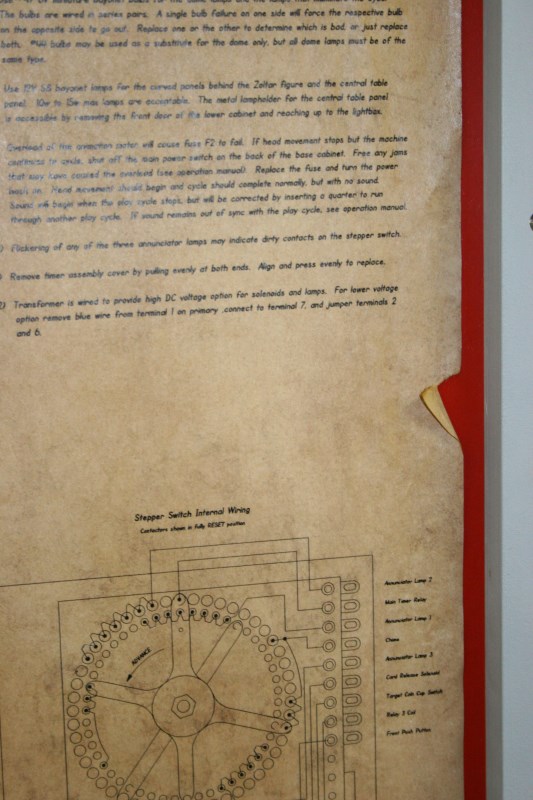
A Weathered Wiring Diagram is Affixed to the Back Door, Just Like a Real Arcade Machine
-
-
Carefully Choreographed Stains and Tears Enhance the Appearance
-
-
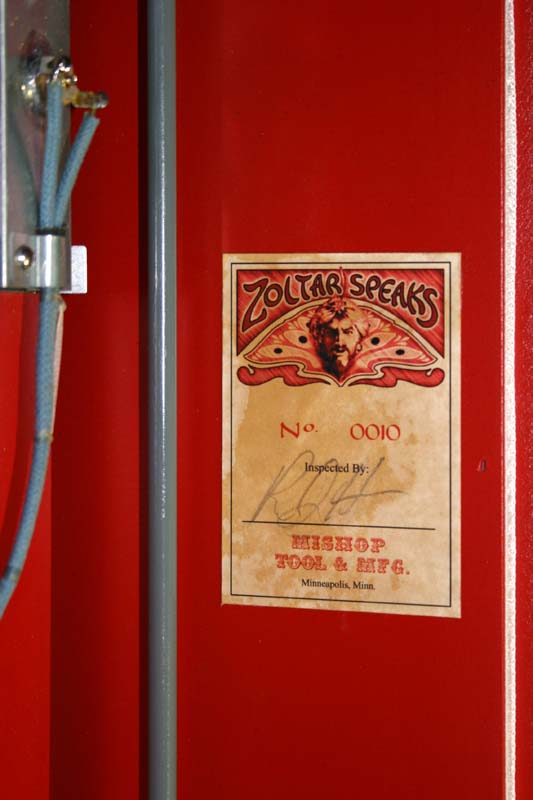
Fake Inspection Label. Good Luck Finding Any Other Serial Numbers…
-
-
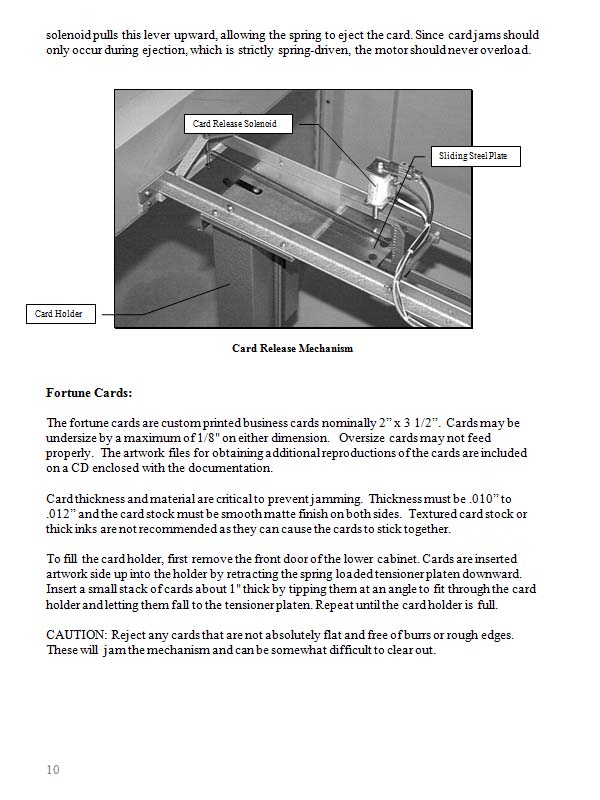
Sample Page From the Operator’s Manual
-
-
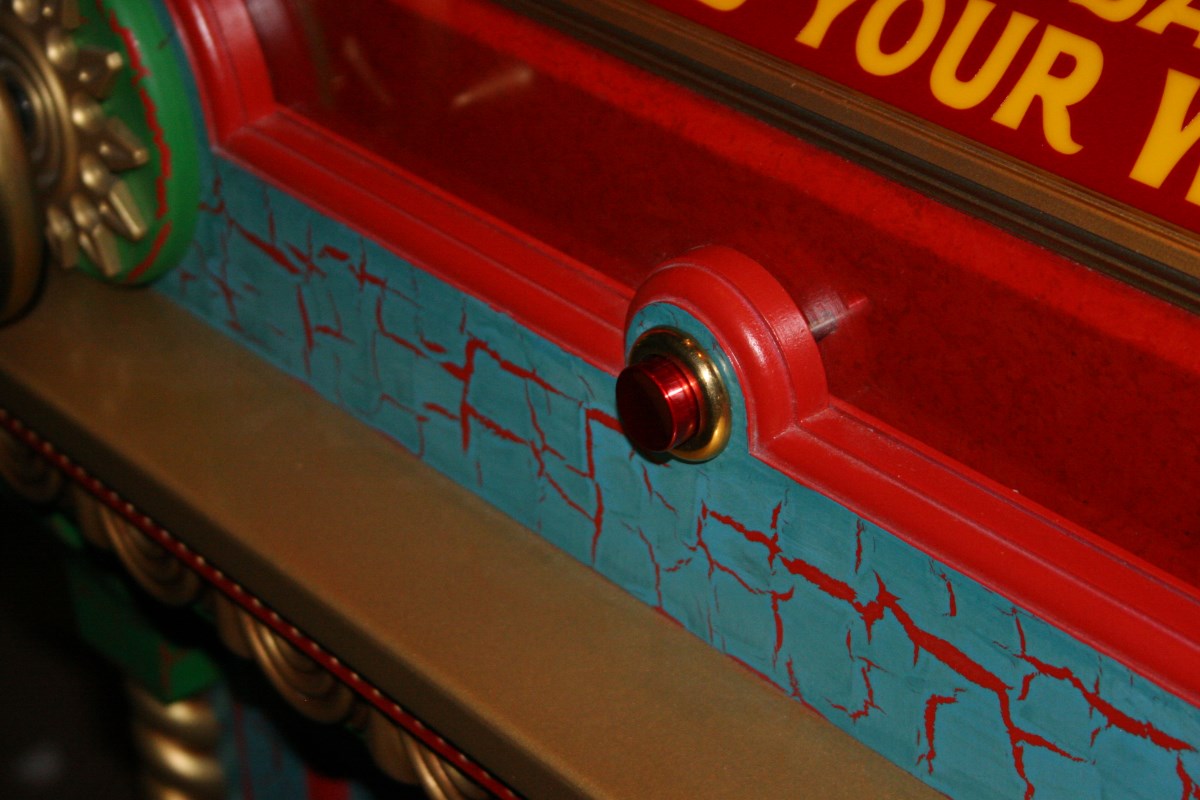
Custom Button Made From Brass and Red Anodized Aluminum
-
-
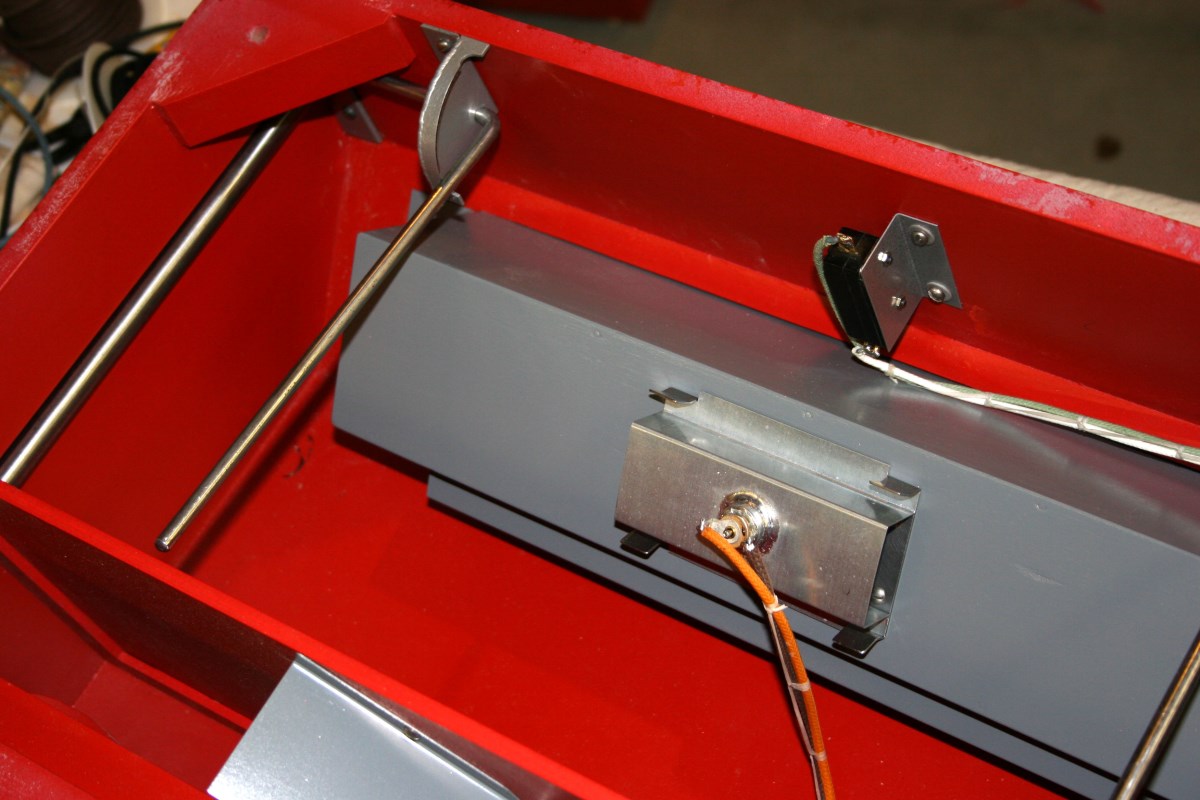
Underside of Table – Light Box, Front Push Button Switch, and Door Latch Levers
-
-
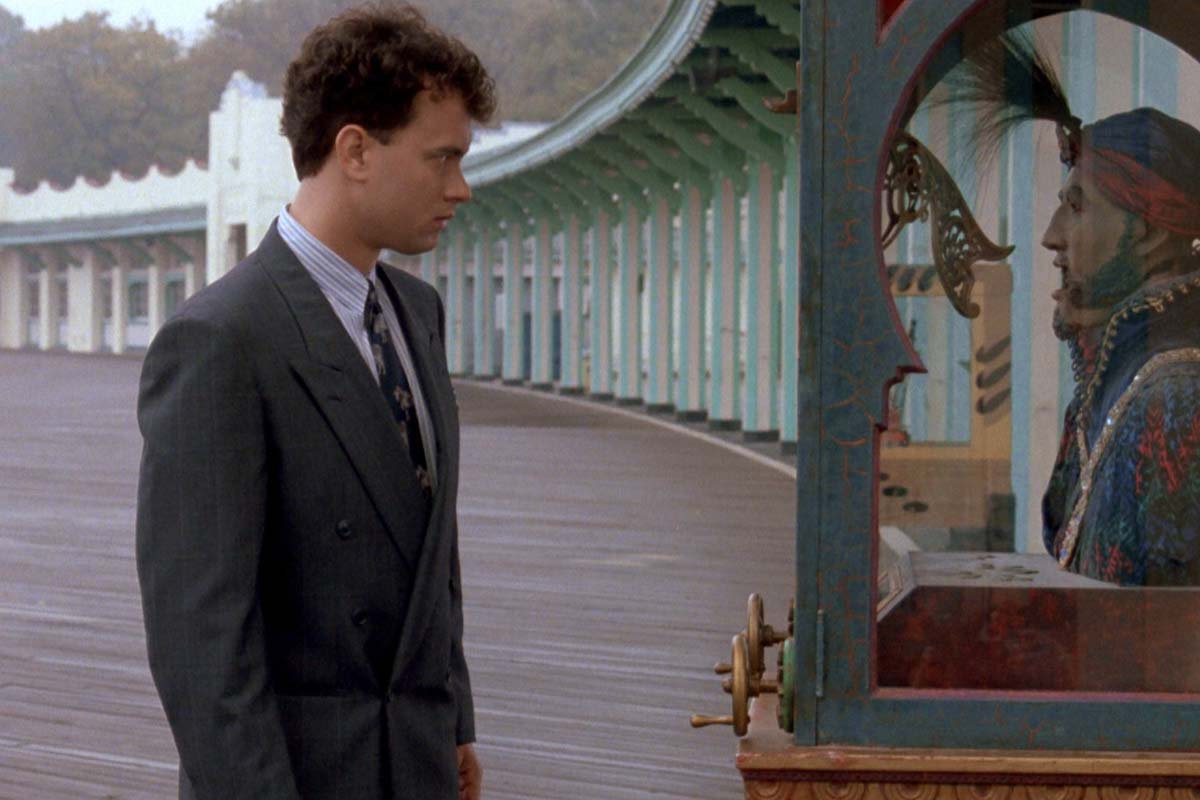
Screen Capture – From the Film Big
-
-
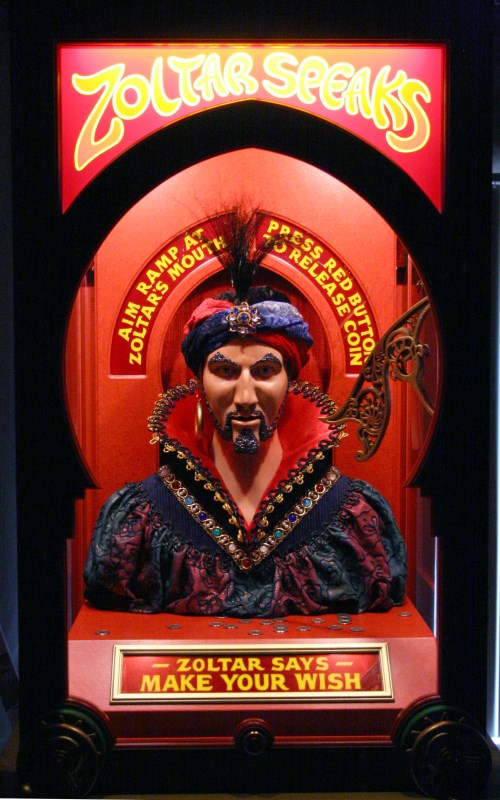
Experimenting with Internal Lighting – Too Bright
-
-
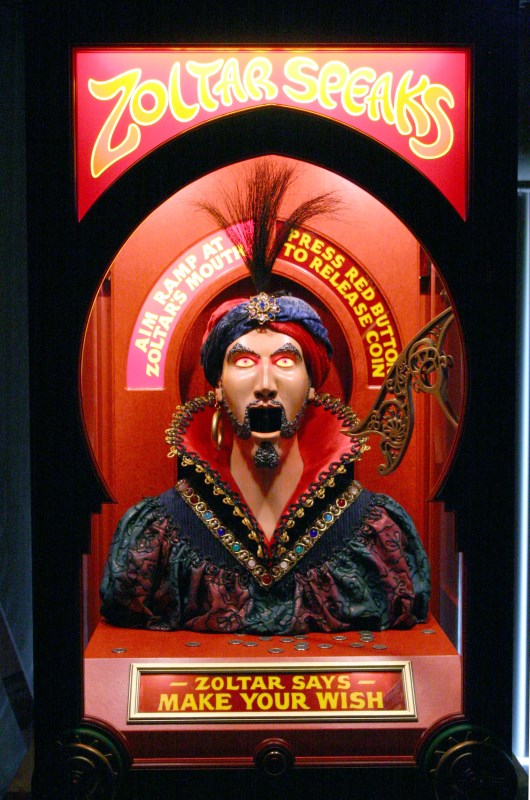
Too Much Lighting and You Can’t See Glowing Eyes
-
-
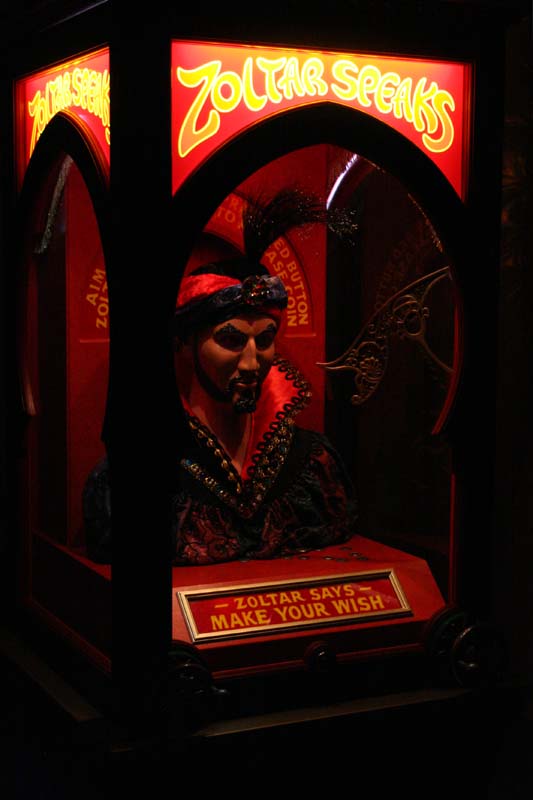
Zoltar Waits in a Dark Room – Internal Illumination Only
-
-
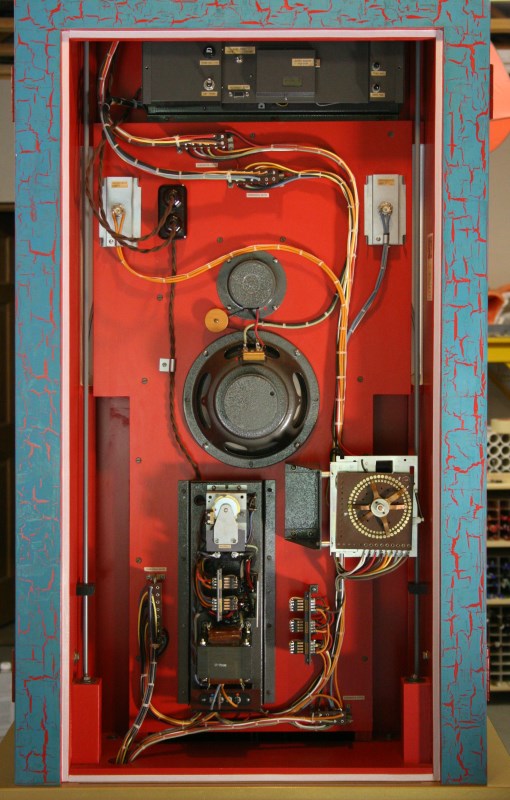
View of the Entire Back of the Upper Cabinet with Only the Safety Covers Removed
-
-
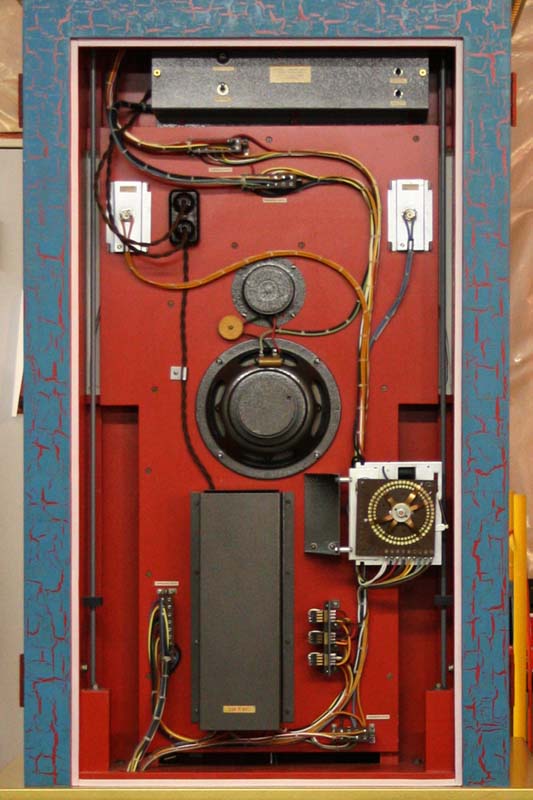
Shown With Safety Covers In Place on Power Supply & Sound/Microprocessor Modules
-

-
Upper Cabinet Ready to Transport – View of Mechanism Under Cap Ass’y
-

-
Cabinet Base Section Being Prepared For Transport
-

-
Upper Cabinet Ready For Transport
-
-
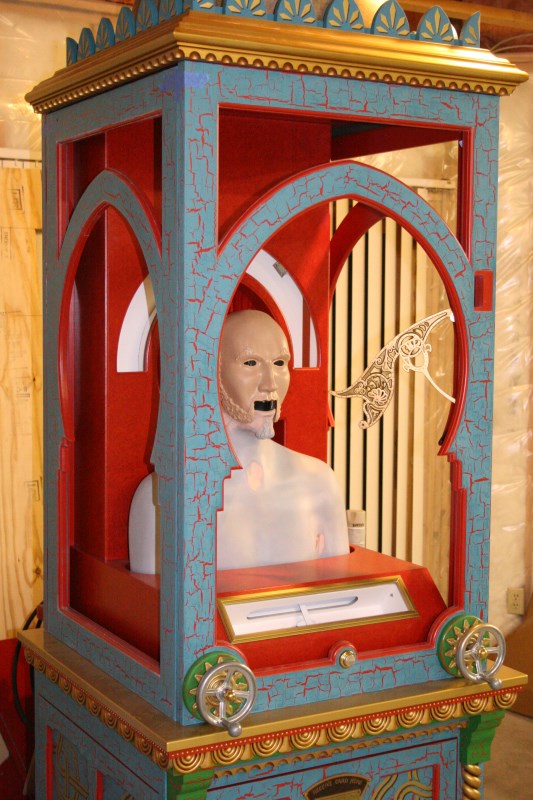
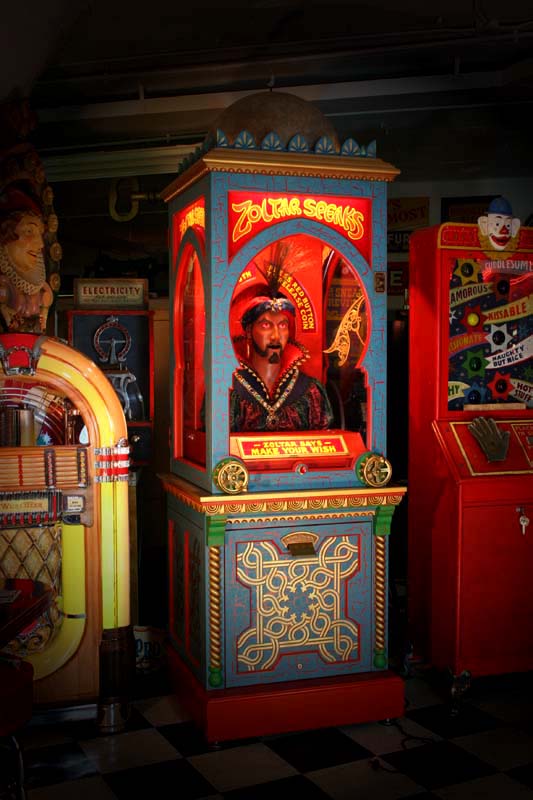
Finished Machine On Display at Kilroys in Minneapolis