“Instructograph” Morse Code Training Device
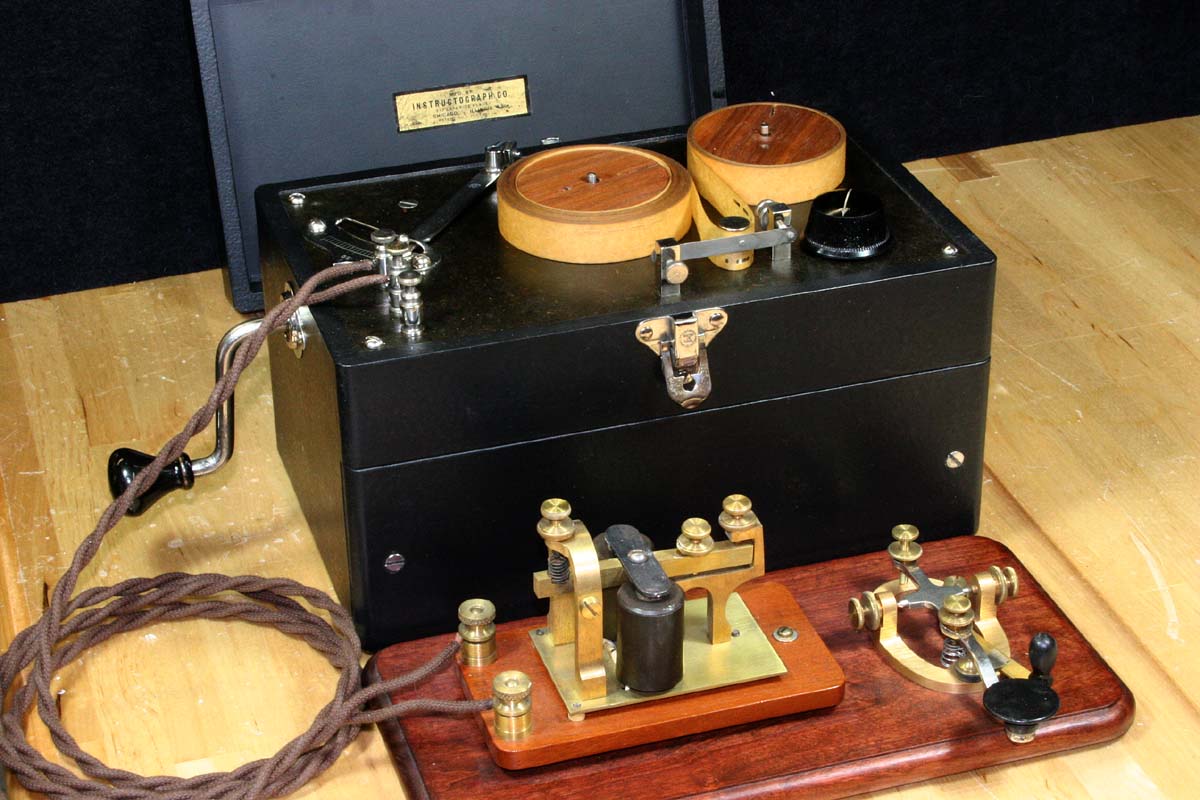
Instructograph in Operation With A Railroad Telegraph Sounder
A Little History
The Instructograph is an early electromechanical playback device used for learning Continental or American Morse code. Several different models were manufactured by the Chicago-based Instructograph Co. from the 1920s all the way into the 1980s. Learning to receive code is generally a more difficult task than learning to send, and this portable device would allow the student to practice code recognition without the aid of an instructor or fellow student.

Tape Perforations Can be Seen Where Tape Loops Around Post
Reels of oil-impregnated paper tape perforated with dots and dashes were used to actuate a set of electrical contacts that would in turn operate an external railroad-type sounder, a buzzer or oscillator (for tone), or a light for optical communication. The earliest versions of the Instructograph used a wind-up phonograph motor with a variable speed governor to power the rotation of the tape reels.
Other than the mechanical motor, the only other elements in the device consisted of a set of contacts, a battery, and a rheostat to control the current to the sounder or buzzer.
Later versions used a variable speed electric motor for the tape drive, and some actually included an on-board electronic oscillator that would produce an adjustable audio tone.
A full set of training lessons consisted of ten tapes, ranging from the most basic sending tape with practice gaps between characters (shown here and in the video) to a fully punctuated newspaper article. Intermediate lesson tapes concentrated on groups of unrelated characters, then words, eventually moving on to practical applications such as the transmission and reception of commonly used railroad messages. The tapes had perforations along both edges so that when one side was finished playing the reel could be flipped over to continue the lesson and rewind it at the same time.
A Quick Restoration
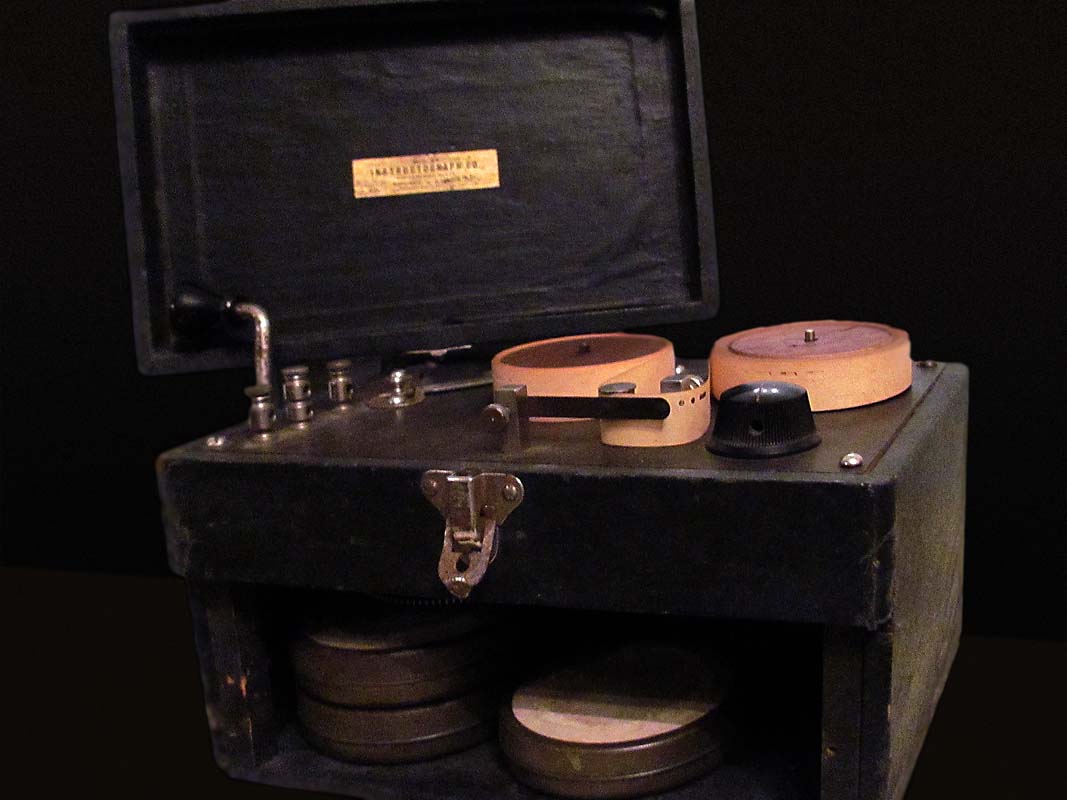
Before Restoration as Received
The Instructograph shown here is believed to be an early model, although I really do not know much about these devices. It has mahogany reels rather than the more-common plastic or Bakelite, and the lid is removable with a single latch on either side of the case. The more common units seem to have a hinged lid with dual latches on one side along with a carrying handle.
This unit was given to me as a gift (thanks Allen). The case was missing a cover and was in rough condition – not really restorable. I wanted to make the unit presentable to go with my old railroad telegraph key and sounder, but this was a case where compromises had to be made on restoration. There are times to go nuts with maintaining authenticity, but this was not one of them, so I kept it simple.
A new wood case and cover had to be built. It would have been nice to cover it with the same leather-finish linen material that was used originally, but I opted instead to do a textured paint finish that looks close enough (if you squint). A sponge roller was used to seal and heavily texture the wood with yellow glue, which was subsequently lightly sanded and painted with ultra-flat black enamel. A felt pad with a little pumice powder polished just the peaks of the texture, giving it a pebbly appearance.
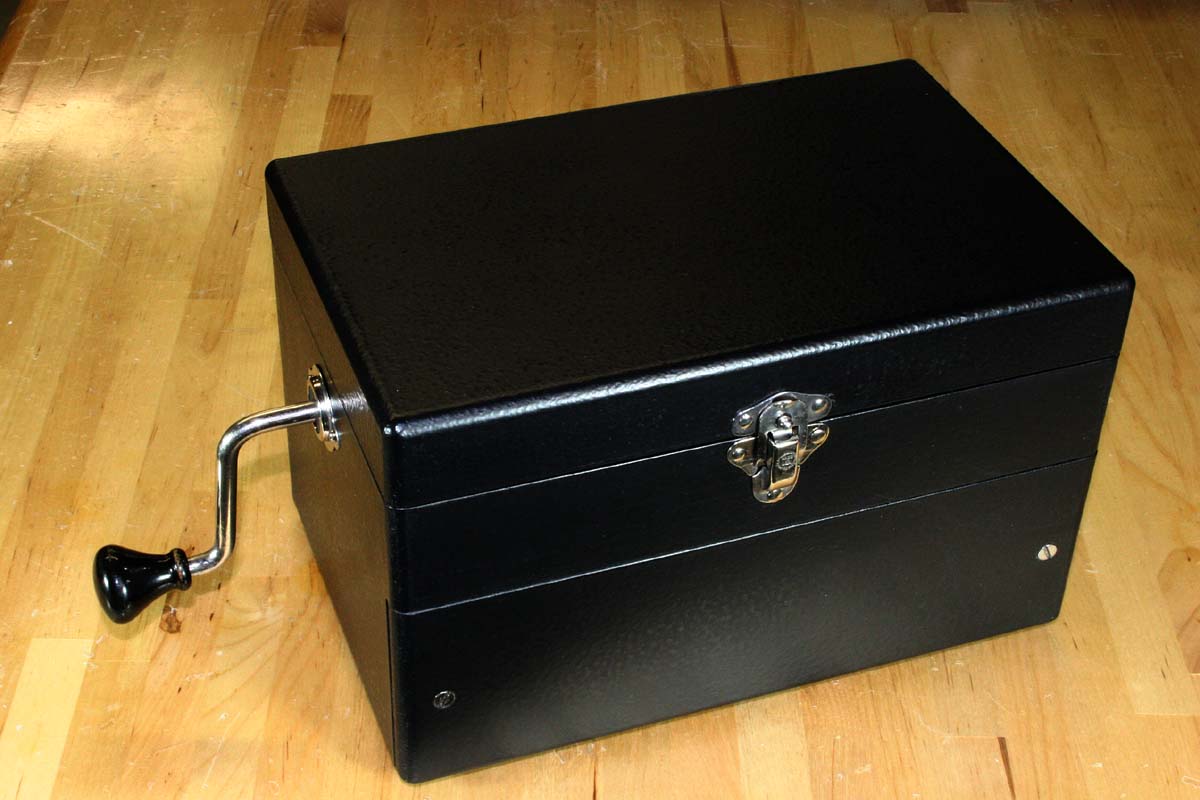
New Case & Lid – Texture Painted, Not Fabric Covered as Original
About half of the nickel-plated metal parts had a salvageable finish, but the rest needed to be bead-blasted and replated. To keep the replated parts from looking obviously better, no copper-buff layer was used; the steel parts were bead-blasted, polished, nickel-plated, then lightly polished again. This left them with some of the original roughness and the look of a protective industrial nickel coating rather than an overdone restoration finish, and the old and new nickel parts blend well. The graduated speed dial, lid latches, crank handle and escutcheon, and screws had to be replated.
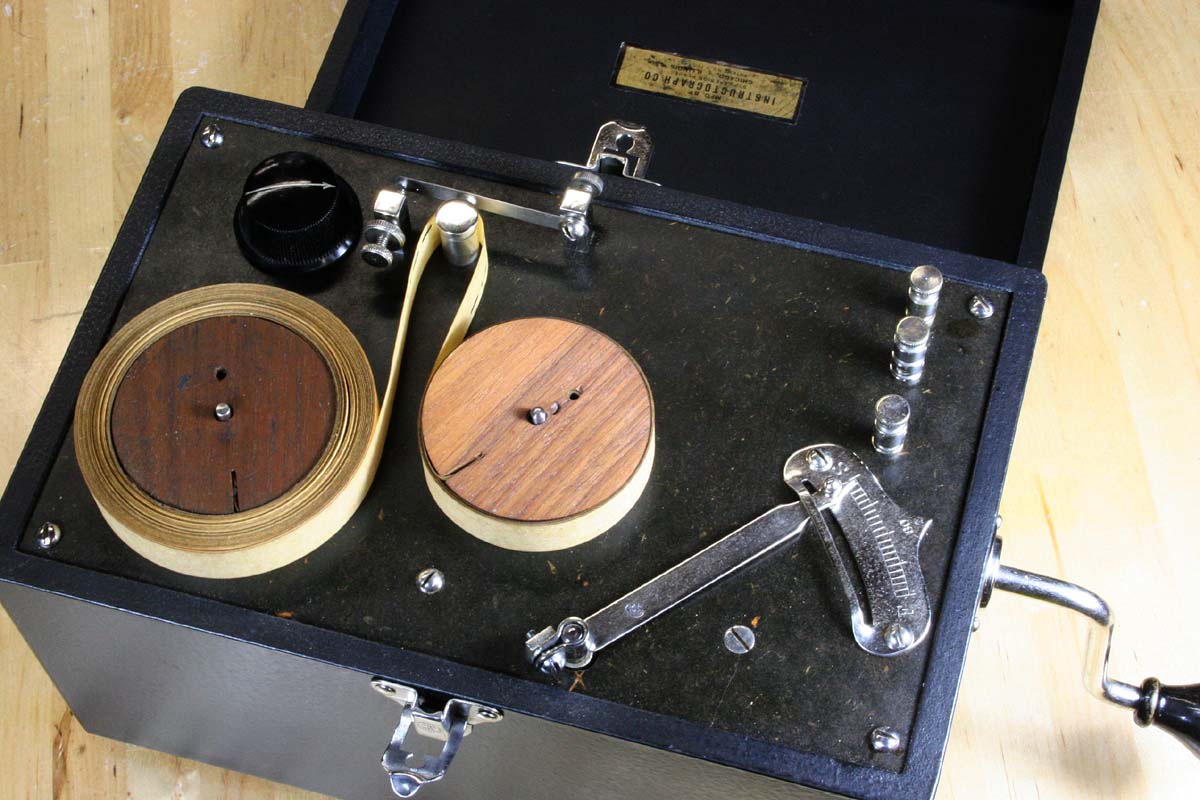
The Pointer Arm Sets the Playback Speed. The Black Knob Adjusts Sounder Current
The motor was cleaned in a solvent parts washer and regreased – it was in very good condition and required nothing beyond the cleaning.
The motors are fascinating in themselves. They use a worm gear drive to allow an enclosed flat spring to be wound via the crank handle. The drum that contains the spring has an integral bull gear that meshes with additional gears to drive a flyweight speed governor at a high rate of speed. As the governor speeds up, three weights move outward and pull a brass brake disk toward a felt pad, thereby limiting the maximum speed of the governor shaft and the rest of the gear train. The variable speed control set by the user moves the felt brake pad, setting the limit speed at which the braking begins.
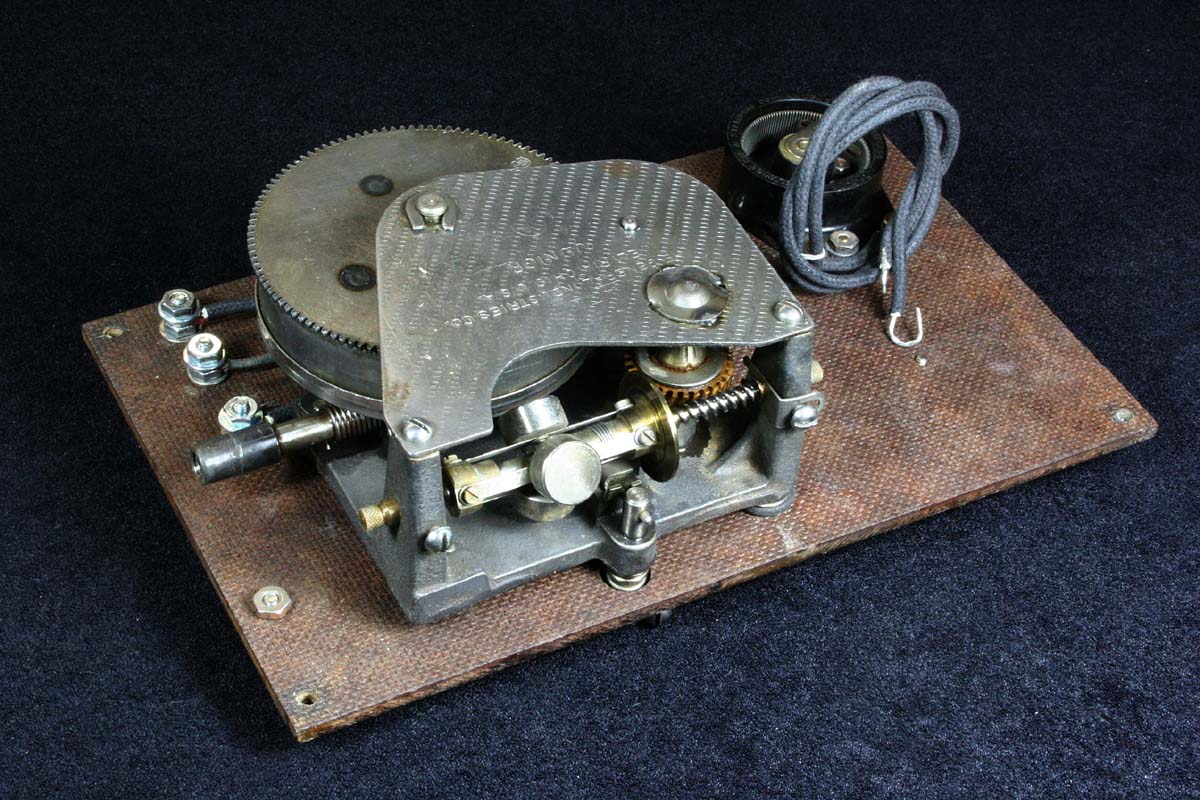
A Spring Powered Phonograph Motor Drives the Reels
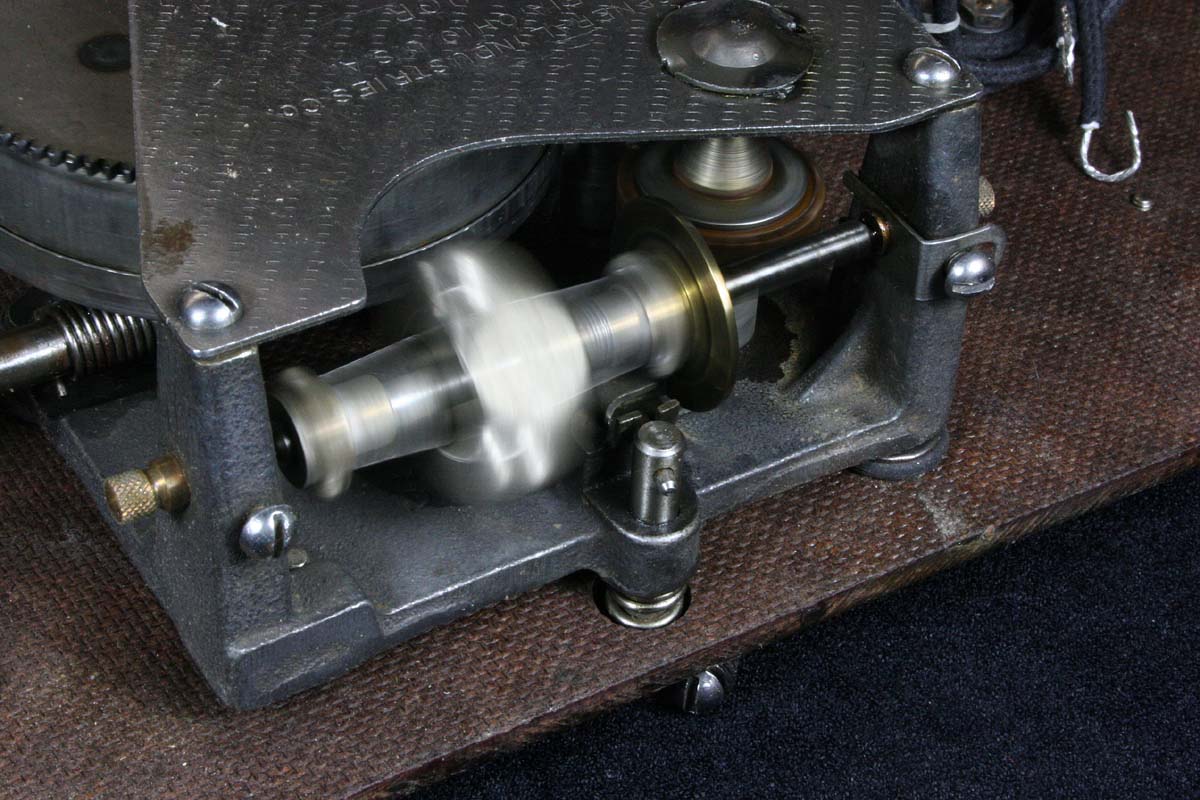
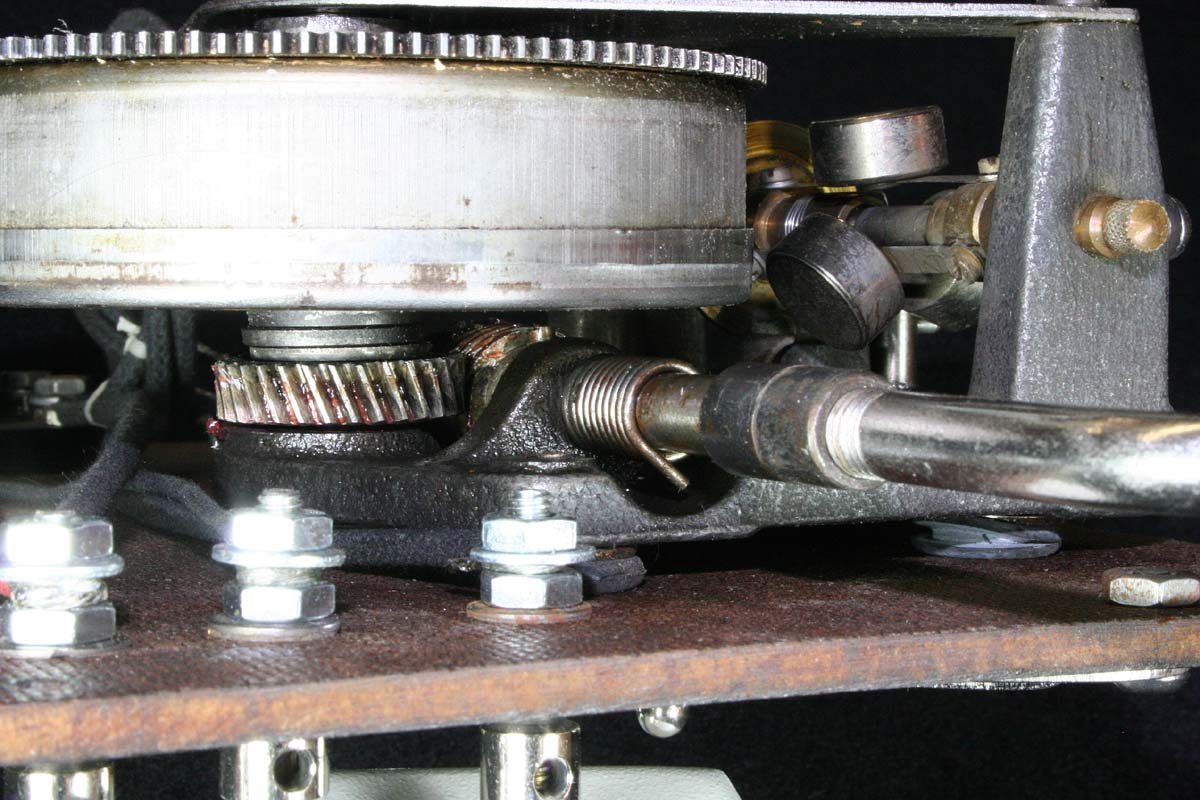
As Speed Increase, Flyweights Pull Brass Brake Disk to Left Toward a Felt Friction Pad
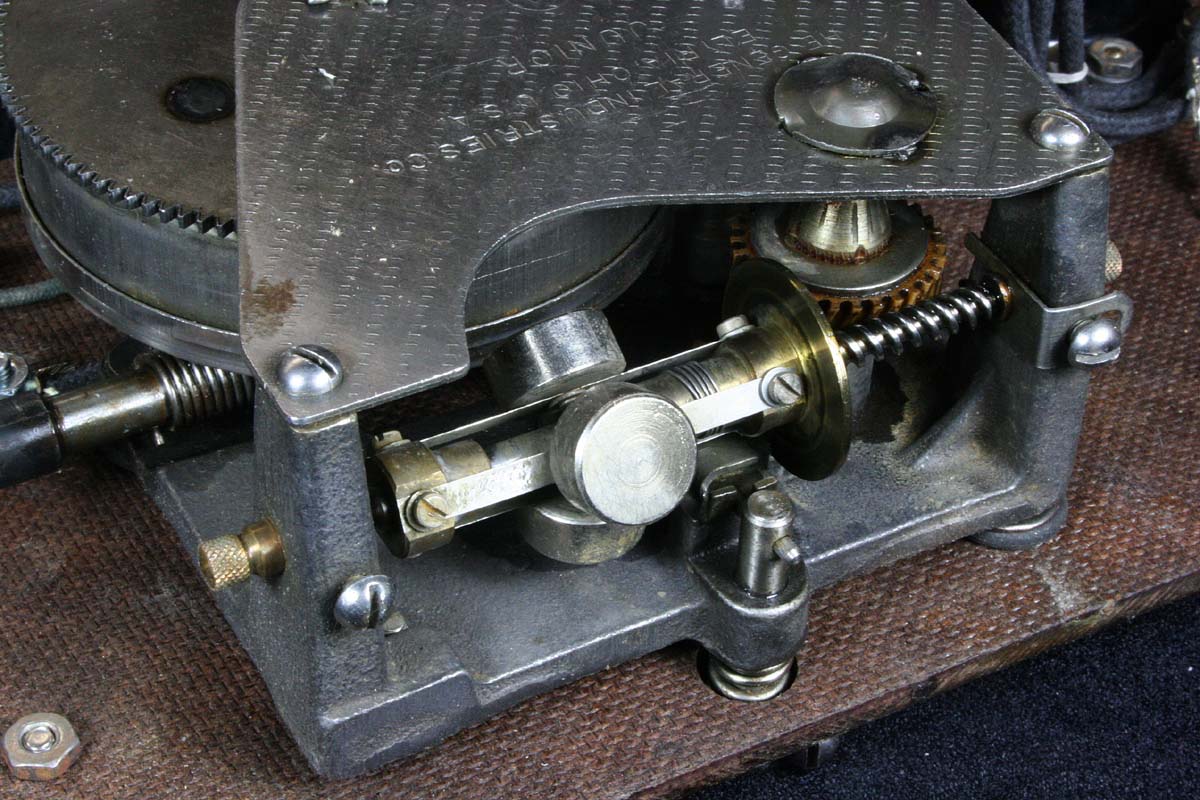
Stationary Flyweight Governor
Worm Gear for Winding. The Coil Spring on the Crank Shaft is a One-Way Clutch
The motor is a very rugged design and is interesting to watch just by itself. I wouldn’t mind having a nice stock of these motors for automatons and other animated devices, but their value is recognized by collectors, and on top of that I have a little problem with the idea of destroying restorable antiques simply to raid parts from them.
Other than the woodwork, a little replating, and the addition of some new wiring, this restoration was completed with a minimal effort. The paper tapes that came with the unit were re-oiled to take away some of the brittleness, and as a final step the original cover label was transferred to the new lid. These labels are often easily removed and sometimes ready to fall off on their own, but this was not the case here. Removing the label without any damage was looking hopeless until as a last resort I pressed on a piece of clear laminating film and peeled it off. The surface of the label came off cleanly attached to the film, and it provides a nice protective finish as well.
More Images
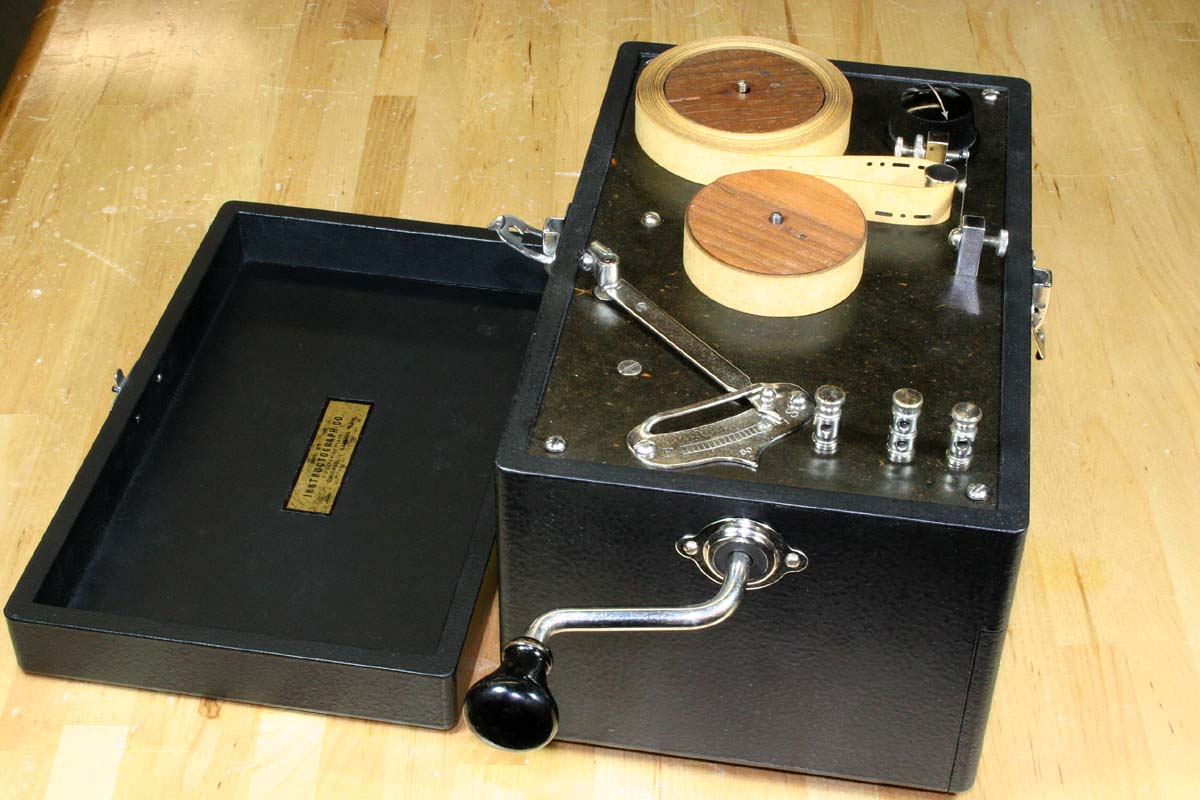
The Crank Can be Unscrewed and Stored Inside the Case
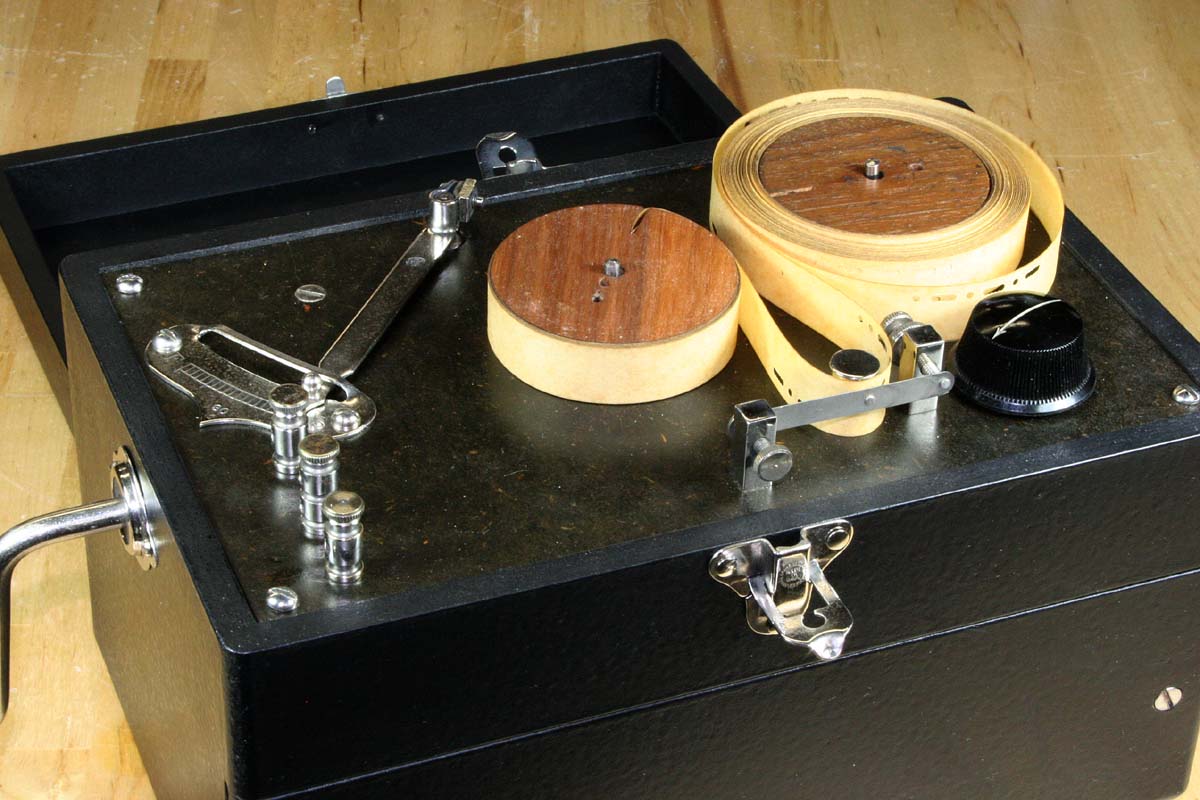
A Felt Washer Under the Right Reel Would Prevent Tape Slack
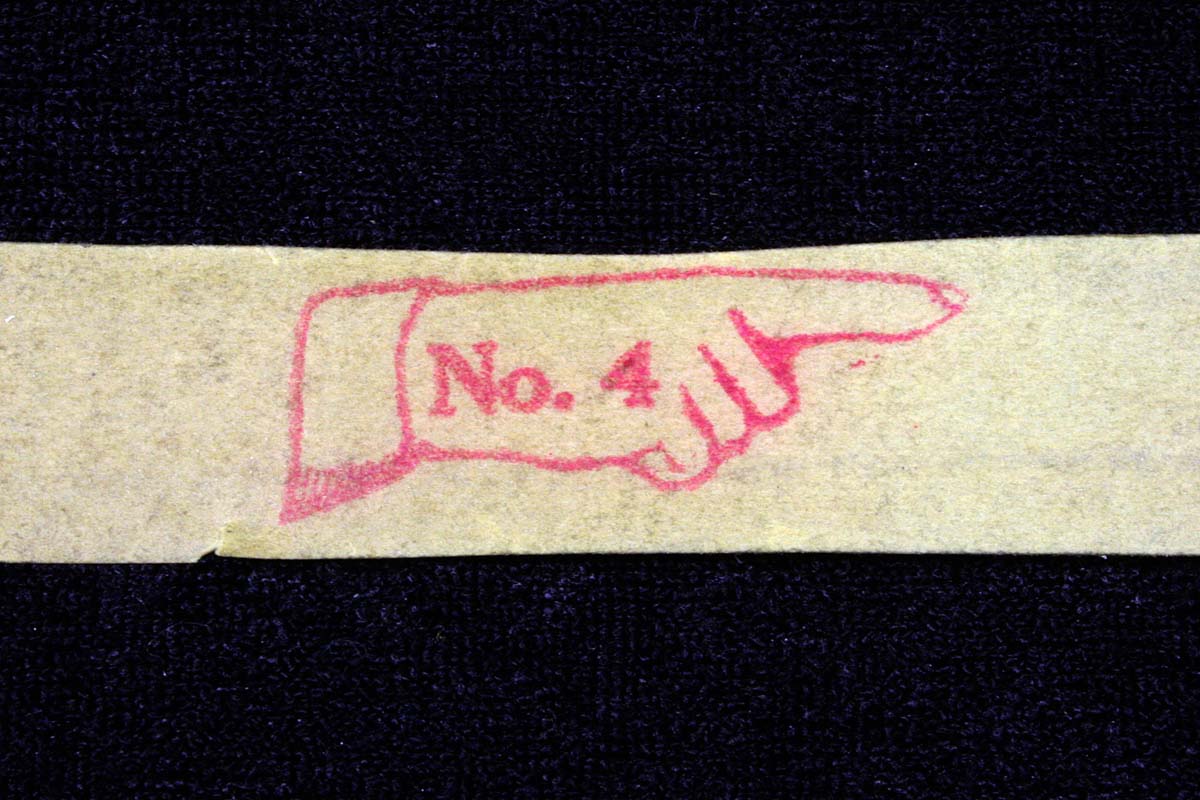
Tapes Were Bi-directional; the Hand on the Leader Identified the Lesson Number
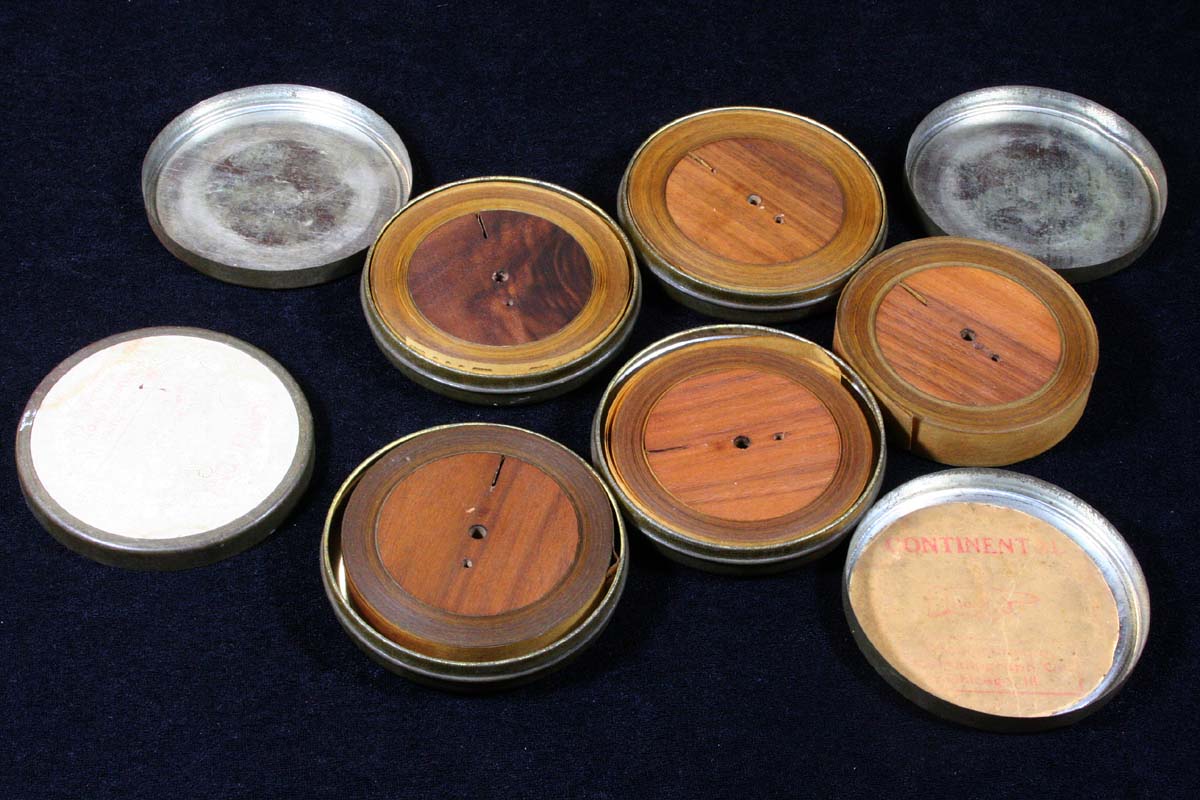
Five of the Ten Available Tapes in a Full Set
Manual Cover
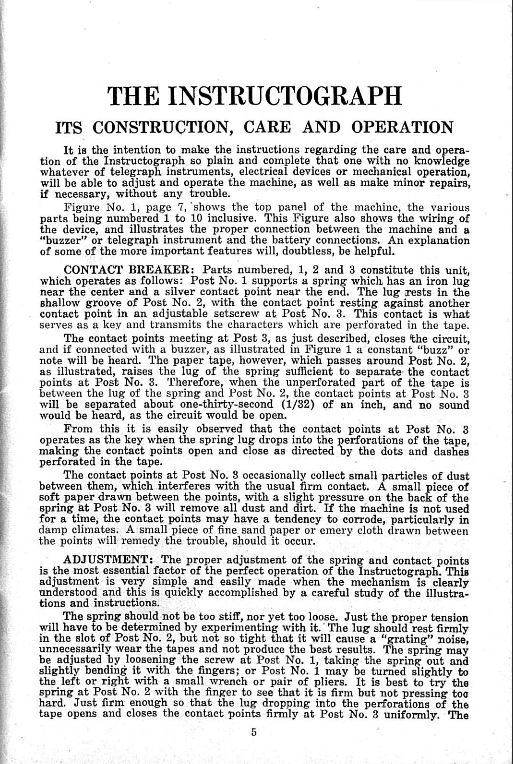
Sample Manual Page
![]()