Monthly Archives: December 2013

Pressure/Vacuum Casting Chamber with Camera

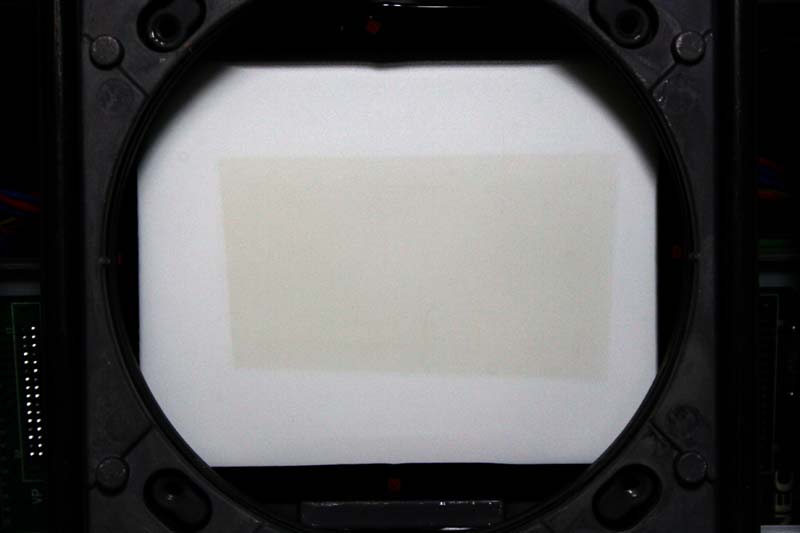
Allows Visual Monitoring of Degassing and Casting Operations

See What's Going On Inside Under Pressure or Vacuum

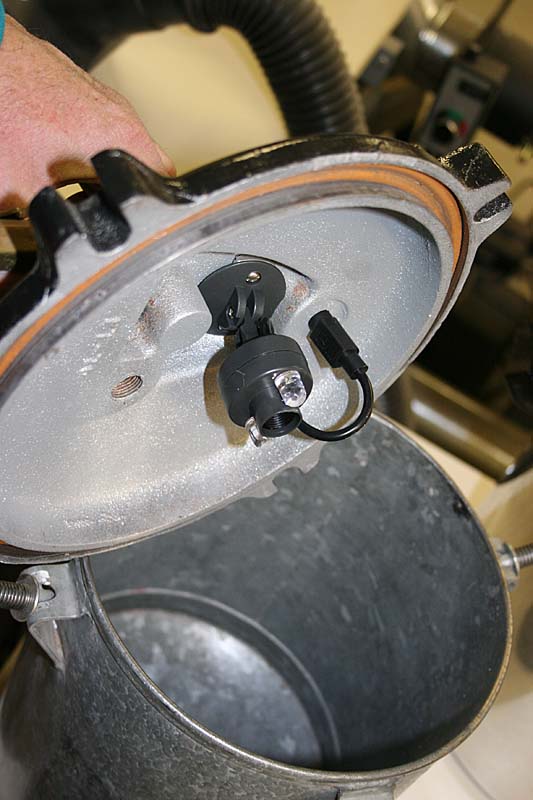
See What’s Going On Inside Under Pressure or Vacuum

Right or wrong, and subject to controversy, these are the general steps that can help produce bubble-free parts or molds using resin or silicone rubber:

  1. Measure out the two parts of the casting/molding material
  2. Mix any pigments or additives with one part of the resin or rubber, usually recommended by the manufacturer
  3. Optionally degas the components now – before combining – to minimize entrapped air or moisture. Do not over-pump below material’s vapor pressure, or you will create a nearly endless supply of new bubbles..
  4. Prepare to work quickly once the materials are mixed in the next step. The clock will be ticking…
  5. Thoroughly mix the two parts together, stirring and scraping the side walls. Transfer the mix to a new container if desired to minimize unmixed pockets of material.
  6. Fast-cure resins or mold rubbers may not give you time for this step, but degassing the mixture in a vacuum for a short time will help remove air entrapped in the stirring process.
  7. Remove the degassed mixture and carefully pour around part or into mold.
  8. Again, and only if time permits, quickly degas the the resin/mold or the mold-material/pattern to boil off bubbles introduced during the pour
  9. Apply 45 – 60 psi pressure to the casting chamber for the duration of the material’s cure time.
Read the rest
Tags: ,

Building a Theatrical Prop Candy Machine

An Original Design Inspired by ’40s-’50s Stoner Vending Machines

Finished Prop - A Candy Machine That Never Existed

Finished Prop – A Candy Machine That Never Existed

This was a fun little side project that came out of nowhere.

I was approached to help with development of a working prop for a stage play that was in the works for a Minneapolis theater. The prop needed to be a candy machine, specifically a Lifesaver vending machine that would be rigged to hit the jackpot and spill at least twenty lifesaver rolls out on the floor when a lever was pressed. It also had to take a coin, but that did not need to be part of the functional mechanism. There was no requirement that the prop look authentic; it just had to be recognizable as a candy machine.

The play was based on a story set in a department store the 1960s, so there was a real opportunity to make something more decorative than a simple box vending machine of later decades. I had been handed a few functional requirements and tentative dimensions, but I was already fixated on the idea of making something in the deco style of a vintage Stoner candy machine, some versions of which vended both candy bars and roll candy.… Read the rest

Tags: , ,

The Taig Lathe

Treadmill Motor Drive and Custom Power Feed

Taig Micro Lathe II With Modifications

Taig Micro Lathe II With Modifications

This whole tangent – acquisition of a small lathe – started when I had a need to make a tiny 1/8″ diameter internally-threaded sleeve for tensioning a thin aircraft cable. The aircraft cable would have a small brass collar crimped and silver soldered on the end, and the sleeve would rotate freely on the cable as it threaded onto a 4-40 rod, thereby tensioning the cable. The problem wasn’t that I couldn’t chuck the small parts on my Logan/Wards 10″ lathe, but that the lathe couldn’t really achieve the spindle speeds needed to do a good job on the small-diameter parts.

For several months I had been looking for a smaller lathe – something of the Sherline variety – that would be more comfortable to work with at higher spindle speeds. I knew a little about the Taig lathe, but for some fickle reason I didn’t seriously consider it until later in the process. Early on I had also started watching for vintage Unimat lathes on eBay. A Unimat would not be the most practical choice, but I had been fascinated by them since the ’60s when their ads could be seen everywhere in hobbyist magazines and catalogs.… Read the rest

Tags: , , , , ,

Building and Flying a Pitts S-1T Airplane

With a Pitts S-2E and a 1947 Aeronca Chief on the Side

Pitts S-1T N68RH Serial No. 001  Built by Roger Hess

Pitts S-1T N68RH
Serial No. 001 – Built by Roger Hess

Thousands of amateurs have built and flown their own airplanes since the beginning of manned flight, in a time before flying machines were even called airplanes. Plans for a bi-wing glider were found in a 1913 copy of The Boy Mechanic, fully described in a page and a half of text and one drawing. In the early 1930s a series of magazine articles covered the construction of a Pietenpol Air Camper, a high-wing monoplane built of wood and powered by a Model A engine. In the 1960s or early ’70s Popular Mechanics magazine published a set of plans for the Volksplane, a wonderfully simplistic and boxy airplane powered by an air-cooled Volkswagen engine.

Plans-built aircraft are still plentiful, but kit-built aircraft, where many of the sub-assemblies are supplied factory-made have increased in popularity. As long as the builder performs more than half of the overall construction effort the aircraft can still be considered amateur-built, operating with a special airworthiness certificate in the experimental category. The freedom to innovate designs destined for this experimental category – without the constraints of type certification – has resulted in a large number of amateur-built aircraft that exceed the performance, efficiency, and in many cases the beauty of production aircraft.… Read the rest

Tags: , , ,

Review: SJK-1 Digital Wax Carving Pencil

Inexpensive Dual-Handle Unit With Independent Temperature Controls

This is Just One of Several Types of Inexpensive Wax Carvers Available on eBay

This is Just One of Several Types of Inexpensive Wax Carvers Available on eBay

After experimenting around with a few different sculpting mediums, wax seems to be a material that I might be able to do something with. Subtractive sculpting in wood requires too much vision, training, or talent – none of which I have. Clays allow addition of material to fill in mistakes, but I haven’t had much luck obtaining a finish suitable for producing a final mold from which I can cast multiple pieces.

But wax is different. Some of the harder varieties of sculpting wax can be carved and polished to a very high finish and are durable enough to easily make it through the process of mold-making. The ability to build up or repair wax fairly quickly makes it attractive for experienced sculptors as well as those of us that have to repeatedly add or subtract material until whatever we are making looks right.

It took about five minutes of using an alcohol lamp to heat tools and melt wax to realize that an electric wax pencil would be a necessity. And since I didn’t know much about what I needed or whether I would stick with carving, I looked for something that didn’t cost several hundred dollars.… Read the rest

Tags: ,

Equalizing CRT Phosphor Wear Patterns

Re-Use or Extend the Useful Life of CRT Projector Tubes

Proj A_green tube mod 533

Phosphor Wear Pattern on Face of One of Two Green CRT Projector Tubes.
The Effect of This Wear Was Reduced Using the Procedure Outlined Here

Note: this article is several years old but may still be of interest to some home theater enthusiasts.

CRT (cathode ray tube) projectors may be a dying technology, but they are not dead yet. Despite their size and weight compared with digital projectors, CRT projectors have some advantages that an enthusiastic subculture of home-theater aficionados cannot abandon, at least until something truly better comes along. CRTs can produce the deepest and most uniform black levels, and tube life far exceeds the lamp life of a digital. CRT projectors, despite their complexity, are highly repairable compared to a typical digital projector where even the replacement of the lamp may be cause to abandon the whole unit and buy another.

In a CRT projector three separate images produced on the faces of red, green, and blue tubes are converged and projected via separate lenses onto a screen to create a full color image. The light is actually produced by an electron beam striking a phosphor coating on the faces of the tubes.… Read the rest

Tags: , , , ,